It’s funny how, at times, our excitement can go from an immense positive level to a negative one in a second. For instance, you have decided to play with clay, and you throw the clay on the wheel with your power-packed enthusiasm, only to realize that the moment you do it, you end up having issues with the centering of the clay.
At this moment, your whole enthusiasm may vanish, and you may lose your interest and start disliking the art of pottery. However, you should not do this, as centering your clay is the most vital and toughest part of throwing pottery onto the wheel. Even sometimes, professionals also encounter some issues while centering the clay.
Centering of the clay is essential because it helps in creating a proper base for your piece. You can’t master the art of pottery until you learn to center the clay properly. Hence, you have to go through a tremendous amount of practice. The saying “practice makes a man/ woman perfect” appropriately fits in here. Once you have mastered the technique of centering clay, all of your pottery endeavors will be successful.
So, here in the article, we are going to tell how to center clay on a pottery wheel. Before we proceed with this topic, let’s discuss the problems that you may face while centering the clay along with their solutions.
Problem |
Solution |
Selecting the wrong clay |
While there is a wide range of clay available in the market, you should always pick the clay as per your expertise level. If you feel that the clay is stiffer and harder on your hands, it means you have to smooth it out. |
Clay is too hard |
It is a fact that the air-dry clay loses its moisture; if you leave it open in the air. As a result, it may get hard to use & you might find it difficult to center the clay. Hence, always keep your clay covered in an air-tight container or a plastic bag. |
Your clay is dry |
Since the consistency of clay may vary from potter to potter and the clay item you are crafting, hence, if you feel it dry against your hands, add some water to it gradually, to achieve the desired consistency. |
Your clay is too wet |
As it is difficult to work with dry clay, handling too wet clay is also not easy. If your clay is too wet, it will start going out that way. In this case, you will have to remove some moisture. You can add some dry clay or leave it in the air till it loses its moisture sufficiently enough. |
Clay is not wedged properly |
Many potters don’t like to wedge the clay and take a shortcut to save time while crafting their pottery. As a result, they may face issues while centering the clay. If you are a beginner, it is highly recommended that you wedge your clay correctly before throwing it onto the wheel. |
Clay contains air pockets |
If your clay has an air pocket, it will go off-center as air is lighter than clay. In such cases, you need to take it off your wheel and wedge it properly and start over anew. However, before you throw it again, make sure your clay is round-shaped and not flat on the bottom. |
Bad body posture |
Your arms must be anchored to your legs or the side of your body to center the clay properly. Otherwise, it will go off the wheel. |
Speed of the wheel is too slow |
It is essential to maintain the right speed while you throw the clay on the wheel. Otherwise, you won’t be able to center it properly. You can reduce the speed of the pottery wheel once your clay is centered. |
What are the tips you should follow while centering the clay?
-
Wear comfortable clothes, such as a short sleeves t-shirt along with trousers so that your sleeves do not interrupt your practice session.
-
Start practicing with small balls of clay. You can make loads of balls, let’s say about 2 pounds of each; it will make your practice a lot easier.
-
Keep the balls covered in a plastic bowl. This way, you will be able to keep them together, and the clay will not dry out.
-
Never lose hope even if you fail during a few attempts at the beginning.
How to choose the right clay?
Picking the right clay is the first step of any pottery work. A wrong clay not only makes the art of pottery extremely difficult for you but also makes your interest to die out. You may even start hating it and never try it again in the future. So, to pick the right clay, you need to know the different types of clay options that you can have.
Here is a table to tell you the different types of clay available in the market:
Types of clay |
Qualities |
Earthenware |
It is a low-fire clay, great for throwing onto the wheel. Anything can be made with earthenware clay. |
Stoneware |
It is durable and chip-resistant. It is popular because of its longevity and wide range of usage. It is the best option for beginners. |
Porcelain |
It feels smooth and buttery and absorbs water quickly. It is ideal for professionals. |
Here are the specific steps which you need to follow while choosing the right clay:
-
It should have a considerable amount of plasticity.
-
Choose a smooth variety of clay that is easy to work with, especially if you’re a beginner.
-
You should try a lot of clays, but make sure to pick a softer one that you can use easily. Mid-High Fire White Cone 6-10 – Rocky Mountain Clay’s Dover is an excellent option as it is superb for hand-building as well as throwing on the wheel.
-
But make sure that you don’t opt for clay, which is too soft, otherwise, you won’t be able to hold the piece together, and the walls will pull off.
-
The softer clay will help you in mastering throwing, including the technique of centering the clay because soft clays will ease the process.
-
If you use hard clay, then you will have to apply extra strength to center it. Also, it will toughen the process of creating shapes.
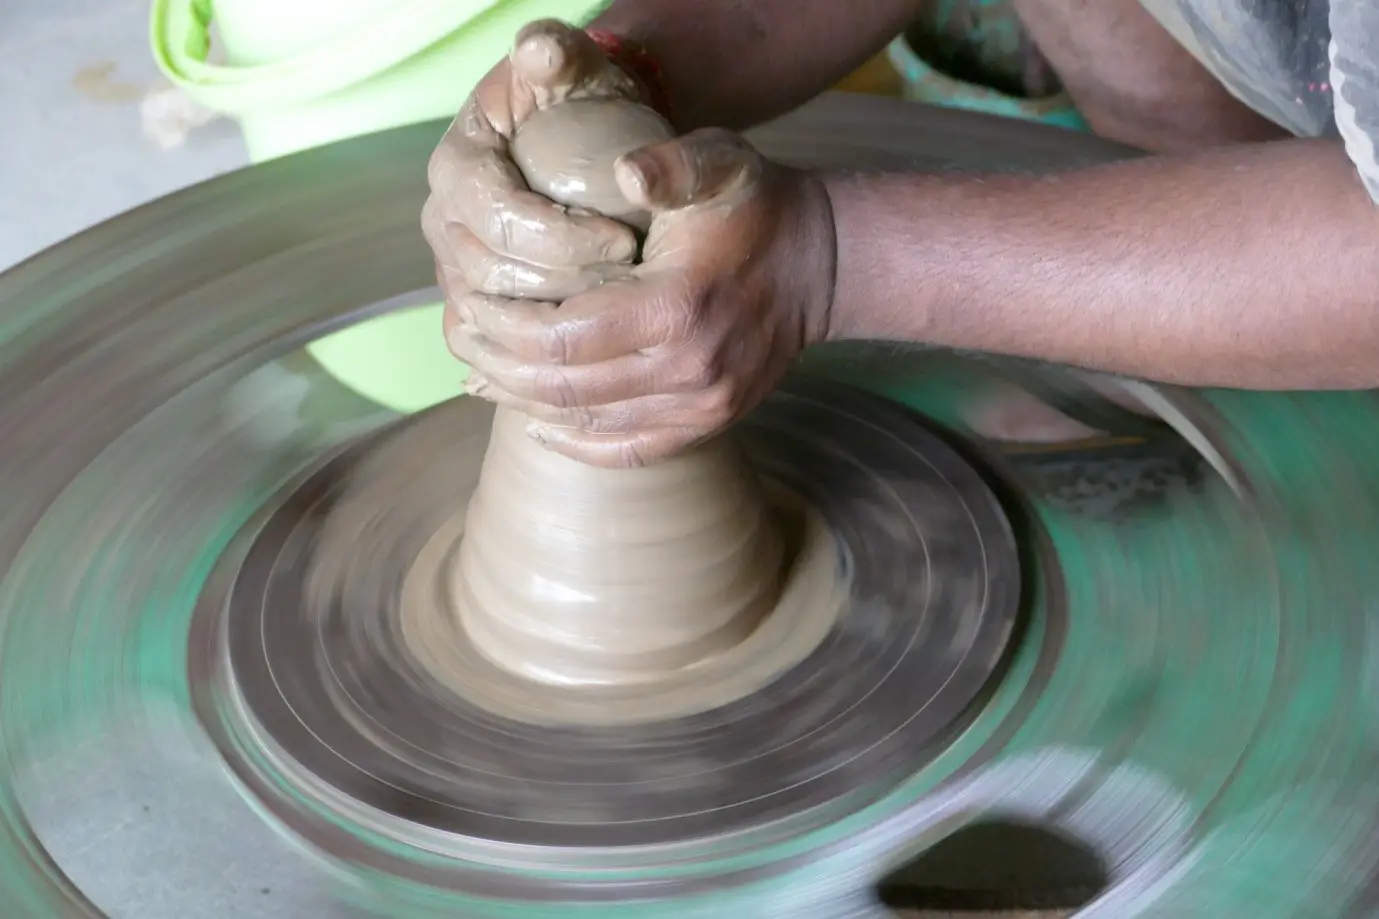
How to center the clay on a pottery wheel?
Just like any other steps that require much effort to complete a pottery work, throwing clay at the center of the wheel also must be done very carefully. This technique needs to be mastered with care, which is quite challenging to learn. We will help and guide you on how to master the skill quickly. Here are some points that you need to keep in your mind while making yourself learn the technique:
-
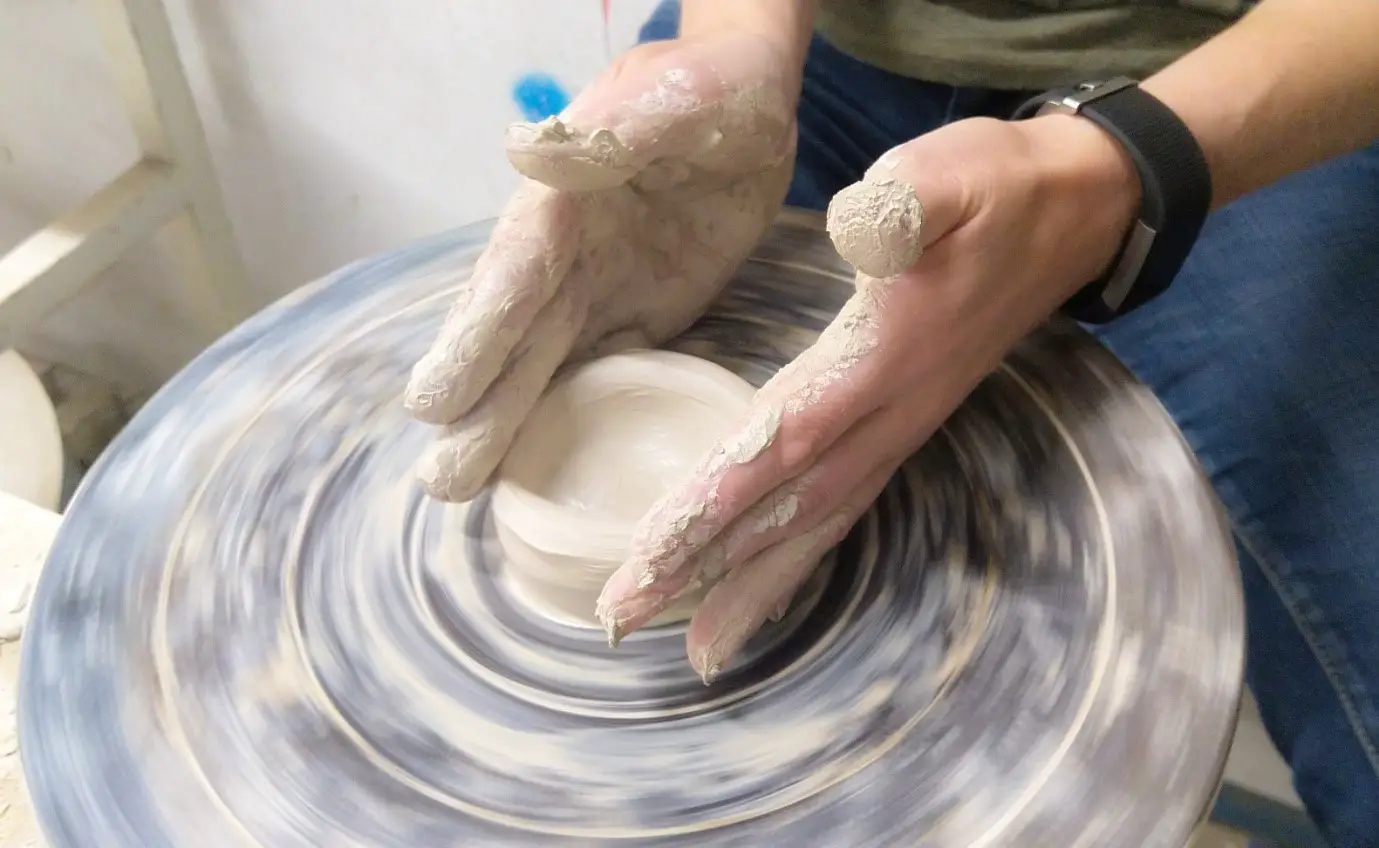
All you need to do is first take the clay and knead it until it becomes pottery ready. A soft, manageable dough is all that you are going to require. Note that, if the clay does not have perfect consistency, it is going to be pretty hard for you to manage to center the clay. Try to divide the clay dough into equal parts to make the working process easier for you.
-
Now, let’s move on to the wheel. This part requires quite a bit of a trick. If you’re comfortable with putting the clay directly onto the wheel head, then do it. But in case you’re not comfy with it, you can use a bat to place the clay. While placing with a bat, take a small amount of clay and throw it right away, such that it sticks onto the center correctly. If you’re missing it, then put some pressure to make the clay set onto the throwing surface. Be cautious about your fingers, and keep them away from doing the process.
If you’re working with a sizable amount of clay, then it should be better to smack it down first and make sure it is in the center of the wheel. After that, you can wet the clay to pat it.
-
While centering the clay on a pottery wheel, it is crucial to maintain the right speed and enough lubrication to avoid various problems while moving the pottery wheel further.
-
The best outcome from centering comes with the full-speed motion of your pottery wheel. Once it starts rotating at the maximum speed, you no longer need to apply pressure onto the clay anymore; it is going to be smoothly centered into the wheel. All you need to do is keep your hands by the side of your clay lightly.
-
It is better to start by making the clay a little bit moist without letting it dry, as it helps in preventing the clay go off-center.
-
While spinning the wheel, a question might pop up in your mind, i.e. in which direction should you rotate the pottery wheel? Those who are right-handed, need to spin the wheel anti-clockwise, and for those who are left-handed throwers, it would be best to turn the wheel clockwise.
-
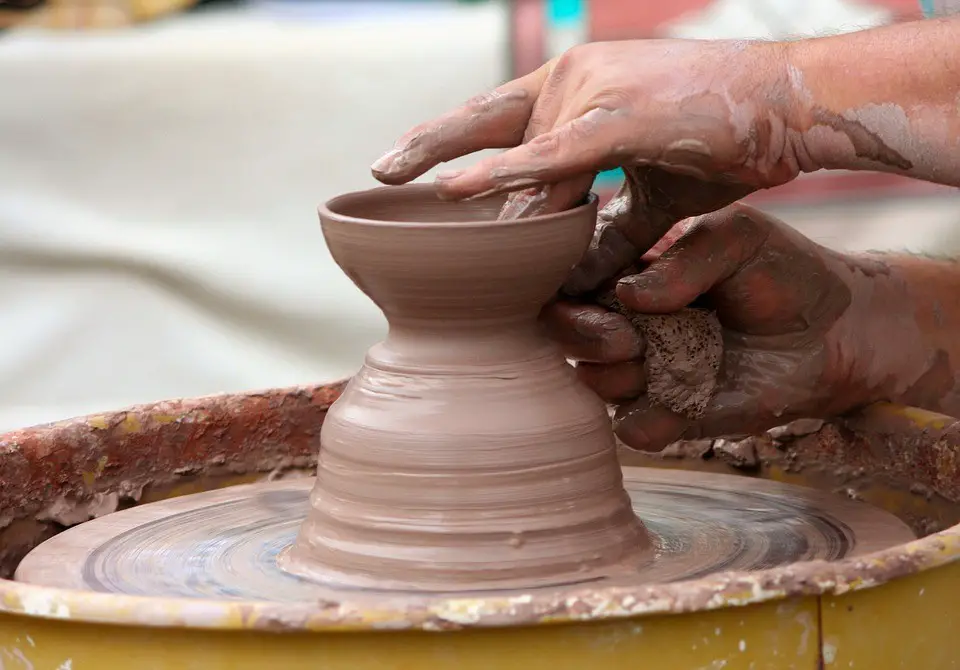
After all these, now you need to shape your clay into a pottery piece. Whichever pottery you may try to craft, you will initially have to center a dome-shaped clay for the purpose. For doing so, you need to slightly pass on your fingers to the bottom of the clay to shape it.
Different methods/styles for centering the clay
Now, as we have known the general process of centering clay on a pottery wheel, let’s discuss the varieties of styles adopted by potters to center clay on the wheel. So, here we go.
- Method 1 – Pull the Clay:
While centering the clay, your hands should be in the right position and posture to give it the right kind of pressure as required. Potters use this method while working with a little amount of clay by pulling it evenly at them. Both hands need to apply firm pressure to move the clay in the middle of the wheel while pulling it. Use your fingers to keep it lightly laid on the fast-moving clay sides and keep giving slight pressures with your thumb at the top of the clay to give it a shape of a dome.
- Method 2 – Push the Clay:
Pushing the clay is another way of centering that you can proceed with. Use your fingers and keep pushing the clay that is spinning at full speed towards the center of the wheel. You may use both your palms and thumbs while shaping the clay. At the top of the clay, apply gentle pressure with your thumb, start pushing it lightly, and keep your palm at the bottom to create the dome shape.
- Method 3 – Braced Palm:
This method is suitable if you’re working with a large amount of clay dough. Use the palm of your one hand, and fist of your other hand, and try to center the clay. Also, you need to maintain the right kind of posture while working on this method. Support your elbow by keeping it on your thigh or hip. It will keep your hands straight towards the center of the wheel from your elbow. Then, push the clay inwardly with the motion of your palms and use your fist to control the top of the dome to make it stay at the center. It is better to use some moistening cloth or sponge to keep the clay wet, as this process makes it dry. So, you must lubricate it for the sake of achieving a smooth motion.
How to wheel wedge?
The next step that comes in the process to center the clay properly is wheel wedging. Potters usually opt for wedging to maintain the smoothness of the clay and avoid its chances of being stiff with the starting of the motion. To make the process of throwing easier, wedging needs to be done accordingly.
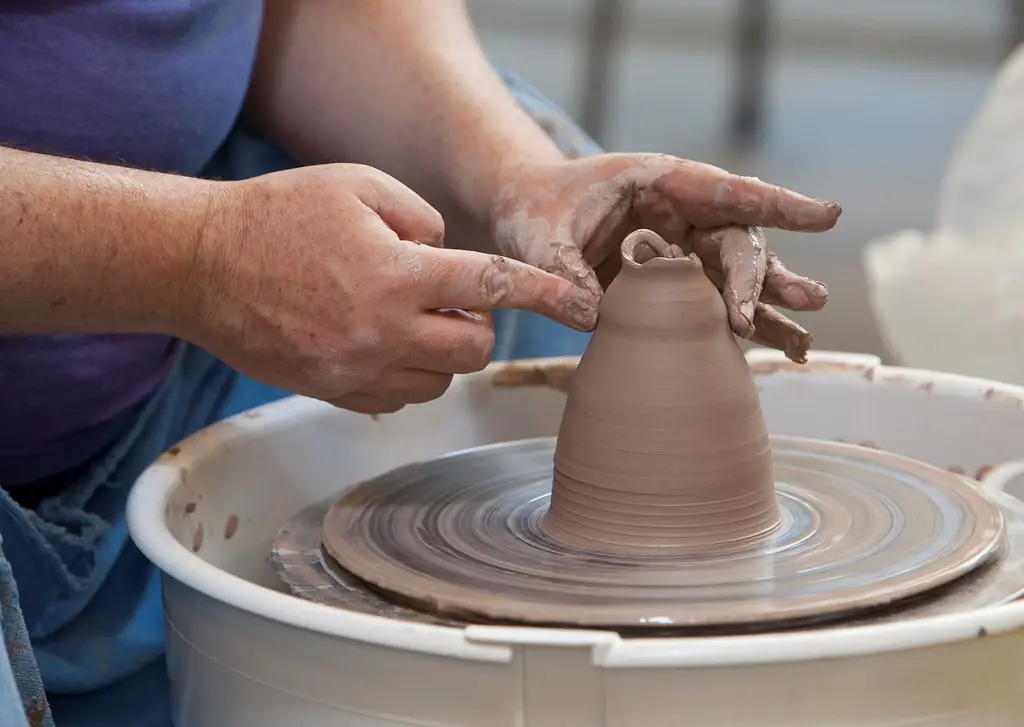
While in the process, it is essential to know how to wedge the wheel. In this technique, you must keep your clay in the shape of a dome and proceed further by pushing it towards the middle of the pottery wheel. Keep forcing the dome in an upward direction to reshape it, and finally, end up transforming it into the shape of a cone by controlling the process neatly with both of your hands. Make the cone-shaped clay quite taller and bring it down backward. Don’t lose control over it while in the process, or else it will entirely ruin the shape of the dome.
Breaking of clay or clay breaking problem:
By the time you’re going to proceed further with the job of clay centering, you might face some infamous issues like the breaking of clay. While creating and shaping the walls of your pottery, you might encounter this breakage, due to the lack of knowledge of its proper technique. This problem is not at all difficult to fix. Only there are some things that you need to follow to find a solution to this problem.
-
Always keep maintaining a firm pressure in the motion of your fingers while centering.
-
The clay must be cone-shaped without any lump on the top to avoid twisting and ruining the clay.
-
Your hands should be in a downward position while applying the pressure with your fingers.
So, learn about the significant problems, and then work on improving them. Make sure that you are learning about them and working on them effectively. If you follow all these steps, within no time, you will master the art, and you will be able to work on centering if the clay without any hassle.


