Air-dry clay is now famous for sculptors, crafters, and artisans worldwide. While its texture can feel like traditional clay, it needs firing in a kiln to be hardened. This clay helps people try various methods like coiling, sculpting, and rolling. Its special air-dry qualities make it unique. If you are someone who does not have the time and resources to get into the art of traditional ceramics, air dry clay can be a more economical but creative option for you.
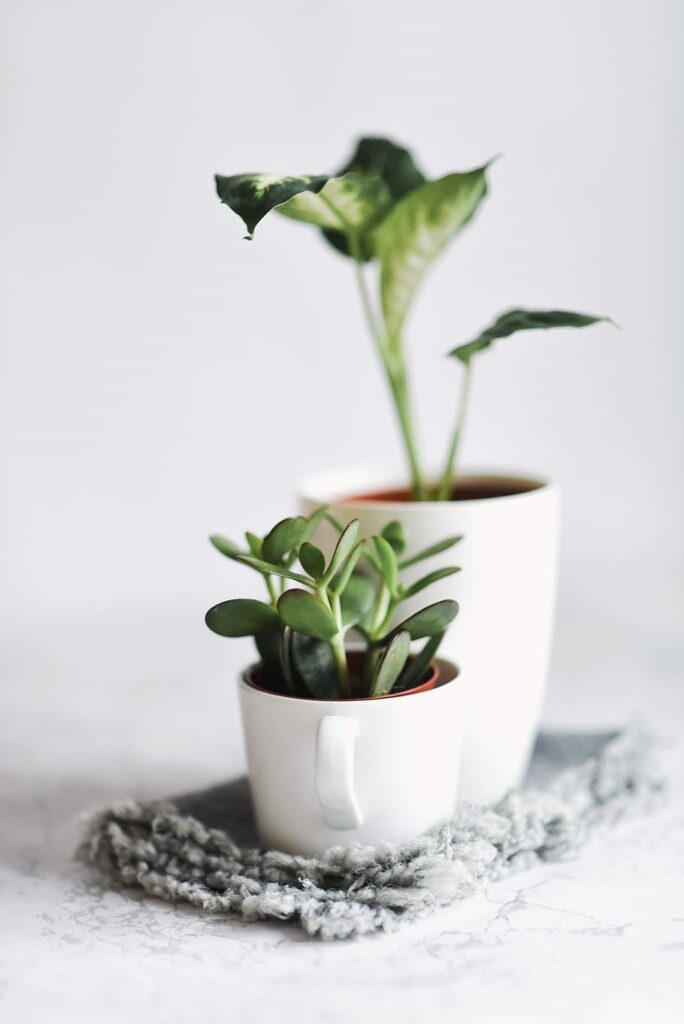
When it comes to plant pots, you need to know that while air-dry clay is not the ideal choice, it can still be functional in this aspect! If you want to make plant pots for your home or any other place with air-dry clay, this article will show you how.
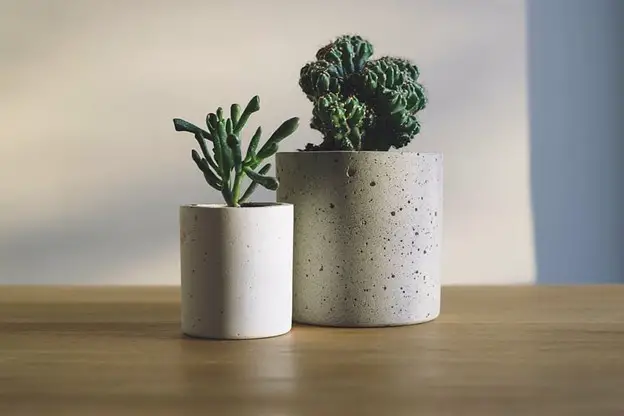
Why Use Air Dry Clay for Making Plant Pots?
Air-dry clay is like a canvas with many artistic opportunities. As mentioned, air-dry clay needs no kiln or curing, as with traditional clay. It makes this art more accessible to rookie artists and even seasoned ones. It is easy to mold air-dry clay and give it various shapes, especially those of the perfect pots you have envisioned.
Sustainability is a top concern these days. Air-dry clays are a much more eco-friendly alternative to artificial clays that are available commercially. They have naturally derived ingredients like clay, water, and safe fillers. Thus, this type of clay has a minimal environmental impact and boasts more significant potential. It is now an increasingly accessible and affordable option for artists and sculptors from various backgrounds.
While air-dry clay can seem an aesthetically appealing way to create artistic plant pots, they are also efficient. Their porous texture and proper drainage allow for healthier plant growth. Last but not least, the lightweight texture of the clay will enable you to shift plant pots around quickly.
Can You Make Air-Dry Clay Water-Proof?
An essential thing about air-dry clay that can hamper your work with plant pots is that it is not water-proof. But it should not stop you from creating beautiful plant pots for your greens. The secret with air-dry clay plant pots is to wrap the same around a durable plastic container. You must pat down a proper layer of clay around the plastic plant pot to create the required look. This way, the plastic plant pot will hold in the moisture & the clay will stay dry and pleasant, how you want it to be.
Some air-dry clay variants are primarily made from plastic & cannot be used for crafting on the potters’ wheel. The ones made from the addition of natural clay and cellulose fiber have the potential to absorb more moisture than the previous ones. Air-dry clay behaves differently from ceramic clay.
Cracking is generally prone to cracking. It is caused by the shrinkage of the clay body, which loses water when exposed to air. Other than this, cracking can result from your sculpting over the armature. Furthermore, it can even happen if you use too much water.
Here is how you can craft plant pots with Air-Dry Clay:
Ingredients:
- Get the necessary supplies for the crafting needs that include:
- Air-Dry Clay
- Talcum Powder
- Newspaper
- Modeling Tools
- Stickers/Glitter Glue
- Paints
- Sponge/Paintbrush
Method:
- Apply talcum powder to your hands and spread it thoroughly. It prevents the clay from sticking to the palm and disturbing the natural process of air-dry crafting.
- Knead the clay dough properly to make it smooth and soft
- Pick off the clay needed from the dough you just kneaded
- Roll this air-dry clay into a round shape and ensure it is smooth all around
- Start by pinching a deep hole into the clay ball and start building the sidewalls of your pot
- Maintain the right thickness throughout the wall of the plant pot
- Keep building your pot’s walls & pinch the hole further down until you achieve the desired height
- If you need any design to be added to your plant pot, this is the time you can introduce the same
- You can also create a stand-like structure below the plant pot to ensure that it stays in place
- Wait for the piece to dry out completely
- Once the plant pot is completely dry, color it using acrylic paint.
Tips to Follow When Crafting Plant Pots with Air-Dry Clay
- Continue to smoothen the pot’s surface until you get the desired thickness.
- The air-dry clay is prone to drying too fast when kept out in the open air. Maintain its softness by kneading it at regular intervals.
- Use newspaper, scrap paper, or waste paper to cover the counter area you are working on. For the clay to dry on the table or the counter means having great difficulty removing it later.
- Apply talcum powder generously to prevent the clay from sticking to the working surface, your hands, or your clothes.
- Air-dry clay may badly affect people with varied allergies. Try working with a small amount of clay first to see if it is safe.
To ensure additional protection from moisture, you need to use a sealant for the same. Your best option to avoid the yellowing or moisture absorption with air-dry clay plant pots is to use a water-based varnish or artist-grade sealant.
You can also make use of the watered-down Mod Podge or PVA glue. You can use the Mod Podge CS11302 with a matte finish to seal off your artwork. Artists can also make use of Varethane or Polyurethane varnish for moisture sealing.
Here is a quick table that establishes the problems with air-dry clay and ways to solve them:
| Air-Dry Clay Problems | Solutions to Try |
| Cracking Post Drying | 1-Use slip to seal joints 2-Use an armature for better bonding 3-Do not use a lot of water |
| Water-Absorption Post Drying | Use a sealant like PVA glue or Mod Podge |
| Major Shrinkage | Create a model larger than needed |
| Fast-Drying | Slow drying suits your plant pot; wrap a plastic bag on top to help. |
What paint can you use for your air-dry clay plant pots?
When painting over the plant pots made of air-dry clay, you can opt for tempera paints or acrylic paint. These are the best options for air-dry clay. However, you can also color your plant pot with poster paints or nail polish.
How do you join parts in air-dry clay plant pots?
If your air-dried clay plant pot is not a single mold but a combination of many, the joints could break after drying. It would be best to use an armature to keep the pieces together to ensure a stable joint.
Apart from this, you can also use a slip to avoid cracking in the joints after drying. A slip can be prepared by leaving a small piece of clay in double the water. Once the clay achieves a slime-like, watery consistency, the key is to apply it to the joints to seal them together.
Conclusion
The tricks mentioned above and aspects are essential to help you create incredible DIY plant pots using the very versatile air-dry clay. You may want to put out a small plant or a huger vase to set as a decorative piece. The widely loved air-dry clay can make every artistic process easier. So, create compelling pieces to your heart’s content before this clay dries up!


