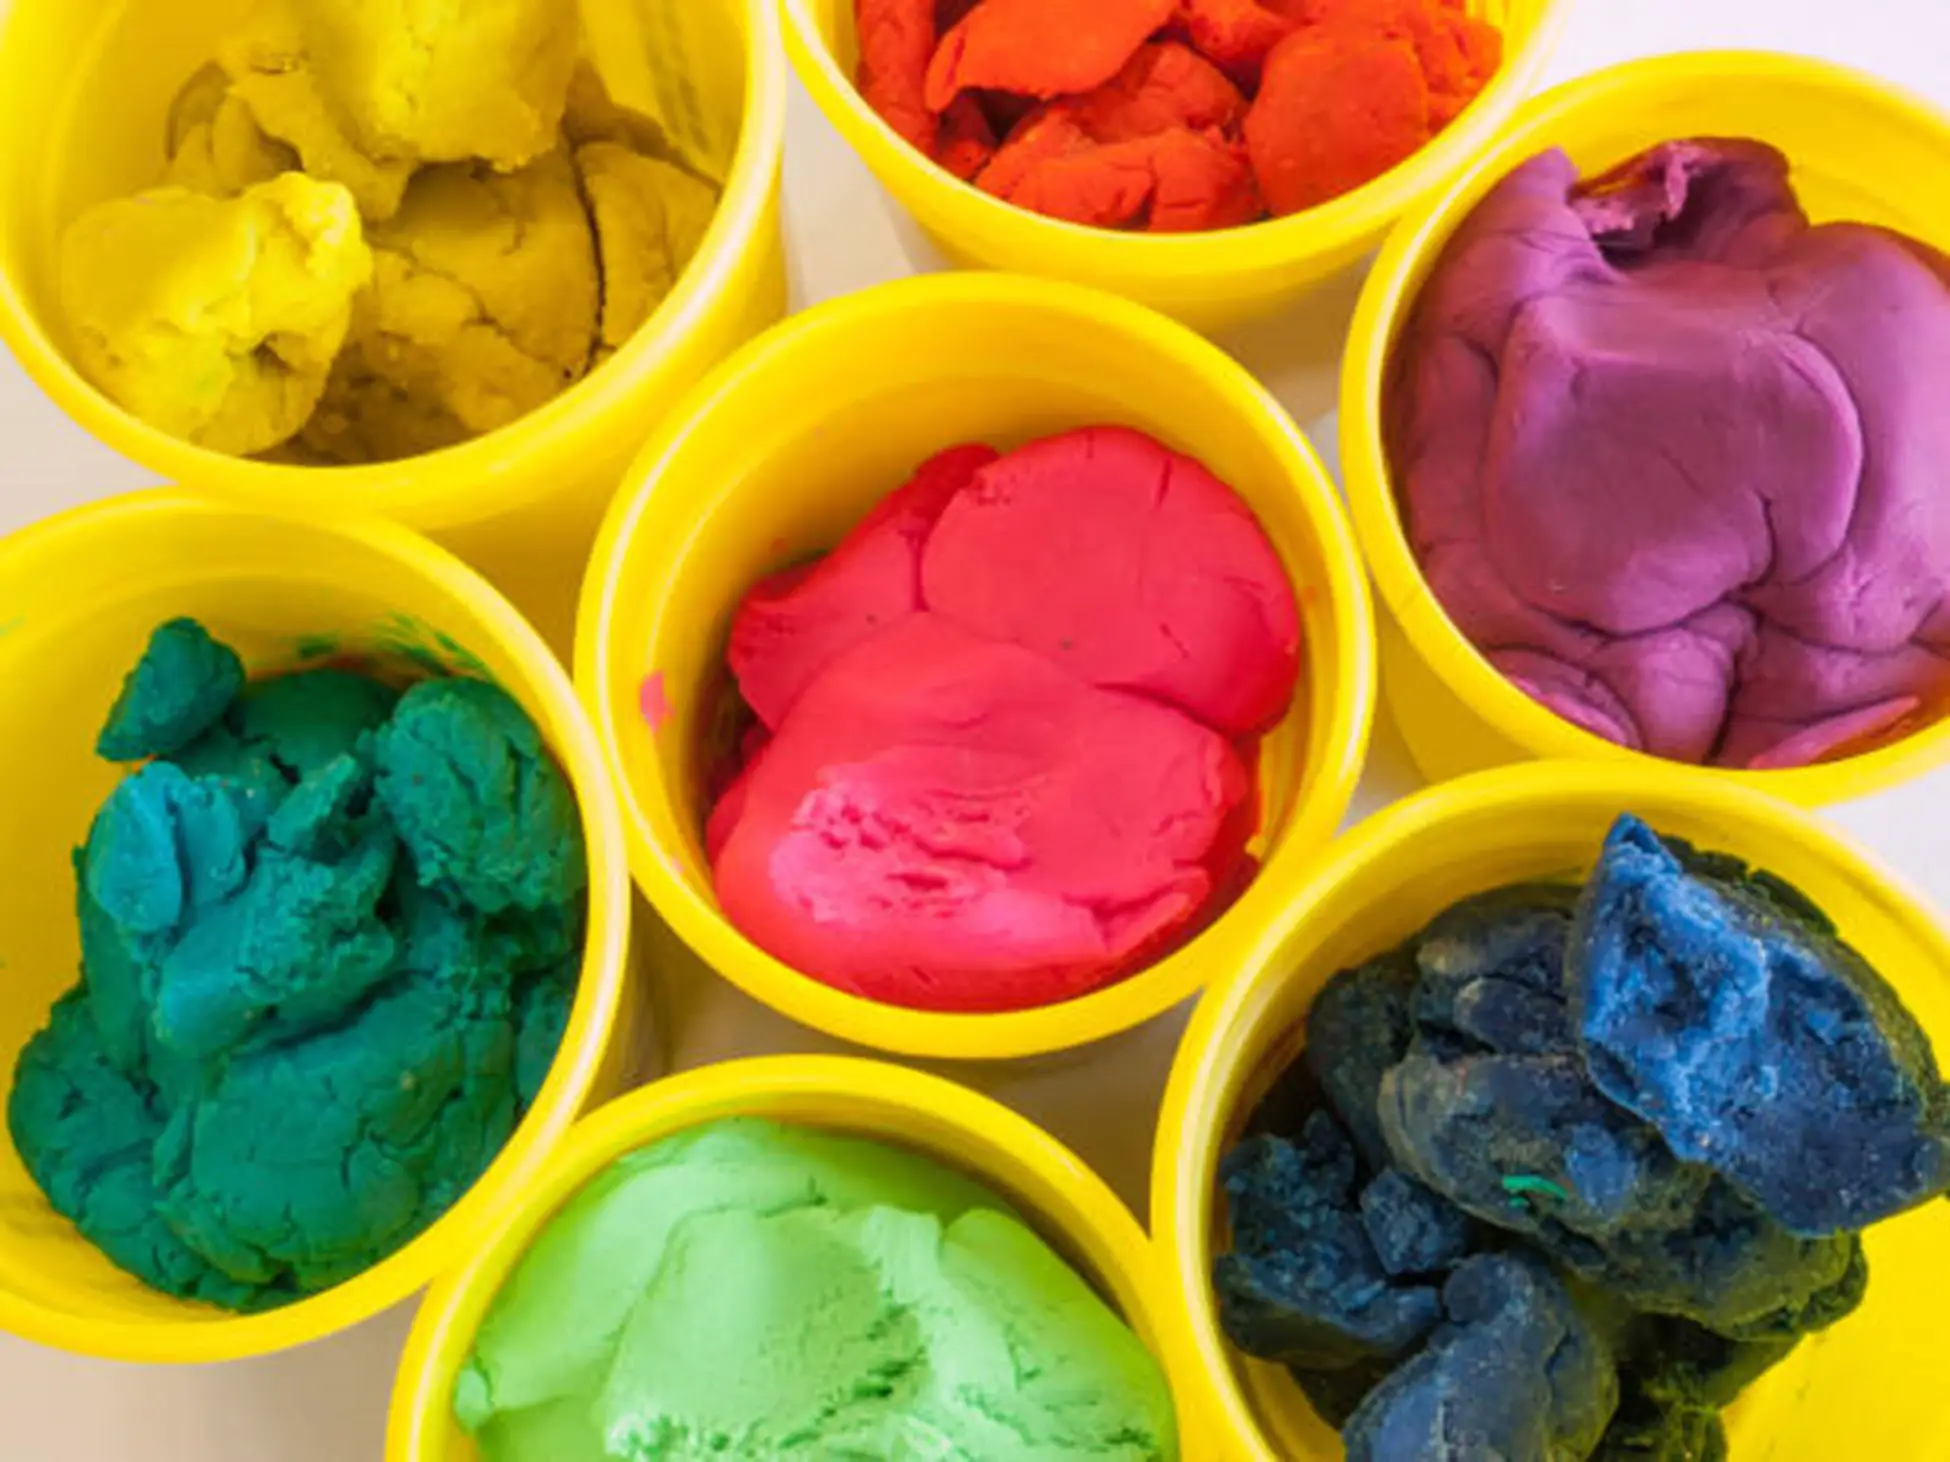
When it comes to pottery, the most common clays get hardened by baking in an electric oven. However, certain other clay types do not harden through heat dissipation. To harden these clay types, you need to follow a set of alternative procedures. It benefits those who prefer to avoid using fire hazards like kilns or microwaving their pottery crafts. Additionally, each clay type has different properties on how it hardens, offering more options.
Polymer is one of the most widely used clays to craft different art pieces, and you can harden it by heating it and inserting it in the oven. However, oil-based clay, like plasticine, requires refrigeration to harden. Hence, you must know the different clay types and choose the hardening method.
Thus, this article will discuss a stepwise procedure for hardening non-hardening pottery clay.
How Can You Stiffen Non-Hardening Pottery Clay With An Oven?
The following are some steps related to hardening clay using a simple oven.
1. Check The Details On The Clay’s Label
Before inserting the clay in the electric oven, the first step is to follow the directions on the clay packet carefully. Usually, different types and colors of clay have varied baking temperatures, so you must check them properly. These parameters depend on the materials and processing methods used by specific brands. Hence, the manufacturers know best.
2. Preheat Your Oven To The Correct Temperature
Now the oven must be preheated as per certain specifications. It should be between 220 degrees Fahrenheit and 350 degrees Fahrenheit. However, refer to the clay package label if you have doubts.
3. Wrap The Clay In Parchment Paper
Instead of directly putting your art piece into the metal pan, it is essential to cover it in parchment paper. It is crucial as otherwise, it might stick to your pan. You can use the Unbleached Baking Parchment Paper sheets for this purpose, as they are completely non-toxic and can withstand a good amount of heat.
4. Place The Clay Piece In The Centre Of A Cooking Tray
To ensure that the heat gets spread uniformly throughout the clay body, place it in the middle of the tray. Then, place the tray with the clay body right at the center of the oven.
5. Let Your Clay Cool Before Touching It
To ensure that your artwork does not crack, you must only touch them once it is completely cool. You can also wrap them in a towel for 20 minutes. Voila! Your clay is hard now. Now you can start decorating it with other additional items.
How Can You Stiffen Non-Hardening Pottery Clay Apart From Using An Oven?
Certain types of non-hardening clay cannot harden by heat. In such cases, you have to use some other method.
The following are some alternative hardening methods and their specific instructions. So, let’s have a look.
How Can You Harden Plastilina Or Plasticine Clay By Refrigerating It?
One of the clays that also cannot be hardened by fire and even not by the above methods is Plastilina clay. So, there is a separate process. You must follow it thoroughly for the best clay crafts.
The most effective method to harden plasticine clay, also known as Plasticine or Plasticium, is refrigeration. So, let us check the steps in detail.
1. Insert The Clay In The Refrigerator At Right Temperature
The first step is to insert Plastilina clay into the refrigerator maintained at the optimum temperature. As this clay type becomes soft when kept under heat and warmth, store it for some time in cold temperatures.
However, do not think inserting the modeling clay in the freezer will make it tough faster. When you put the clay to a frigid temperature, it can significantly damage the surface.
Moreover, inserting this clay into the freezer will make it too strong and hard for anyone to mold. So, even though it hardens, it is useless. If you freeze it incorrectly, the clay softens again after a few hours at room temperature.
2. Wait For Some Time
After putting the clay in the refrigerator, wait for a minimum of 30 minutes and a maximum of 40 minutes. The amount of time depends on the intensity of hardness you want the clay to have. If there are 2 lbs of clay, you should set it for thirty to forty minutes.
If you have already sculpted the clay, you can check whether the clay hardened every 5 minutes.
3. Quickly Use And Work On The Clay
So, after the clay gets hardened enough, work on it quickly, as in other cases, it can soften at room temperature again.
Top 5 Effective Tips to Harden and Solidify Non-Hardening Pottery Clay
Here are some common tips for stiffening non-hardening pottery clay.
1. Before you harden the clay, you must keep the workspace tidy. Try to create specific and designated areas to dry out the models and build them in those places to avoid accidentally ruining them.
2. You might get an ample amount of clay stuck all over your hands. You can wrap every model separately so they do not touch each other.
3. Then put all the finished products above the sheets of paper. It is better than keeping them where you were working.
4. It is essential to add some cornstarch above the non-hardening clay before applying any paint to its surface. It is because otherwise, it might lead to bleeding. Cornstarch is the perfect solution you can apply as it can absorb moisture, thereby maintaining flexibility.
5. After hardening and completing your pottery, keep it away from direct sunlight, as it can fade with time.
Summing Up
To adopt the best process of hardening non-hardening pottery clay, you must discriminate the clay type you use, as different types require different methods and time to harden. Therefore, read the above instructions carefully and harden your clay accordingly.


