Are you searching for a kiln to bake your clay sculpture? Kilns can be pretty expensive, especially if you are just starting out as an artist. So, how would you bake your clay sculpture? Well, the answer to this depends on the type of clay you are using for your artwork. If you are using traditional clay, it cannot be fired in the oven, rather dried. Traditional clay such as earthenware requires to be fired at very high temperatures to ensure permanency. On the other hand, air-dry clay hardens on its own when left out in the air for a minimum of 48 hours or more, depending on the thickness of the project.
So, in short, they can only be dried in the oven to ensure they don’t have any moisture left within. But could you actually bake clay in the oven to make it permanent? Well, yes! You can surely bake polymer clay in the oven. But, with other clay variants like earthenware, you simply dry it out and get it ready for firing. So, how would you do that? Is there a possibly safe way to complete the baking process?
Baking Clay: Doing it the Right Way
Polymer clay is a multi-functional product that can be used to build anything from charms to beads going all the way to mugs and sculptures. Regardless of the items, you plan on crafting; there sure is a safe way to do the baking with no need for a kiln. Simply pop in the project inside an oven, and by the time you are done with it, you will have a creation that is completely cured.
Now, there are two ways you can bake your clay in the oven that includes:
- Use of your conventional oven
- Baking the clay inside a regular toaster oven
Baking with your conventional oven
Now, the manner in which your bake your clay would vary depending on the brand you have selected. Also, the temperature at which you would bake the clay would be different depending on what has been added to the polymer clay during the manufacturing process.
While some clay brands can be baked at 275oF, others would go higher than 300oF. Now, there are several precautionary measures that you need to keep in mind when baking the polymer clay in the oven.
- Make sure you keep the windows open before, after, and even during the baking process. Doing this ensures that the fumes emitted by the clay can easily escape the kitchen. This is especially important while you bake polymer clay. Some variants of polymer clay might emit toxic fumes, which, when inhaled, could cause allergies and other breathing issues.
- Always use a glove when taking the clay piece out of the oven. Although it is suggested that you don’t remove the clay immediately from the oven, it could be safer if you do it with your gloves on. Taking the clay out when it is all heated up might induce cracking or chipping due to the sudden temperature change.
When baking clay in the oven, the right way to go about it is to use aluminum pans for the process. Visit your local grocery store and pick up some rectangular pans to be used as a tray. They must be deep to ensure that the clay project easily fits inside it. You can use another tray as a lid on top. This helps in even heat dissipation and faster baking in the oven.
Place the pans in a flat space & center a ceramic tile piece at its bottom. Now, place parchment paper atop this tile. So, why do you exactly need all these items? The small ceramic tile you just place will help stabilize the overall temperature inside these pans & the paper helps protect the clay piece from the glazing done on the ceramic tile.
Further, covering your project with the help of an aluminum lid helps protect from the conventional heat while avoiding any type of scorching & containing the resulting fumes. Set the project atop this parchment paper & cover it before you place it inside the oven. Further, you need to ensure that the pans stay closed together with the help of binder clips placed on the opposite sides. In case you don’t find an aluminum pan that is large enough, you can replace it with any roasting pan in your kitchen and cover it with the help of aluminum foil to replicate the action.
Once you are done with the setup process, you need to place the pan inside your conventional oven. While you do so, make sure you center it the right way. It should be equidistant from your oven’s walls & any heating element present within. Now, the time for which the clay needs to be baked would vary depending on its thickness and size.
This process is applicable for most clay variants, but with polymer, the clay would attain permanency, while others won’t. The general rule of thumb is to go for a 45 minutes firing duration for every ¼ inch of clay thickness. So, for example, if your project is 1.75 inches in thickness, you can bake it for 3.5 hours, going as long as 5.25 hours.
Keep in mind that polymer clay doesn’t burn when it is baked at oven temperatures (which is fairly low as compared to the kiln). So, you might not have to worry if you happen to leave the clay inside the oven for a bit too long.
Ideally, let the clay cool down inside the oven and remove it only after it has been an hour or two after the baking has been completed. When you are removing the pan, make sure you use oven mitts to prevent any accidental burns. If possible, transfer the project to a surface that is heat-safe. It will take the clay at least 30 to 60 minutes to cool down completely.
How to identify the clay is done?
Unfortunately, the one and only possible way to confirm if your clay has attained permanency is to break the same. If the clay crumbles, it suggests that the project is underdone. However, if it starts to flex before breaking down, it suggests that it is cured completely.
- You might test out some smaller projects to understand the right temperature, time, and thickness that get the best results.
- In case your creation isn’t baked properly, you can place it again inside the oven while following the same method.
- To test out a single batch without the need to break each one of them to check its permanency, you can place a tester piece with each batch. Then, when you think the project is done baking, remove it from the oven and break the tester piece to understand if your lot needs to go back into the oven or is done.
Signs to Check For |
Reason |
| Darkened Clay | It happens when baked for longer than needed |
| Bubbling and Fumes | It happens when the temperature goes too high |
| Crumbles When Broken | It is not cured to the right temperature |
| Bends When Held Tightly | It needs to be fired for longer |
Always Use the Right Clay
As mentioned earlier, the baking process depends on the clay you use. Traditional clay can be dried out in the oven but not fired. The same is applicable for air-dry clay as well. So, if you have plans to craft a piece for your next project that requires permanency, make sure you opt for polymer clay. It bakes best in the oven and is cured very fast.
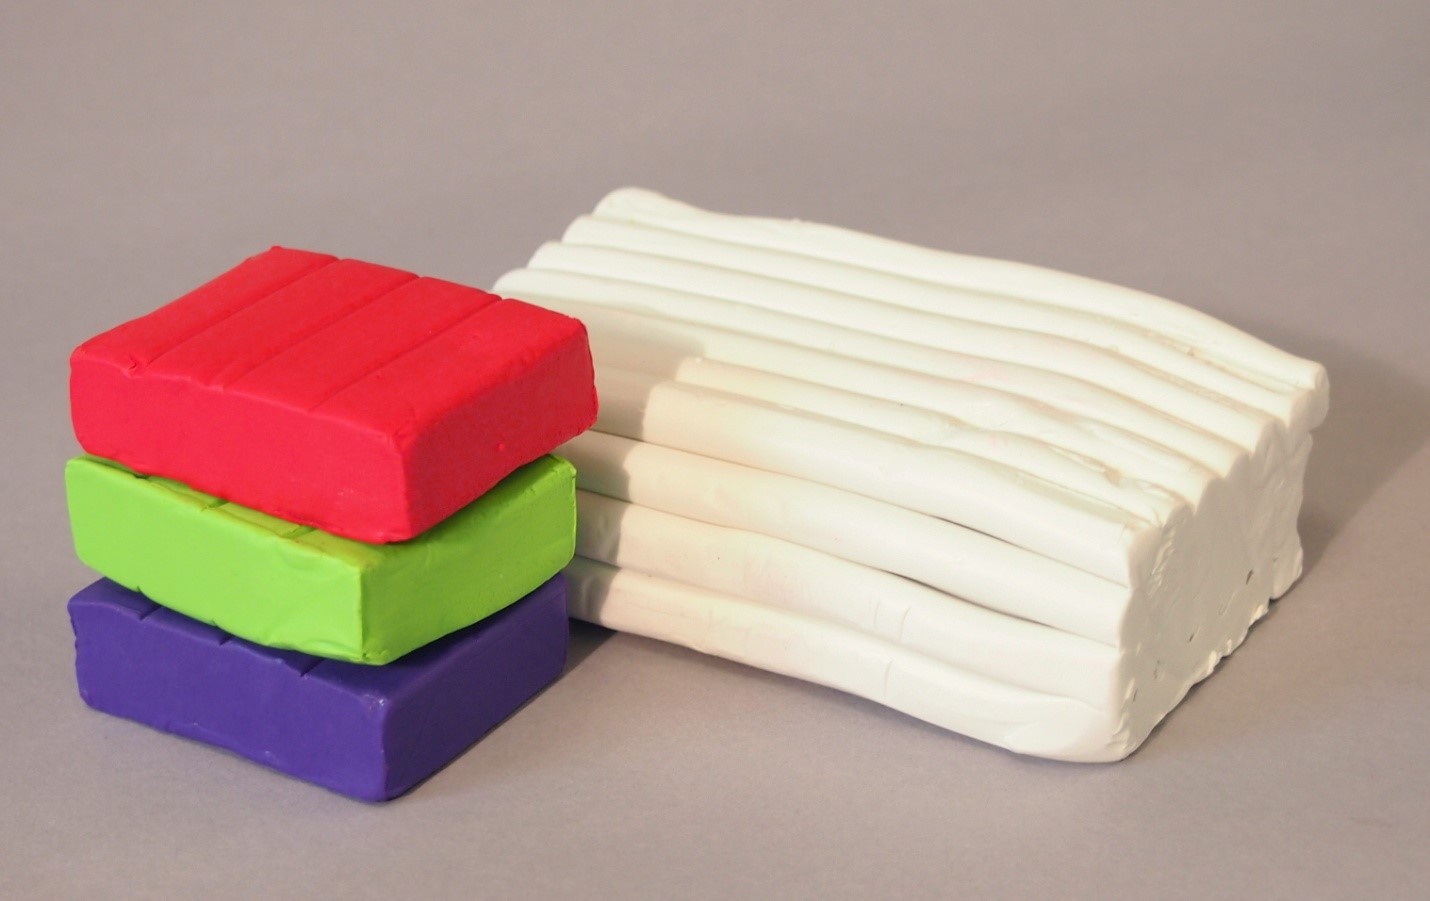
One such amazing clay you can try is the CiaraQ Polymer Clay. This set of 24 colors comes in small blocks that are great for beginner crafters and doesn’t contain any toxins. Best of all, when baked in the oven, the clay won’t emit any type of toxic fumes. Each piece is wrapped up well in a durable plastic pouch that can be resealed after use. Before you get started and place your order, make sure you check out our complete review on this 24-colors polymer clay kit.
Baking the Clay in your Toaster Oven
The rules change a bit when you bake your clay in the toaster oven. So, the first thing you need to do in this case is to preheat your oven and take it up to the right temperature. You can find it in the instructions on the packaging. Remember, different clay brands tend to fuse at varying temperatures. So, ensure that you go through the instructions bit by bit and determine the right temperature.
In case you have with yourself a mixture of different types of clay, you can preheat the toaster oven in the range of 250oF and 265oF. Also, make sure you keep the area well-ventilated to let the fumes escape.
- Your clay doesn’t have to be formulated specifically for toaster oven baking. Instead, simply follow the directions mentioned for conventional oven use, and the results would be similar.
- You can use an oven thermometer in order to measure the temperature as the toaster oven is prone to dips and spikes in temperature.
- Given that toaster ovens are small in size, this method serves best for baking charms, beads, ornaments, and other small sculptures.
Start by placing the ceramic tile on the baking tray and cover it with the help of parchment paper. The tile helps with the even distribution of heat, and the parchment paper helps keep off the glaze from melting onto the clay project.
Now, carefully arrange your clay pieces with proper space between one another and create a tent-like shape with another parchment paper. Lay this paper on top of the project. This folded paper helps prevent the oven heat from burning down the clay. Also, ensure that the paper doesn’t come in contact with the toaster’s heating elements present inside. Follow the same protocol for heating temperature as mentioned for the conventional oven baking process. However, the duration for baking here is a bit different. In general, you need to bake your piece for a minimum of 30 to 45 minutes for each ¼ inch of thickness.
For example, if your clay piece registers a thickness of 2.5 inches, you need to bake it for a minimum of 5 hours to 7.5 hours. However, if your project is covered with the help of parchment paper, it won’t burn in case you leave it inside a tad longer.
When removing the piece, make sure you practice safety by using oven mitts. Remember, when using a mixture of clay variants, it is ideal for baking it at the lowest temperature recommended in the packaging. Refrain from using a microwave oven for the purpose of baking as it doesn’t cure the right way.
Polymer clay can emit a semi-toxic fume when baked at very high temperatures. So, remember, it would be difficult to fire it in a kiln. So, the safest way to achieve permanency with polymer clay is to bake it in an oven. Never let your polymer clay burn, and if you see fumes coming off your oven, it’s your cue to stop baking and remove the piece right away.
Never bake your clay in the very same oven that you use for baking your food. This is due to the fact that the fumes released during the clay baking process can make remain in the oven and make your food unsafe for consumption. An additional tip to keep in mind is the fact that your location could also impact the curing process. For example, if you live in a place that is 3500 feet or above the sea-level, you might have to bake your clay at a higher temperature and longer. The key is to add 5 more degrees to the baking temperature with 10 additional minutes.
Conclusion
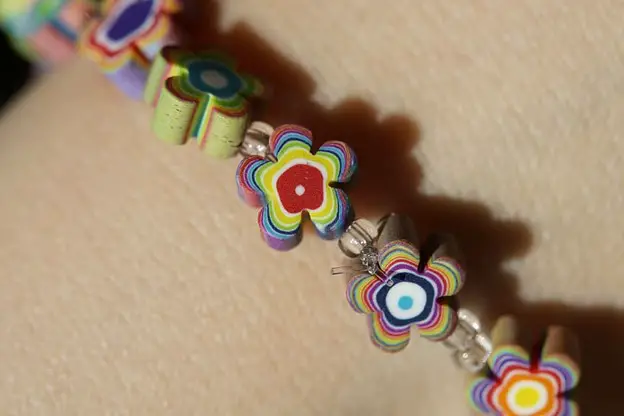
When cured the right way, your clay can emit the beauty of a perfect masterpiece. Simply press your fingernail into the project slightly and check whether it sinks. If it does, the piece hasn’t cured completely and needs to go back into the oven. On the other hand, fully cured clay will not cave in and won’t break with a crumbly texture. So, start baking some amazing earrings, bracelets, miniatures, and more.


