Original Sculpey Polymer Clay is one of the softest and easy-to-work-with clays that are great for beginners. It is the highest quality oven-baked clay. It stays flexible until it is baked and does not air dry. Thus, it gives you more time to sculpt and change your designs while stress-free.

It can be sanded, drilled, and carved with water-based acrylic paints to make it an attractive pottery piece. You can store the extra clay for a long time by keeping it in an appropriate container. You can also reuse it. Besides, the clay is safe and non-toxic. Thus, children can also use it to explore their creativity.
Features Of Original Sculpey Polymer Clay
The following are the significant features of the Original Sculpey Polymer Clay.
Soft Until Baked
It stays soft until it is completely baked, and there is no requirement for a kiln to fire them. Thus, you can take your time to craft the clay and bake it hazard-free.
Ideal For All Age Groups
The Original Sculpey Polymer Clay is ideal for adults and kids, who can explore it with all their creativity without spending too much money. Its non-toxic nature allows for safe usage for all ages.
Easy To Shape
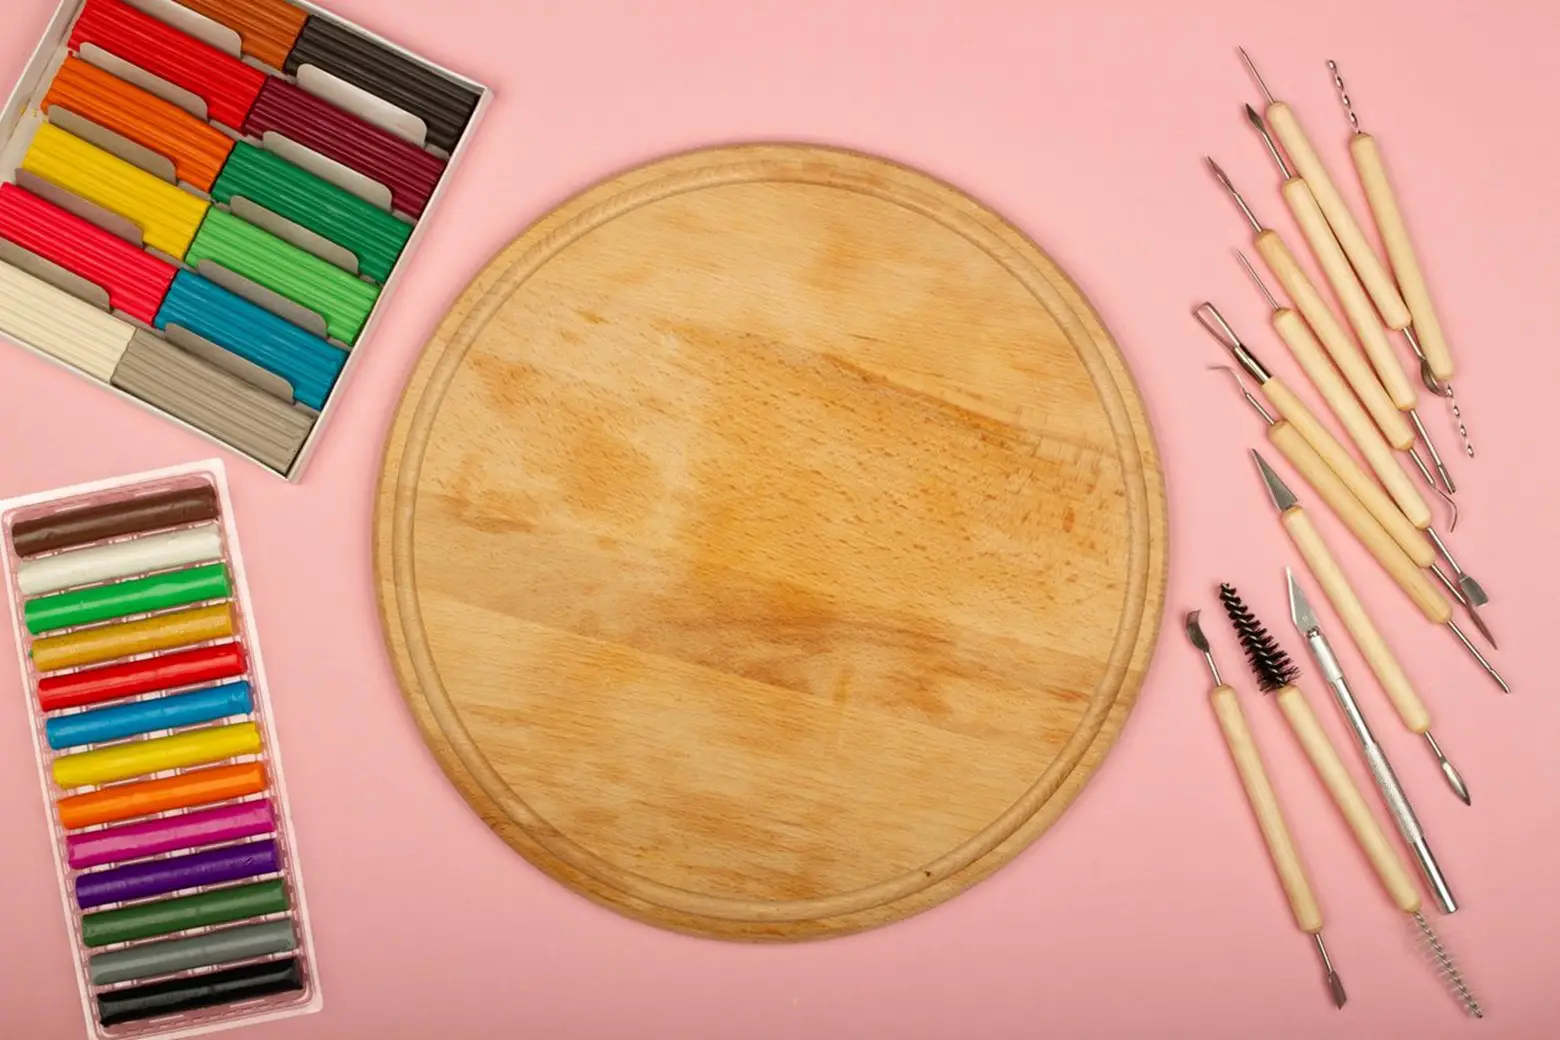
It is easy to work with. Additionally, you can use your hands or try working with a variety of tools as well as armatures to build your complete art piece.
Compliant With Safety Standards
This clay is suitable for all ages and conforms to the ASTM D-4236 and EN 71 AP to maintain safety standards.
Choice Of 3 Colors
It comes in 3 colors, i.e., white, terracotta, and granite. Thus, you can explore your creativity with clay. You can also modify the clay by painting it and baking it in the oven.
Product Specifications
Now that you know the features of the Original Sculpey Polymer Clay, check out the following key specifications of the product.
Product Dimensions |
5.02 x 1.37 x 5.99 inches |
Product Weight |
1.75 pounds |
Brand Name |
Original Sculpey |
Age Range |
Adults, Kids |
Toxicity |
Non-toxic |
Safety Standards |
ASTM D-4236 and EN 71 AP |
Things To Keep In Mind Before Baking Original Sculpey Polymer Clay
The following are some things to remember before baking Original Sculpey Polymer Clay.
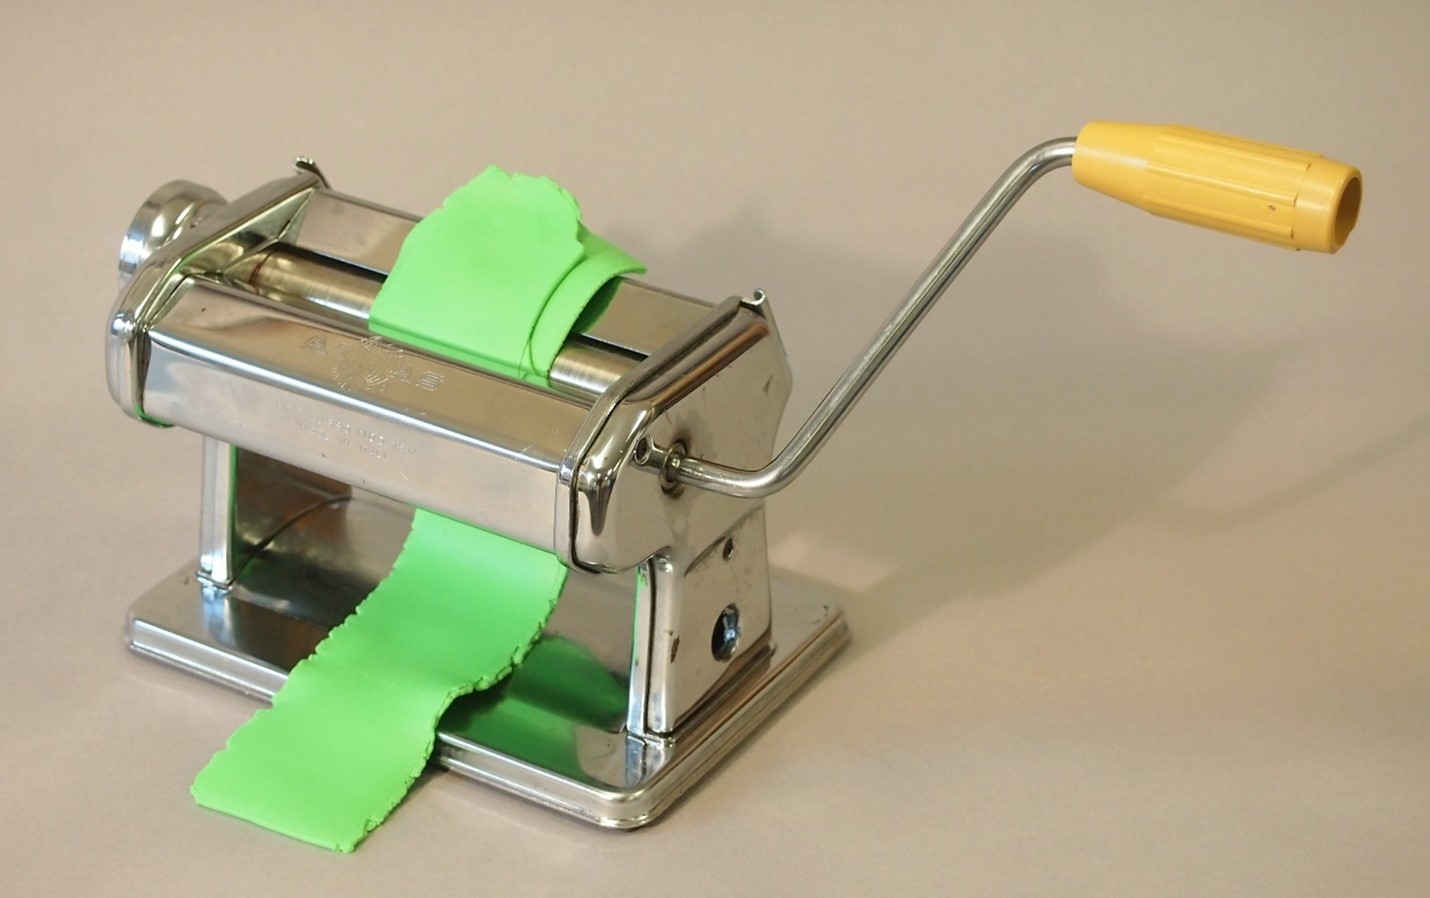
Condition The Clay
It is best if you condition the clay. If you do not employ the conditioning process, it can result in cracks and imperfections. Since it is a polymer clay, you can see either condition it by hand or through a pasta machine.
Ensure Consistent Clay Thickness
It is best to establish a consistent clay thickness. Adding a supporting structure or an aluminum foil core can reduce the density of the Original Sculpey Polymer Clay for specific projects. The art piece looks more even when you maintain a uniform clay thickness.
Test The Temperature Of The Oven
Most ovens need to be appropriately calibrated and are usually hotter than what is shown as the temperature. So, before you place the art piece in it, make sure that you check it by testing the oven temperature first.
How To Bake Original Sculpey Polymer Clay?
To bake the Original Sculpey Polymer Clay, follow the steps below.
Step 1: Preheat The Oven
Firstly, preheat the oven to around 275 degrees Fahrenheit or 130 degrees Celsius. You can also use a thermometer to confirm the temperature.
Step 2: Place The Clay On An Oven-Safe Surface
After you have preheated the oven, transfer your art piece to an oven-safe baking surface. It can be glass, silicon oven-safe mat, ceramic tile, etc. You can also place parchment paper between the project and the baking surface. It helps because paper does not catch fire at this temperature.
Step 3: Bake The Clay
Try to first slide the pottery piece on the oven-safe baking surface into the rack in the oven. Then, bake at the desired temperature for at least 15 minutes for 6mm thickness and adjust the temperature based on your art piece.
Step 4: Test The Results
Now, let the clay cool down. You can press the tip of your finger into the bottom of the clay to check if it is dry. However, ensure that your fingernail is only on the surface and not inside the clay.
Conclusion
Are you starting with pottery and wondering which clay to opt for? Well, the Original Sculpey Polymer Clay is ideal for modeling and sculpting purposes for beginners. From molding to baking, you can easily do them on this clay.
So, get the Original Sculpey Polymer Clay today to ease your pottery-making journey!


