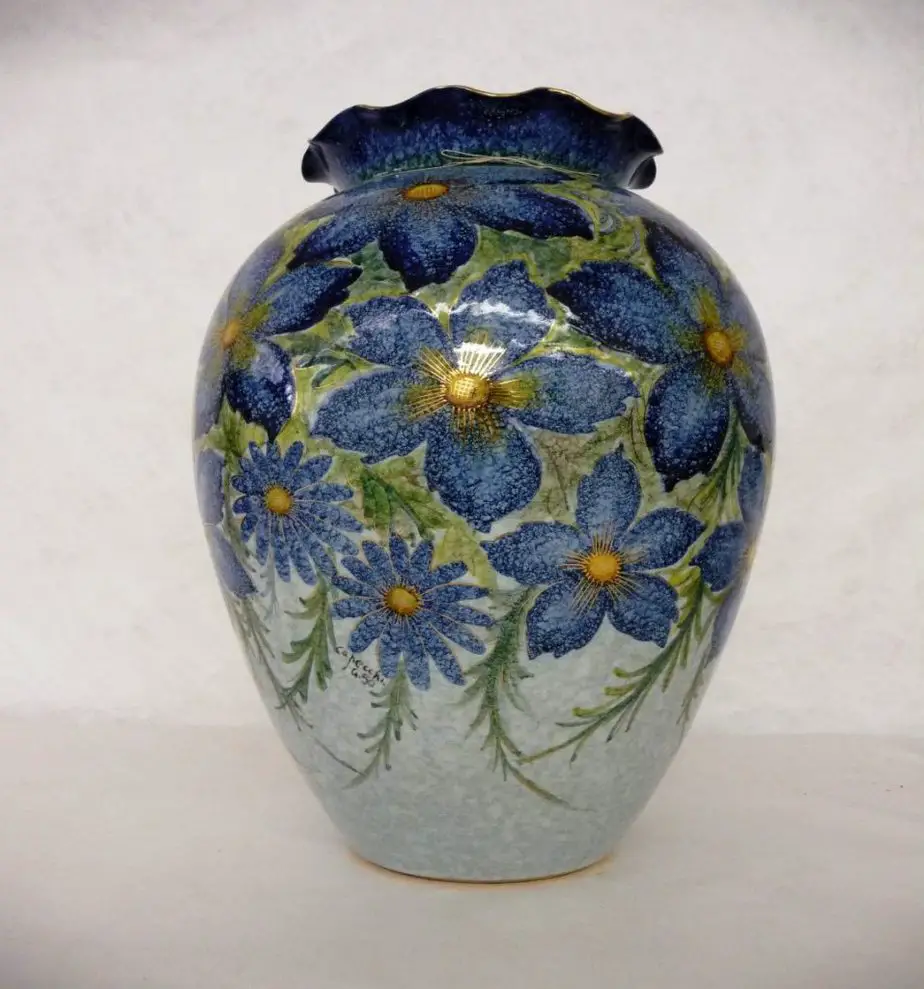
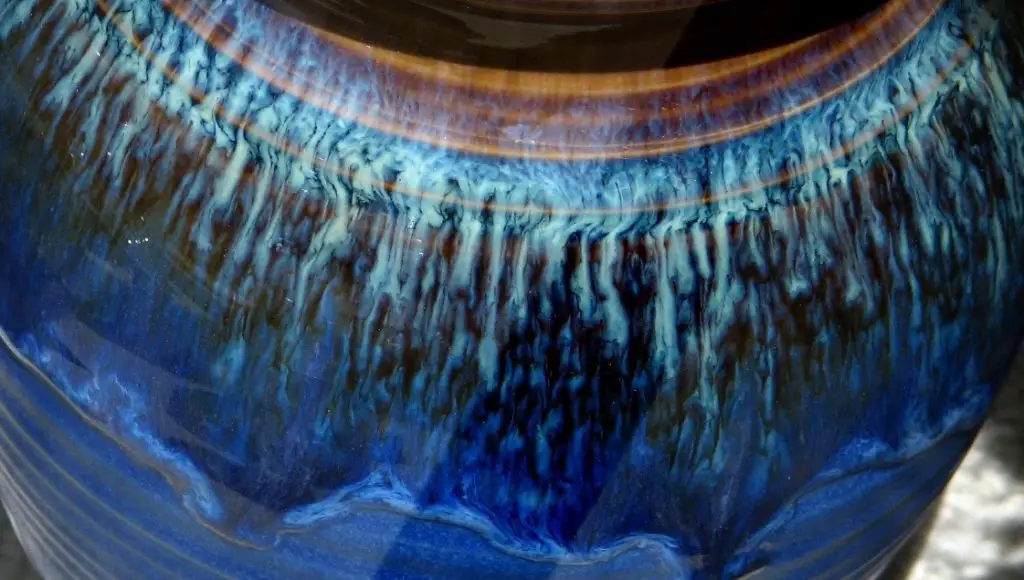
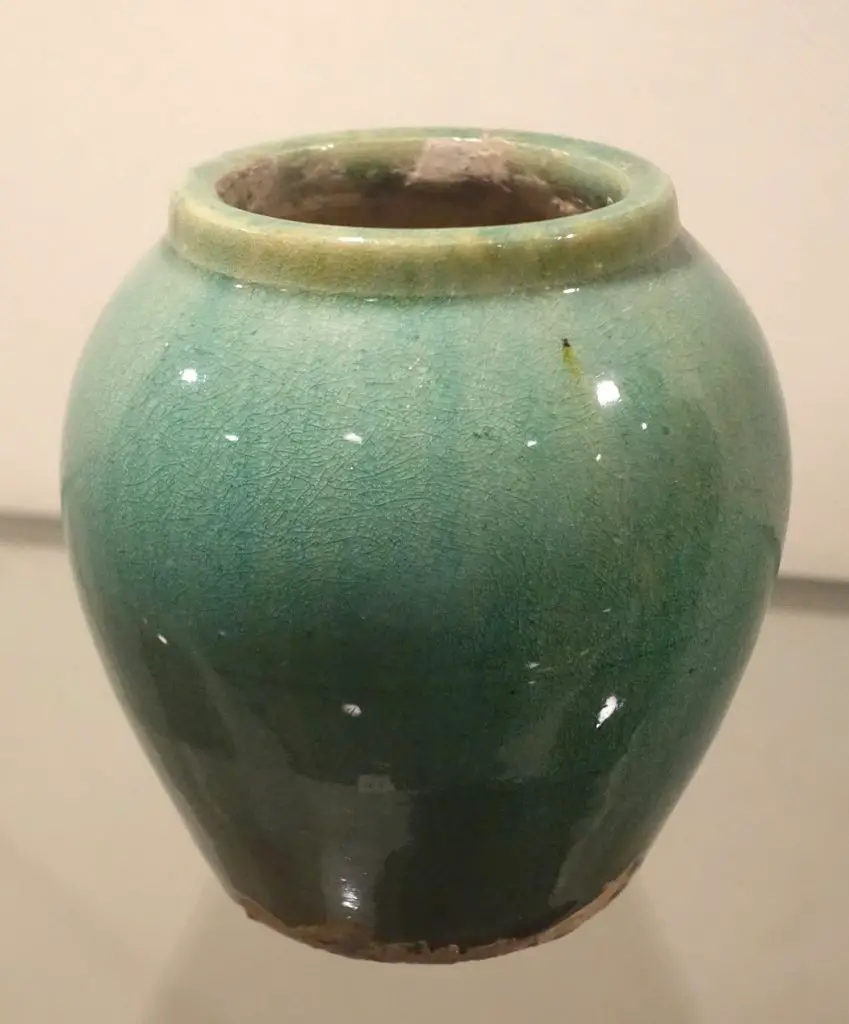
It takes a lot of hard work, tricks, and techniques to create an aesthetic piece of pottery art. Not only shaping and hardening, a pottery work includes all those processes that are used to add color, effects, and glaze to it. Adding on these things gives your pottery item a high-quality finish along with beautiful results. However, adding a glaze to ceramic potteries using frit is one of the oldest and most popular techniques of glazing potteries that come up with an excellent result.

Glazing potteries with frits takes an interesting process to get accomplished. But before knowing about the process, let’s understand first what frit is.
What is Frit?
Frit is used as one of the main components of ceramic artworks over the years. It not only functions as a glazing component but also acts as a binder in many compositions of glass face potteries.
Pottery makers use frits not only in one way but in various forms of application, such as binding and glazing. While creating a perfect glaze, frits are applied with the addition of other components like water, salts, pigments, and other necessary materials to get the perfect effects.
Frit is a ceramic glass, which is made out of pre-mixed powdered materials. Thereafter, it is melted, and water is added to it to cool down the liquefied mixture. Manufacturers produce various types of frits based on the different uses and applications of frits. Depending on the color and components, there are two different types of primitive frits:

- Blue Frits: Egyptian blue or blue frit is one of the ancient frits whose main components include quartz, copper compound, lime, and alkali flux. They all are heated up together at a temperature of around 850-1000°C. The emergence of blue frit as a crafting component was seen first during the ancient times of 2600 BC in Egypt.
It became more popular in 2900 BC, with the unveiling of a tomb painting at Saqqara, where it was used as a pigment. It was also popularly used in constructing tombs during the Early Dynasty III period, as well as in the late middle bronze age.
- Green Frits: The green frits were also discovered in Egypt, just like the blue frits. The materials that are used in blue frits are required to produce green frits but in different proportions. All the chemical compounds are mixed and heated up at a temperature of around 950-1100°C.
Green frits were used as pigments alongside malachite. The usage of green frits was first seen in the tomb paintings of the 18th Dynasty, but it gained so much popularity that its usage was extended up to the Roman Period.
How to Make a Pottery Glaze Using Frits?
It is evident from the above information how essential frits are to add a perfect glaze or pigment to the pottery works. And, if you have a knack for doing pottery works, then adding glaze to your piece using frit, will make your art look exquisitely beautiful. Here is how you can make your frit glaze at home.
- Develop a Glaze Recipe First:

The process to be adopted and the expected result depends on the recipe of your glazing. So, it is vital to develop a proper recipe first that suits your demand for adding effects and glazes. But before preparing the recipe, you should keep the following things in your mind:
- Based on the clay that you are using, you need to decide or set the cone of temperature at which you are going to fire the clay into the kiln.
- Decide first, what kind of glaze you want – matte or glossy.
- Choose the color you’re aiming to put on your piece.
- Decide the type of firing you’re opting for – oxidation or reduction atmosphere.
- Purpose of the pottery glaze that you’re going to use it for.
After deciding all the above-mentioned things, you need to collect all the necessary ingredients to create a perfect glaze for your pottery work. To do so, you need to take the ingredients in proper proportion. Here is a proportional guide for the 2kg batch for your next glaze work.
| Ingredients | Amount | Percentage |
| Wollastonite | 400 g | 20% |
| China clay | 400 g | 20% |
| Calcium Borate Frit | 200 g | 10% |
| Quartz | 300 g | 15% |
| Soda Feldspar | 700 g | 35% |
| Total | 2000g | 100% |
-
Process You Need to Follow:

After taking all the ingredients in the proper amount of proportions, you need to follow an appropriate method. However, before starting the process, do not forget to wear a respirator to prevent dust particles from entering your lungs.
- Take 2 liters of water in the bucket to start the process.
- Set a container on zero-scale.
- Add the first ingredient to your pot as per the specified percentage.
- Add water to your starting ingredient in the right proportion to mix it properly.
- Add the other ingredients one by one into the mixture.
- You need to whisk them properly to avoid dust creation.
- Add more water based on the consistency you want for your glaze work.
- Take a sieve and make the mixture pass through it to avoid lumps.
- Use a brush while pouring it into the sieve to create a perfect motion of pouring.
- Let the glaze sit for 24 hours and soak it in the water properly before using it.
- While applying the glaze to your pottery work, whisk and mix it thoroughly.
Things to Help You in Acquiring the Perfect Glaze:
Before starting any process, you need to know everything about that particular method. And glazing with frits takes a lot of tricks and techniques to get the desired results. You can get help from the book The Complete Guide to Mid-range Glazes: Glazing and Firing at Cones 4-7 (Lark Ceramic Books). From this book, you will get an idea of how to add glaze to your pottery works like a professional. For further help, you can go through the pages of The Big Book of Ceramics, which can give you proper guidance for your next glaze work.
Conclusion
Experimenting with the traditional glaze work using frits is the best thing that you can use on your next pottery work. All you need to do for that is choose the perfect fit and proportions of ingredients and work according to the demand of the glaze that you’re aiming to achieve. Hopefully, the above-mentioned process will help you to get your desired results in the next glazing work. Keep experimenting with your pottery work for better results.


