
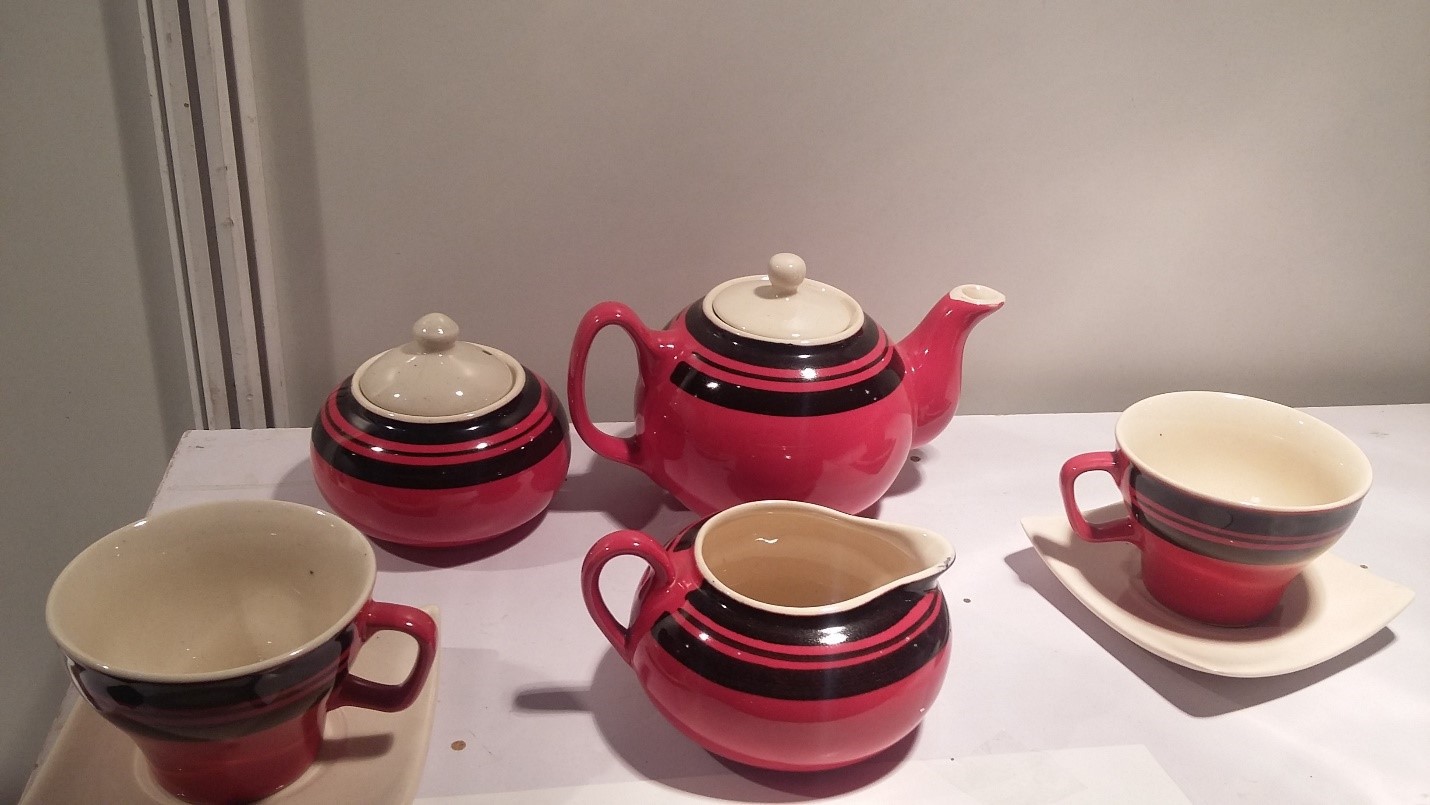
Glazing your ceramic pottery in your way is always a lot of fun. Though it takes a lot of effort to do it on your own, the happiness of creating something new and different from others cannot be compared to anything. Glazing has always been a tricky job, and if you don’t fire it accurately after applying the glaze, the expected result won’t come. Also, after firing the glaze, the pottery becomes food-safe as the method fluxes and fuses the chemicals present in the glaze mixture. So, it is of utmost importance to fire the glaze at the right temperature to give the final finishing touches to your ceramic pottery work.
We usually fire the pottery inside the kiln to lock the glaze onto the surface. Also, it strengthens the material and increases the longevity of the pot. But more often than not, you might be in some situations where you won’t have access to a pottery kiln. As a beginner, you don’t want to spend a ton of money to begin the pottery firing process. Well, you can start by firing pottery in your oven. If you have been looking for a way to fire glazed pottery in your oven, you are at the right place. In this article, you will learn tips, tricks, and methods you can use to fire your glazed pottery in your home oven.
Benefits of firing glazed pottery in a home oven
Before we dive into the tips and tricks of firing in a home oven, let’s take a moment to discuss the benefits of firing glazed pottery in an oven.
- Ideal for beginners to learn the basics of pottery: While learning a technique, you need to proceed step by step. Jumping into the difficulties at the beginning will not help you at all, rather it will puzzle you. With a home oven, you can learn the rudiments of bisque firing and baking your pottery piece. You will get to understand the basic techniques of working with a kiln. While you might encounter some basic problems, in the beginning, do not worry, they make you a better potter.
- Quite an enjoyable task: Doing anything on your own without being dependent on the products bought from the market is always something joyful. The feeling of joy that you’re going to get after achieving perfection in your work is beyond anything. The same is applicable in the case of pottery glazing too. The peace and joy that you will get whenever you opt for firing on your pottery in your oven. It will give you satisfaction along with your success. Since you have full access to your oven, you can control what to do and when to do it in your way to create a unique piece.
- A cost-effective way of firing: Firing in your oven will cost you next to $0. You spend nothing on renting a kiln when firing your glazed pottery in your home oven. The latter one is quite cost-effective because you only have to bear the expenses for the clay and the glazing ingredients.
- Saves time: Unlike commercial kilns, you can decide to fire your pottery pieces at any time you find convenient. Commercial Kilns are usually filled with different pottery pieces waiting to be fried or baked. Due to the overwhelming amount of pottery pieces waiting to be fired, your project might take days, sometimes weeks, to be fired. But as long as you are firing with your home oven, you don’t need to wait 5-10 days to get your pottery pieces fired. In other words, it saves time for pottery baking.
- Lesser chances of risk: Firing your pottery while being exposed to that high temperature is nothing but risky. While baking it in your home oven, the job becomes a bit less risky, as you don’t need to become exposed to that high temperature.
- Easy to handle: Working with a kiln is a hectic job, as you will have to work with many potteries at the same time, which is nothing but a mess and frustrating as well. While working with your oven, there is no space for firing or baking more than one pottery, so automatically, the job becomes less hassle-free and easy to handle.
- A way great way to bond with your kids: If you want to teach your kids about glazing pottery and firing pottery, your oven might be one of the perfect home appliances to illustrate the basics of pottery firing.
You will realize that ovens are a great way to fire glazed potteries because they do the job of a kiln quite easily while reducing the chemical dangers of firing. Apart from this, when you use an oven, you need not worry about potentially over-firing. With oven-firing, you’ll probably spend a few hours max. Most ovens can’t get higher than a thousand degrees. So, it’s not as hot. However, when you fire a piece of clay in a kiln, it gets super-hot, which leads to lots of chemical changes.
Steps to fire glazed pottery in your oven
Now, that we know the advantages of firing glazed pottery in a home oven, we must understand the exact steps to firing glazed pottery in a home oven. Here, we have listed down the fundamental steps of firing glazed pottery in the home oven.
- Check first if the pottery is properly dry: Before you put your pottery in your oven, make sure your pottery piece is dry. Touch the pottery with your hand and feel the moisture. If it is moist, then you need to dry it properly. Before you finally put it in the oven, make sure that it feels dry. As moisture doesn’t behave in a friendly manner when you put the pottery for firing, it might crack the glaze. So, make sure the glaze is dry. Check the pot properly; if it feels too cold to touch, then you need to air dry it evenly for some more time.
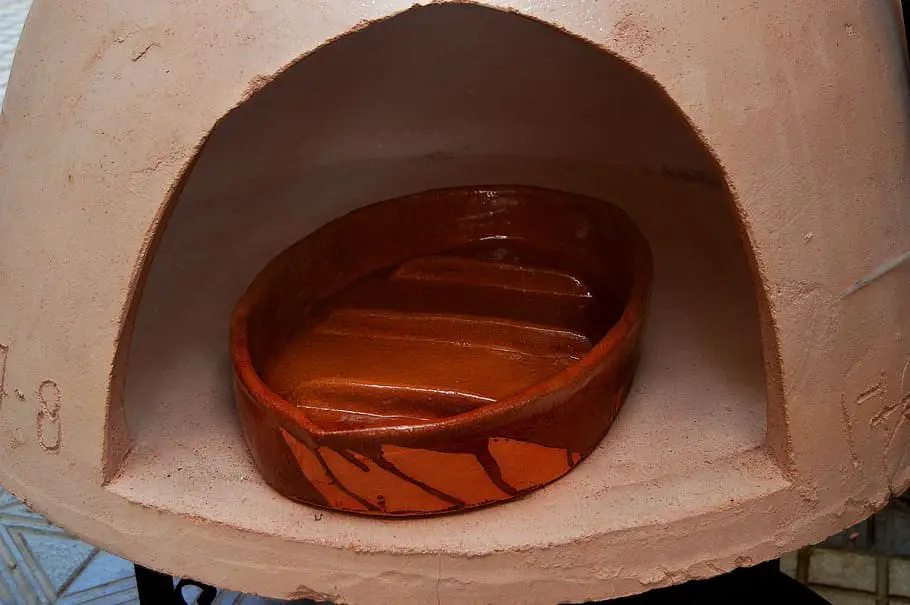
- Lay the piece upside down in the oven: Take your piece and put it on the center rack upside down as needed. You might need to adjust the rack so that everything is in place. The reason why the piece has to be upside down is to evenly distribute the heat from the oven over the glazed pottery piece. It is essential to fire the glaze correctly on every side to avoid problems like discoloration, uneven glaze, and cracking.
- Set the oven at the required temperature: For bisque firing, set your oven to 325 degrees, and bake it for about 30 minutes. Be careful when baking it, as the high temperature may crack your pottery. Excessive temperature is not suitable for pottery glazing, as the chemicals present in the glaze might react abnormally. So, you have to be pretty careful regarding the temperature while firing your pottery.
- Replace the pottery from the oven carefully: You need to be careful while removing the heated pottery from the oven. Use proper protection gear to replace your pot from the oven and avoid touching it directly, as it will burn your hand.
- Let it sit for some hours: As it’s not safe and quite impossible to work further with the burning hot pottery, you should put it on a heat-resistant surface and let it sit for about 3-4 hours until it’s cooled down. Once it is completely cool, you can proceed with the further steps.
- Add an overglaze layer on the pottery: Overglaze is the second coat of glaze being applied to pottery (it is obvious overglaze comes after underglaze). There are various kinds of overglazes, and each kind has a special effect on the pottery piece. For instance, a matte glaze surface will yield a soft matte overglaze, while a gloss glaze will yield a bright glossy, and shiny overglaze.
- Working with multiple types of glazes at the same time. It is always good to use one layer of a particular glaze at first, and then go on applying the other one after firing the first layer. It is the ideal process of adhering the glaze, layer by layer, onto your pottery to give it the exact effect you want.
- Re-fire the glazed pottery: To make your glaze stick to your project for life, you will need to fire it again by putting it into the oven just the way you did earlier and fire it evenly for some more time. Make sure you fire the glaze according to the recommended temperature. One should fire the glazed pot at either a low temperature or high temperature, as firing it at the wrong setting may cause the project to break.
| Types of clay | Required Firing temperature |
| Earthenware Clay | 1000 F |
| Stoneware Clay | 1200 F – 1450 F |
| Polymer/Scruple | < 900 F |
Tips when firing pottery in an oven
If you are a beginner, then firing pottery in your home oven is the best way to start with the art. So, you must follow specific tips and take the necessary measures to avoid creating a mess while firing the pottery in the oven. Some of the tips are as follows:
1. No water allowed: As earlier said, water is not permitted when firing pottery in your oven, as even a minimum amount of moisture can unexpectedly react when you bring it in contact with fire. So, dry your pottery evenly before firing it in the oven and keep the water away from your pot; it will save you from the risk of exploding your pottery.
2. A thermometer for the oven is needed: The thermometer helps to check the accuracy of the temperature of the oven. It helps you to make sure you are not chopping off the clay instead of melting it. Make sure the firing temperature is neither too low nor too high.
First of all, the temperature of the clay and the temperature of the glaze should match; for that, you need better knowledge about the heating conditions. Also, your oven should operate at the optimum temperature to prevent any heat-related disaster. A product like Kiln Oven Furnace Digital Pyrometer Annealing Sensor Probe Thermometer can be used to indicate the temperature of your oven.
This product is perfectly designed with a temperature range of 50°C to 1300°C (-58°F to 2372°F) and displays the overload when the input exceeds the limit set in the pyrometer. Also, the K-type thermocouples and the feature for the selection of Celsius and Fahrenheit scales help in giving more precise results. The product also allows you to select the decimal range and round number range. The decimal range varies from -58.0F to 999.9F, and the round number range lies between -58°F and 2372°F. There are also 2-thermocouples, one is 3” K-type temperature probe, and the other one is K-type ceramic thermocouple, which is more appropriate for heavy-duty kilns. This thermometer is apt for measuring the temperature of your oven so that you face any temperature-related problems.
3. Add Parchment paper or a baking sheet to the bottom of the piece: It aids in easy movement of your piece while in the oven.
4. Make use of Polymer clay or Sculpey when firing your piece in an oven: Apart from the fact that they are cheap, they also bake at a lower temperature when compared to stoneware clay. Sculpey is food-safe, and you don’t need to bake it for a very long time before it becomes hard and ready to use. Polymer clay like Sculpey III Oven Bake Clay is quite suitable for basic beginner projects like plates, pans, and mugs. Since Sculpey clay shines when you take it out of the oven, it makes your pottery piece look glossy.
5. Be careful about the firing time: While firing, be careful about the time for which you are firing your clay. You should neither fire it for less than the estimated time nor fire it for too much longer. Lesser firing or overfiring might cause cracking of your glaze.
Things you need to know before opting for oven glazing
Every technique has its limitations, and oven glazing is not an exception to it. You must know the particular aspects of firing glazed pottery in oven glazing before opting for it. Here, we provide a few things that you must know and consider before firing your glazed pot in your home oven.
- Oven firing of your pottery is not going to give you the exact result that you usually get after firing your pottery clay inside a kiln.
- For beginners, who are not so familiar with kiln working experience, oven firing may help to set their hands in the technique of firing.
- If you want to fire your glazed pottery for personal use or decoration purposes, only then oven firing is okay for you. But, when it comes to the professional level, oven firing is not at all the right choice as it is going to take a lot of time to finish up the entire process and not even going to give you the expected results.
- It’s not safe to use your oven-fired pottery for food. The maximum temperature for firing in an oven is 1000°C, whereas the average temperature of a kiln is 1200°C. So, firing at that high temperature will automatically defuse and reduce the harshness of the chemicals present in the glaze, thereby making pottery food safe.
Things that can help you in firing the pottery in your home oven
There is no denial of the fact you need a lot of tools while working on a pottery project. From the starting process of shaping the clay to finishing it up by firing the clay in an oven, you need to go through a lot of steps, which require different equipment to get the job done. There are lots of tools that you need to use to accomplish the process correctly.
Let’s have a look at the list of required equipment.
| Purpose of use | Equipment |
| To shape the clay into a pottery | Sculpting tools like Elephant Ear Sponges, Loop Tools, Needle Tools, Potter Ribs, Toggle Clay Cutter, Fettling Knives, etc. |
| To fire the clay | Kiln or Oven |
| To apply the glazing | Sandpaper, different types of brushes, sieves, etc. |
| To fire the glaze | Kiln or Oven |
Making your glaze by mixing the necessary ingredients is fun because it gives you full access to the glazing mixture that you want to make. But sometimes, it becomes frustrating to mix all the ingredients in the perfect ratio, especially if you’re a beginner or if you’re in a hurry. AMACO Potters Choice Lead-Free Glaze Set is apt for this purpose, as you don’t have to mix a lot of ingredients and colors to get the perfect effect. This ready-made glazing set comes in 6-containers, and each contains different and stunning glazes. The best part about the said product is that they are entirely lead-free and safe to use. Just apply the glaze onto your pot and fire it to get unbelievably gorgeous results.
Conclusion
Though there are some drawbacks to firing the glazed pottery in your home oven, it is quite an easy process and comparatively safe and less frustrating. So, beginners can opt for this method easily. Also, it is quite an effective alternative way for kiln firing that works. Since choosing this method doesn’t cost you much, you can easily go on sculpting for your purpose of use. Firing your glazed pottery in an oven is a step closer to becoming a professional potter. It is a good beginning, and as you get better, you can always invest further into kilns to take your pottery skills to the next level.


