Air-dry clay is a medium that is taking the crafting world by storm. It’s no secret that it’s a popular choice for many crafters and artists for good reasons. First, it’s an inexpensive and easy-to-use medium that offers endless possibilities to get your creative juices flowing.
Whether you’re a seasoned professional or a newbie, air-dry clay is an excellent choice for all clay-crafting projects. The best part is it doesn’t require baking or firing in the oven, making it accessible to anyone and everyone.
However, it can be a little tricky initially if you’re new to working with air-dry clay. So, here in this blog, we will decode the top 3 tips you need to know when working with air-dry clay. As we delve deeper into the world of air-dry clay crafting, we will decode the secrets of surface preparation, proper air-dry clay storage, and drying/final finishing tactics. These curated tips will help you take your crafting skills to the next level. So get ready to unleash your creativity, and let’s dive in!
How is Air Dry Clay different from any other clay?
Air-dry clay dries and cures with air, unlike other clay varieties that require baking. Air-dry clay became a popular choice for craft projects and children’s toys because of its soft, spongy, and lightweight composition, making it easy to manipulate and shape. The clay cures and hardens at normal room temperature; once dry, it can be decorated in myriad ways.
When working with air dry clay, it takes about one to two days for the clay to set, depending on the thickness of the piece. But, it’s worth noting that the clay may shrink a little during the drying process, resulting in a porous and spongy texture.
By keeping the unique properties of air-dry clay in mind, let’s figure out how we can make the most of it.
Different Types of Air Dry Clay, their characteristics, and uses:
| Types | Characteristics | Uses |
| Paper Mache Clay | Lightweight Easy to shape and mold Dries quickly | Sculpting, paper mache projects, jewelry making |
| Modeling Clay | Pliable Easy to shape and mold Can be painted after drying | Sculpting, figurines, craft projects |
| Pottery Clay | Heavier Stronger and more durable than other types of air dry clay. It can be glazed after drying | Hand-building pottery, clay projects |
| Polymer Clay | Durable Can be baked in the oven for a more complex finish Available in a wide range of colors | Sculpting, jewelry making, miniature figures |
| Salt Dough | Inexpensive Easy to make Can be painted after drying | Ornaments, holiday crafts, kid’s crafts |
3 Important Tips to consider before using Air Dry Clay:
1. Surface Preparation:
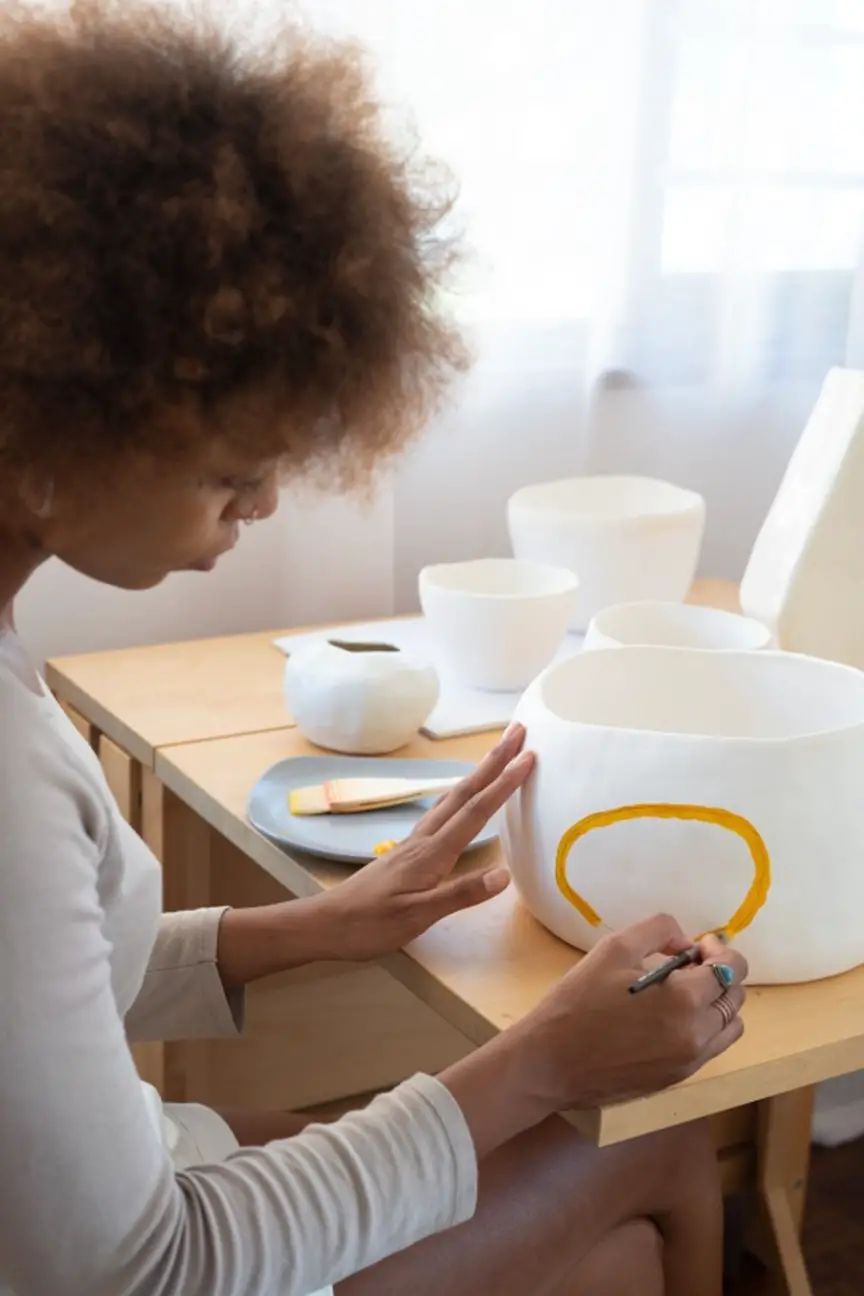
When working with air dry clay, surface preparation is essential! Before you even start shaping and molding your clay, you must ensure the surface you’ll be working on is clean, smooth, and ready to go.
But why is surface preparation a vital step, you may ask?
For starters, a well-prepared surface will ensure your clay creations have a smooth and professional finish. If the surface you are working on is dirty or rough, the clay may not adhere properly, resulting in a lumpy and uneven finish. In addition, a smooth surface will make it easier to shape and mold your clay to your desired shape, making your crafting experience much more enjoyable.
But that’s not all! A well-prepared surface also ensures that your clay creations will be sturdy and durable. If you do not prepare the surface appropriately, your clay design may not dry properly and can crack or warp over time.
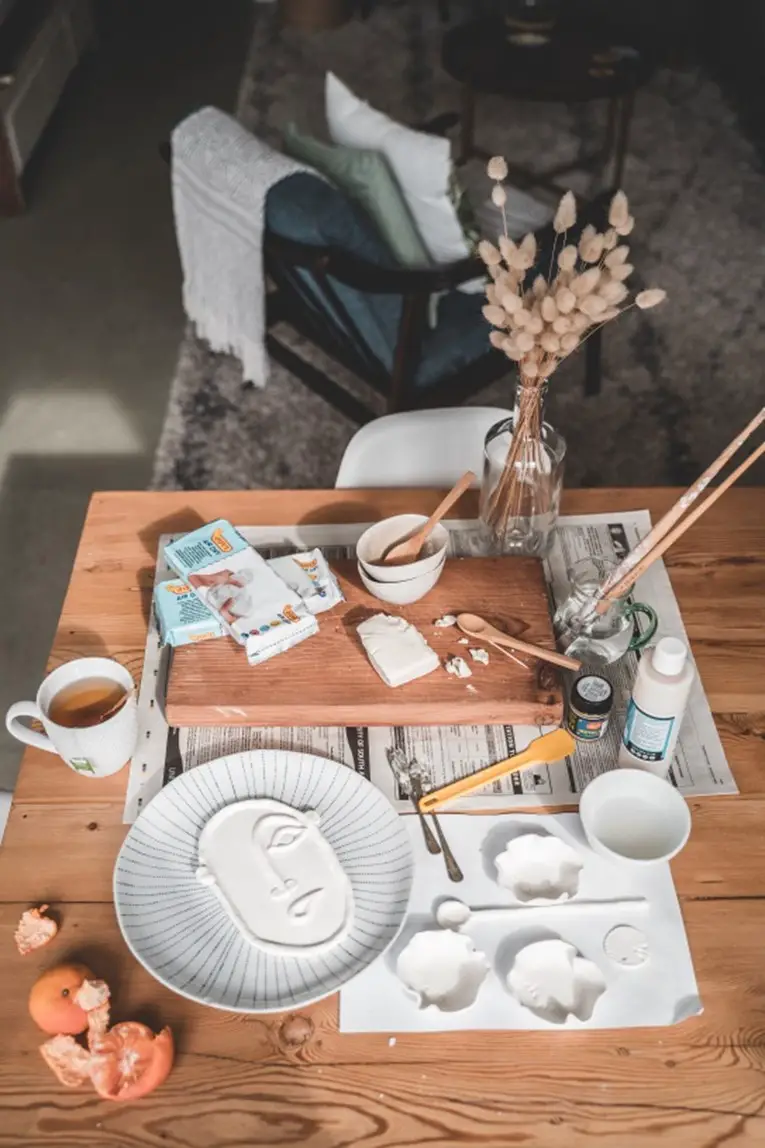
- Recommendation for surface types suitable for Air Dry Clay:
The best surfaces for air dry clay are clean, smooth, and non-porous. These include wooden, glass, ceramic, or plastic surfaces. Choose the one that is readily available and comfortable for you to work.
- Technique to prepare the surface:
So, how do you prepare the surface for your air dry clay creations? It’s simple! Start by cleaning the surface with a damp cloth to remove dirt or debris. Next, give the surface a light sanding to smooth out any rough spots. And voila! The region is now ready for your clay creations. Trust us; taking the time to prepare your surface correctly will make all the difference in the outcome of your projects. So, please don’t skip this step; it’s worth the extra effort!
Things To Keep In Mind When Preparing Your Work Surface
- Porous surfaces such as wood or ceramic can be a breeding ground for bacteria or any other microbes. This is because the grooves and ridges on the surface can cause the clay to get stuck. With the right weather conditions like humidity, it can lead to mold growth. So, it is crucial to clean your work surface every time after you are done with your work. Let the surface dry out properly before you begin working on the next project.
- Rub some dusting powder onto the surface or place a piece of paper to avoid the clay from getting stuck in the grooves of the surface.
- Remember, porous surfaces like wood will give you a better hold over your project without sliding too much as you work with it. On the other hand, surfaces such as glass or plastic aren’t too stable and might slow you down given their slipperiness.
- When using a porous work surface, you might need to use more water for the project as the material might absorb moisture from the clay making it drier as you work on it.
2. Proper Storage:
Proper storage is essential to preserving the quality and longevity of your air dry clay. How you store your clay can make all the difference in keeping it fresh and ready to use.
- Recommendations to properly store your clay projects:
First and foremost, keeping your clay in an airtight container is essential. This will prevent it from absorbing any excess moisture from the air, which can cause it to become too soft and difficult to work. Unfortunately, it can also drive mold growth, which is unsightly and unhealthy.
Another vital factor to consider is the temperature. Keep your clay stored in a cool and dry place. Extreme temperatures, whether hot or cold, can cause the clay to dry out or crack, rendering it unusable.
- Tips to prolong the shelf-life of your air dry clay projects:
It’s essential to keep an eye on the expiration date of your clay. Air-dry clay has a shelf life, so make sure to use it before it expires. It would be best to start your project work only after ensuring that the clay is still fresh and ready to use. But make sure to follow all the proper storage instructions mentioned in the above sections to make the most out of air-dry clay.
Things To Keep In Mind When Storing Your Air-Dry Clay
- Dual layering works great when storing air-dry clay as it assures longevity. You can experiment with ziplock bags and place your clay inside the bag and the bag inside an air-tight container. This prevents excess moisture absorption or moisture loss. A great option you can use to store your air-dry clay is the Ziploc Store Grip ‘N Seal Bags. These bags feature a double zipper design for better storage and are made of BPA-free high-quality plastic.
- If you have a habit of buying air-dry clay in bulk, try to divide the clay into smaller sections and store them separately. This way, you don’t have to open the bag every time you start a new project. Instead, you can simply retrieve the smaller packets according to your project’s needs.
- In case the air-dry clay brand you prefer comes with an air-tight container, make sure you use the same for storage purposes as well. These containers are specifically designed to increase the shelf-life of the air-dry clay making it last multiple uses.
- Always use multiple small ziplock bags to store your air-dry clay instead of one big ziplock bag. This is cost-effective as well as ideal for better storage.
3. Drying and Finishing:
When it comes to air dry clay, the drying and finishing process is just as necessary as the crafting process itself. After all, you want your creations to be sturdy, durable and have a professional finish. So, what are the best ways to dry and finish your air-dry clay projects?
- Recommendations to follow adequate drying and finishing of air dry clay:
Allowing your creations to dry in an open space is crucial. This means you must avoid enclosing them in containers or bags, preventing uneven drying and cracking of your clay designs. The drying process can take anywhere from a few hours to several days (this varies as per the size and thickness of your creation).
You can also use a dehydrator for fastening the drying process. If you live in a humid area, it’s better to use dehydrating tools to dry your creations evenly and quickly.
- Technique to impart a finishing touch to your clay project:
When it comes to finishing, a sealant or varnish is a great option to give your creations a smooth and glossy finish. These products can also help protect your designs from scratches and other types of damage. Another option is to use PVA glue as a sealant. This is an excellent alternative for those who prefer a matte finish for their projects.
Conclusion:
Air-dry clay is becoming increasingly popular among crafters and artists because of its versatility, ease of use, and eco-friendly nature. You can create beautiful and long-lasting projects with air dry clay with proper storage, surface preparation, and the right techniques for drying and finishing.
We hope the tips and recommendations in this article will assist you in making the most of your air dry clay and unleash your creativity. Remember, with air dry clay, the possibilities are endless, so experiment as much and let your imagination run wild!


