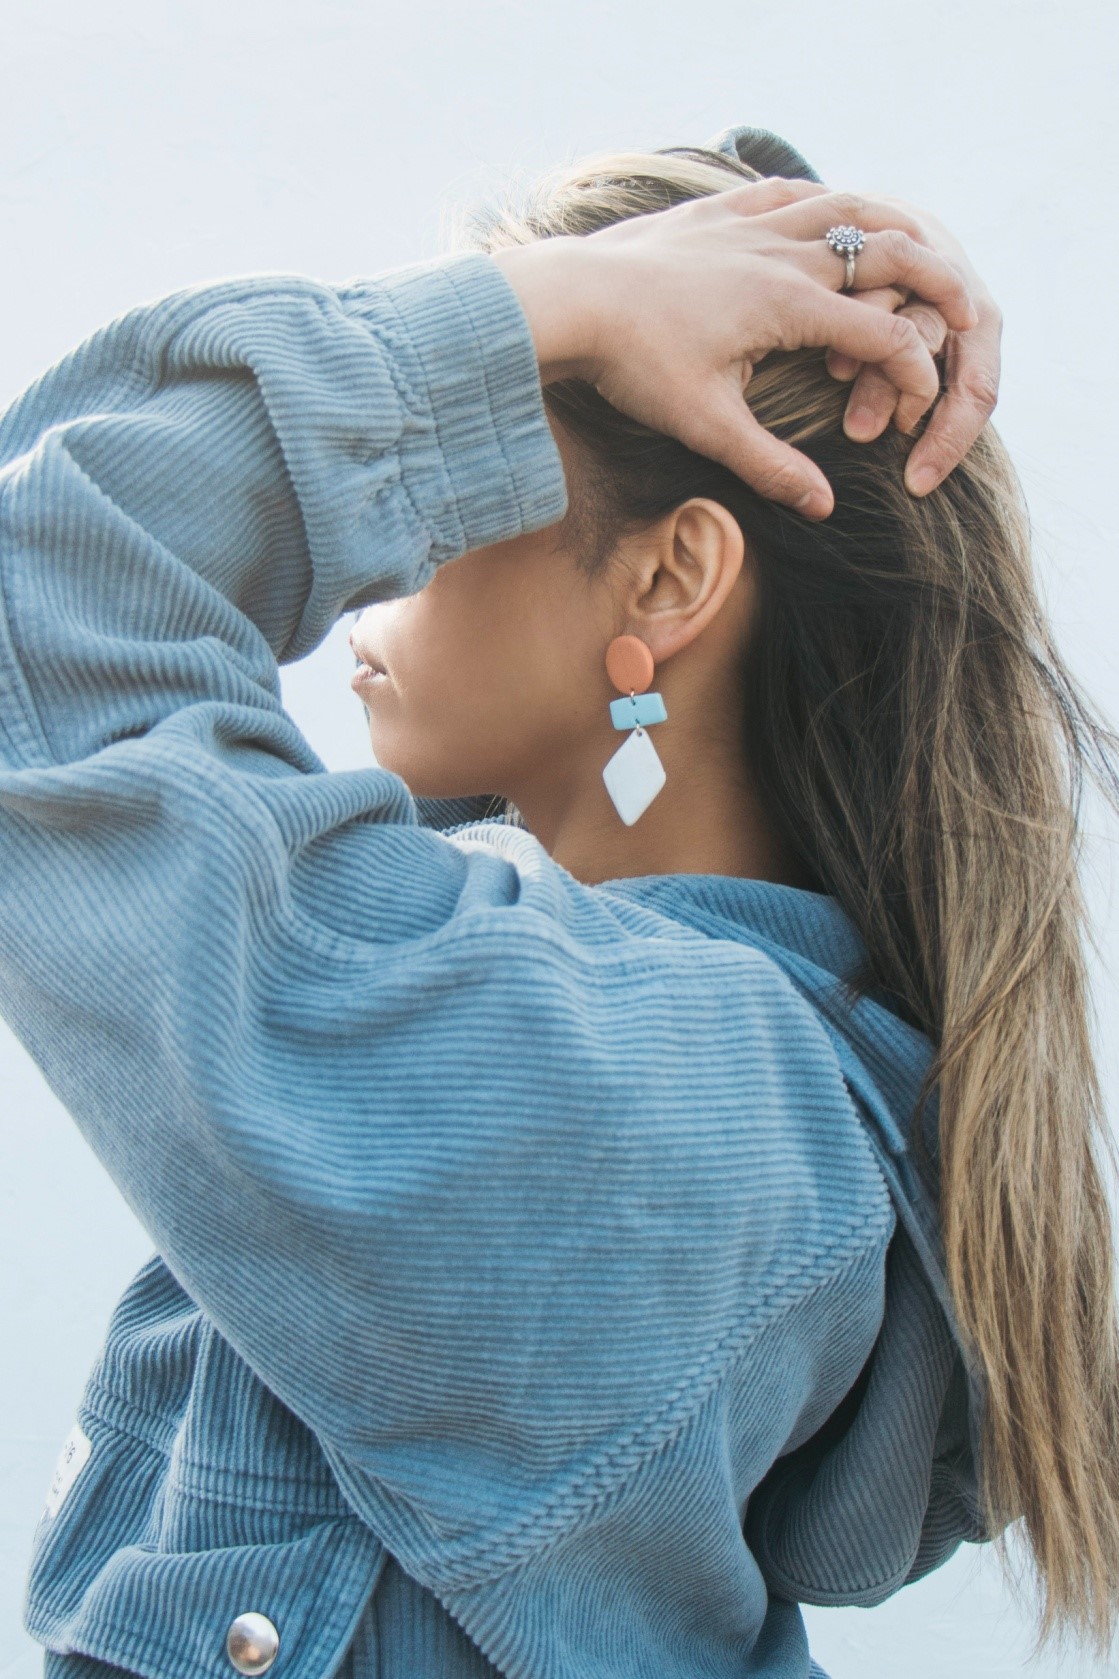
Adding a unique touch to your jewelry collection or starting a small business got more effortless with clay earrings. These trendy pieces are sure to make a statement. In fact, the fashion industry is also embracing the creativity and personal touch that comes with handmade clay earrings.
This article will guide you through making your clay earrings, from choosing suitable materials to crafting unique designs; we have covered it all! Whether you’re a beginner or have experience with clay crafts, this guide will give you the tools and inspiration to create beautiful and stylish earrings that are sure to turn heads.
So, if you’re ready to tap into your artistic side and learn about the exciting world of clay earrings, read on!
Different types of clay suitable for earrings:
Types |
Pros |
Cons |
|
Polymer Clay |
Lightweight,Easy to shape and mold,Comes in a variety of colors,Can be sanded and polished for a smooth finish |
It can be brittle once cooled,Requires baking in the oven,Not suitable for people with sensitive skin |
|
Air Dry Clay |
Easy to work with,No baking is required,Suitable for people with sensitive skin,Can be painted or decorated once dry |
It can take a long time to dry,May crack if not handled carefully,Not suitable for intricate designs |
|
Ceramic Clay |
Durable and strong,Can be glazed for a shiny finish,Can withstand high temperatures |
Requires firing in a kiln,Can be heavy,Not suitable for people with sensitive skin,Not ideal for intricate designs |
|
Modeling Clay |
Soft and pliable,Easy to shape and mold,Suitable for people with sensitive skin,Can be painted or decorated once dry |
Not fit for long-term wear,Can be easily damaged,Not ideal for intricate designs |
Materials needed to make your DIY clay earrings:
-
Choose a clay that suits your requirement (refer to the table above for more information)
-
Rolling pin or acrylic rod
-
Oven or toaster oven (optional: if working with clay type that needs baking or firing)
-
Earring hooks or posts
-
Jewelry pliers
-
Paint, glaze, or other embellishments for decoration
A step-by-step guide to DIY clay earrings:
Step 1: Preparing the Clay
Let’s get our hands dirty! The first step in crafting our clay earrings is to choose and prepare the clay. We suggest using polymer clay, which comes in various colors, so you can choose the perfect shade to match your style.
To make the clay pliable, we need to condition it first. You can do this by kneading it with your hands or using a clay conditioning machine. Your clay is now ready to be shaped into earring masterpieces. Remember, the key is to take your time and let your creativity flow.
With some effort and a unique approach, you’ll be able to make beautiful and unique earrings in no time! But, in the beginning, you must be careful of all the steps.
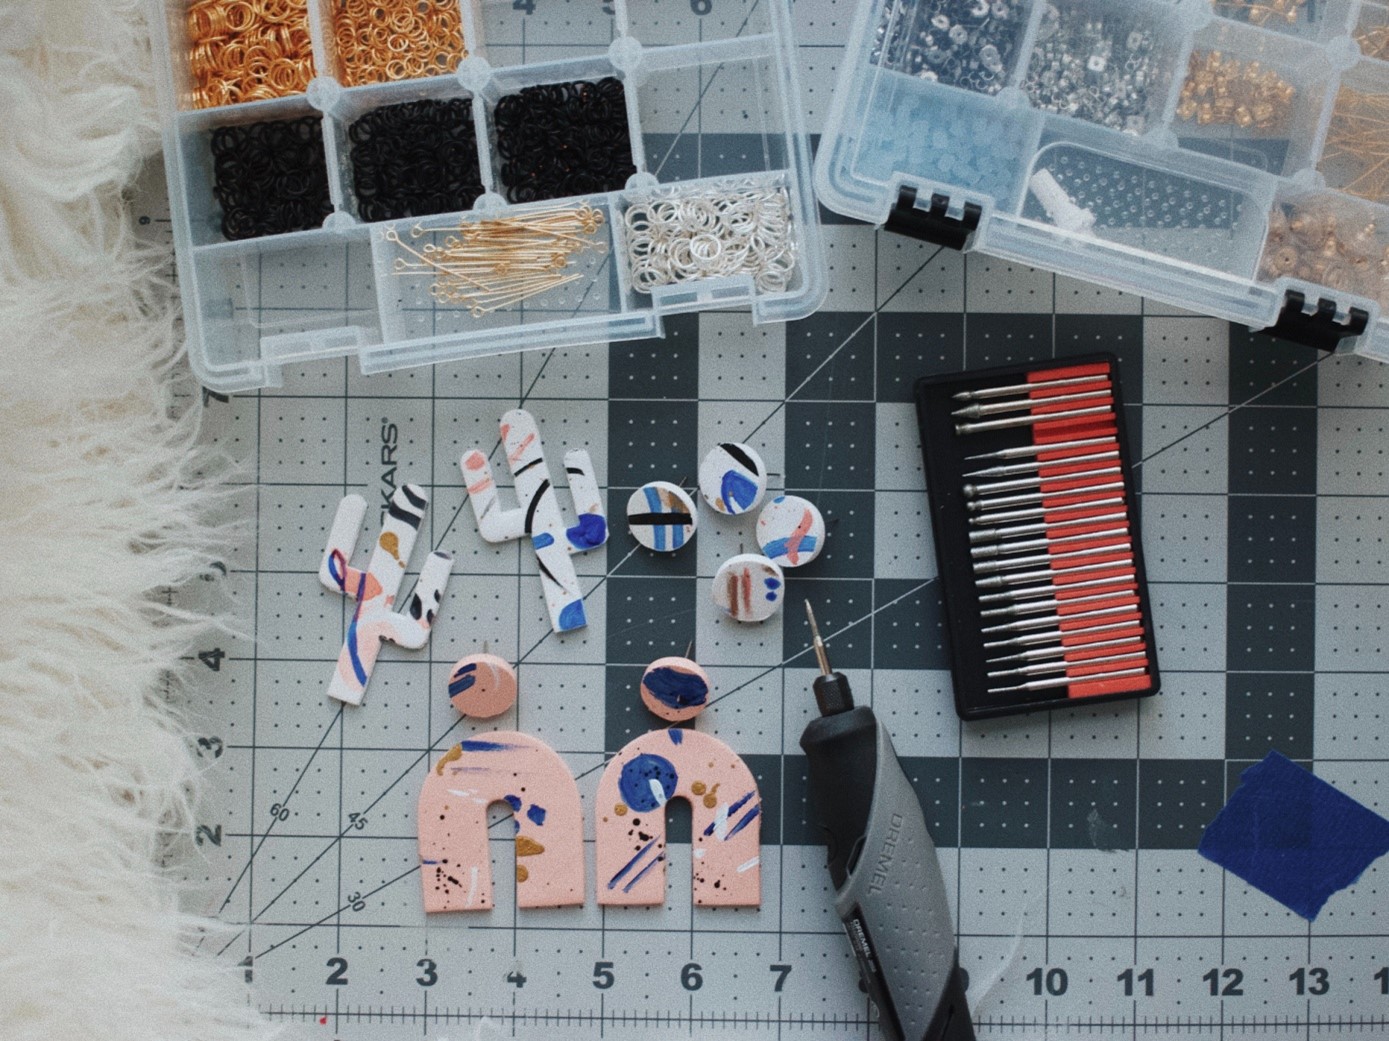
Step 2: Designing and cutting
Designing and cutting your clay earrings is where the real magic happens. It’s time to let your creativity flow and create unique designs for exciting earring shapes.
First, roll out your clay to the desired thickness of about 1/8 inch for earrings. Then, use a cutter, or sharp knife cut out the desired shapes. You can even use cookie cutters or create your custom cutter with a plastic bottle cap or a lid of a jar.
Once your earring shapes are ready, you can also add any embellishments of your choice. Add some paint and glitter to your earrings to give them that extra pop! Be creative and experiment with different shapes, colors, and designs to create exclusive earrings that resonate with your style.
NOTE: Add the embellishments only after the clay is completely dry.
Step 3: Baking your clay project
It’s time to bring your clay earrings to life! First, preheat your oven or toaster oven to the temperature recommended on the clay package, usually around 265°F.
Once your oven is preheated, place your earrings inside and bake for 15-30 minutes. The duration will vary depending on the clay brand and thickness of the pieces. Meanwhile, do not let your clay projects sit alone away from your sight. Keep an eye on your earrings and take them out as soon as they are hardened and set.
Once your earrings are baked, take them out of the oven and allow them to cool. You’ll be amazed at how much they have transformed from the soft, pliable clay you started with to beautiful, unique earrings ready to be worn.
Step 4: Adding the Earring Hooks or Posts
Congratulations, you’ve made it to the final step! Your earrings have cooled, and it’s time to add the finishing touch. In this step, we’ll attach earring hooks or posts to the top of each earring.
You’ll need a pair of jewelry pliers to attach the hooks or posts. First, open the jump ring by gently twisting the pliers in opposite directions. Then, slide the earring onto the jump ring and close the jump ring by gently squeezing the pliers together. Repeat this process for the second earring as well!
And that’s it! Your earrings are now complete and ready to be worn. With your new earrings, you can add a unique touch to your jewelry collection and show off your artistic skills the next time you have an event to attend!
Here are a few tips to consider for your DIY project:
-
Work on a clean, flat surface to prevent your clay from sticking.
-
Keep your tools clean and dry for maximum efficiency
-
Be patient, take your time, and don’t rush the process
-
Experiment with different shapes, colors, and designs to create unique earrings that reflect your style.
Conclusion:
This article shows you how to make your own clay earrings, from kneading the clay to attaching earring hooks. The process is easy, fun, and full of opportunities to get creative. Remember, the key is to take your time and let your imagination run wild.
Experiment with different shapes, colors, and designs to make genuinely one-of-a-kind earrings. Clay earrings are a great way to express your style and add a unique touch to your jewelry collection. So, grab your materials and get ready to unleash your inner artist! Don’t be afraid to try new things! You never know if this hobby could turn into a small business one day. Happy crafting!


