Glazing the ceramics and pottery pieces serves multiple purposes. It doesn’t just add a sealed and safe coating to the bisque-fired wares but also makes the piece food-safe and waterproof. Further, it brings life to the piece you have just crafted and adds amazing colors to the same. With glazes, the possibilities are endless. However, when you are starting on your journey to craft a piece, you might not want to struggle with the complexities of a glaze.
Solution: Choose a glaze that is simple enough to mix, apply, and fire.
Why choose a simple glaze for beginners?
With all the possibilities that come with glaze, the process of decision-making can be a bit confusing. Given the fact that glazes are comprised of compounds and chemicals, each reacts in a way different than the other. One glaze can react in a different way for clay, ceramic, or earthenware.
So, you surely wouldn’t want to get mixed in the dos and don’ts of glazes. The best way to go about it is to start simple and then opt for the complex mixes once you get hold of the mixing ratio and other factors.
Glaze Types You Can Get as a Beginner
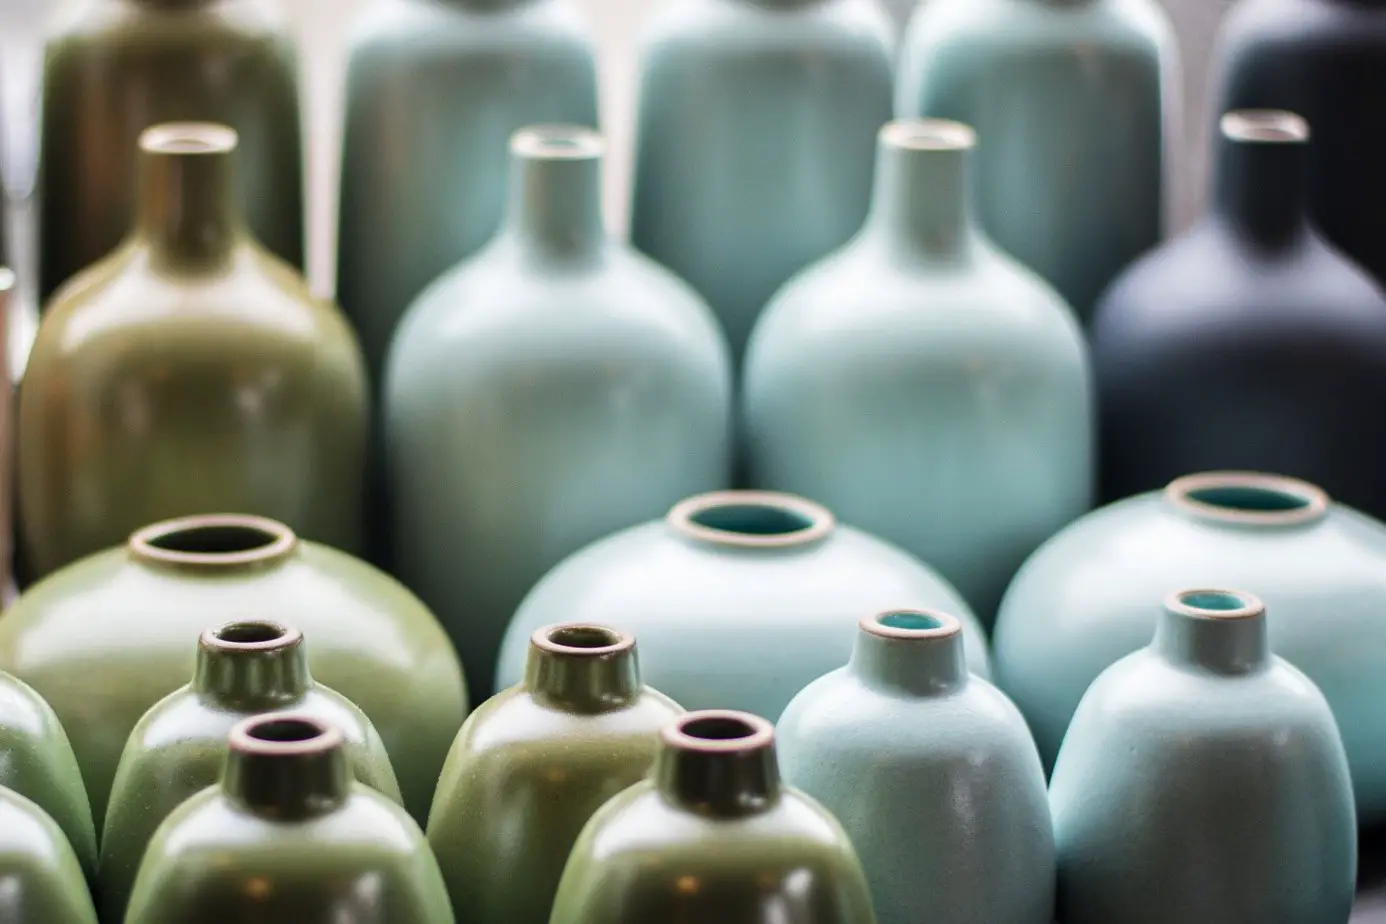
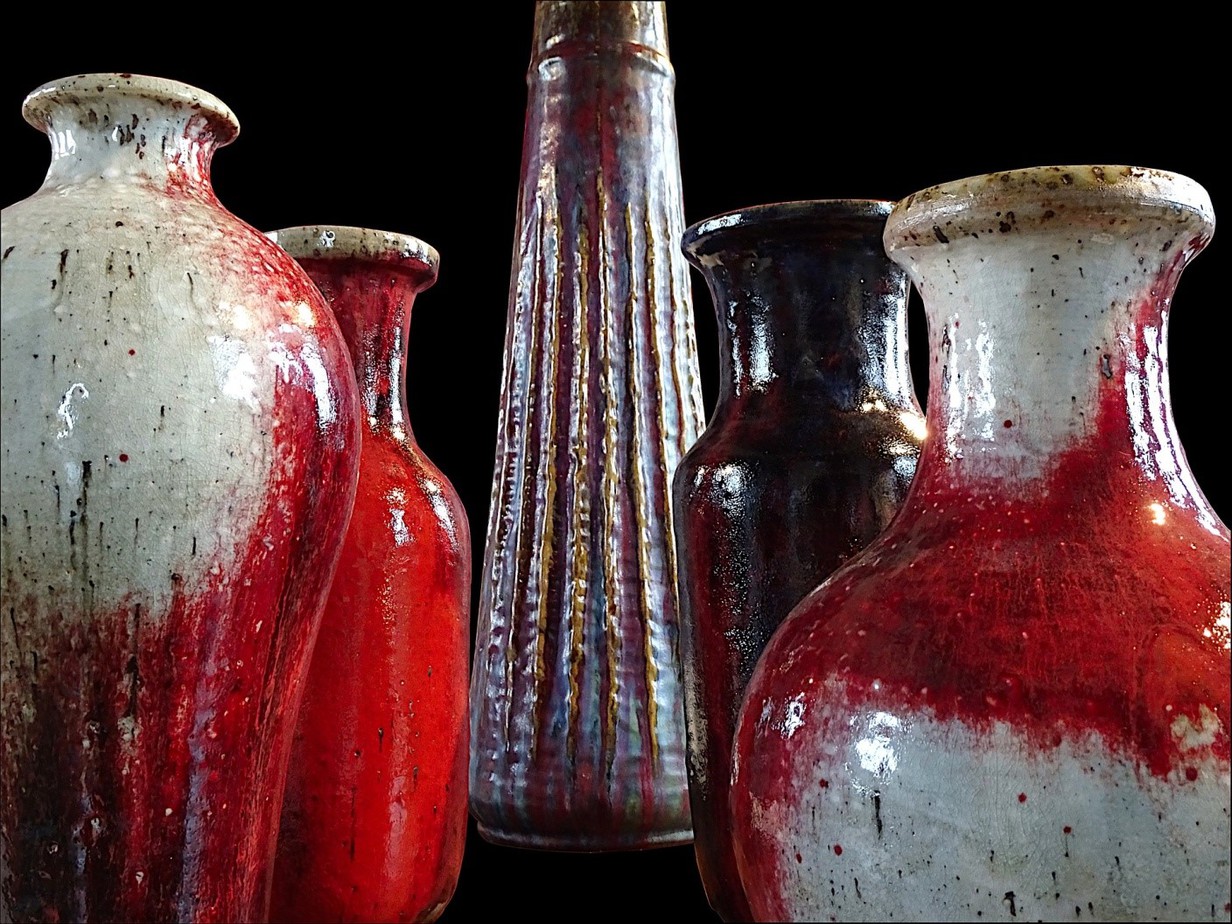
When it comes to the spectrum of glazes available for your pottery needs, the choices are endless. However, you can surely break them down into basic categories. You can get your hands on gloss glazes that make your pottery work very reflective and shiny. However, if you plan on photographing your achievement, it could be a bit tricky. On the other hand, matte glazes turn out a bit dull but with good colors. They don’t exactly reflect a lot of light which makes them perfect to be photographed.
Matte glazes tend to be particularly transparent and still pack in some shine. They have varying opacity levels, which makes them perfect for starters.
Glazing Basics: What are they?
Glazing can be a major ingredient in pottery. One wrong move and everything can go bad in seconds. All types of glazes come with varying properties, so make sure you keep them in mind when starting your pottery journey.
Now, there are 2 main ways to glaze the pottery pieces. You can either dip the glaze or brush it on the pot as required. In case you plan on glazing the inner side of the pot, the best option out there is to dip and let the excess drip off before placing it inside the firing kiln.
If you are a first-time glaze user, the easiest and smoothest way is to dip, making the technique time-effective as well. On the other hand, the brushwork is a bit complex yet neat. However, you might have to keep in mind that you don’t leave any brush marks on the piece.
What Should Beginners Use for Pottery Glaze?
When it comes to selecting the best pottery glaze for your journey as a beginner, you might be better off going with a ready-made mix available in the market. These glazes are either available in powdered form or liquid form. With powdered form, you might have to keep in mind the right amount of water that needs to be mixed before glazing. However, with liquid glaze, you can use it right out of the can. If you are looking for an amazing liquid glaze to start with, you can try out the Speedball 004052 Deluxe Glaze Pack. This set of 12 glaze shades comes in 16 16-ounce packs that offer you brilliant colors with consistent results.
Just in case you plan to take it up a notch, or the glazes available in the market are a bit too costly for you, there is an alternative available for you. You can simply create your very own glaze at home without the need to invest a lot.
Mixing your very own glaze at home could make you feel like a chemist in the making.
To mix your glaze at home, you will need the following must-haves:
- Calibrated scale in grams to measure
- Clean bucket or pain to weigh the glazing material (Mostly Stainless Steel)
- Mixing container
- Certified dust mask to ensure no fumes or dust enter your eyes or nose
- Water for glaze suspension
- A sieve with fine mesh
- Bristle brush to push the glaze through your sieve
- A marker with a waterproof feature (to label the container)
Making the Glaze: Determining the Process
To prepare the glaze, the first thing you need to do is put on your dust mask.
- Locate the materials required in the recipe and ensure that you have a good amount of it
- Next, you need to clean your weighing scale & ensure that it’s completely balanced before starting the work
- Place your containers on the weighing scale and set it to zero
- Weigh your materials
- Make sure you add a good amount of water to ensure the mixture is thick enough with a cream-like consistency
- After mixing the glaze, you need to pass it through the sieve to get rid of any lumps or unwanted material to keep the mixture smooth
- Repeat this process until you obtain a silky-smooth mixture
Glaze Testing: How Can You Do It?
Unlike paint, your glaze needs to be fired. Not only that, glazes are transformed when fired & might not show the same color or surface as they were before being fired. The process of kiln firing tends to change the glaze’s characteristics in a rather profound way.
To ensure that the results you get are exactly as per your requirements, you can do a test fire on a small tile. This will help you understand how the surface of your pottery piece would react after the firing process. Make sure the tile is large enough and has properties similar to your final piece.
- Prepare your test tile by washing it thoroughly
- Now, add water to your glaze to ensure appropriate consistency
- Next, pat dry your test tile and start by applying a thin coat of the glaze on your tile
- You can glaze the tile either by pouring, dipping, or spraying the piece
- Ensure the firing method and temperature are consistent with what your final piece would be exposed to
- Post-firing, check the color and overall texture. If it is consistent with what you need, you can start the main pottery process
- In case the result isn’t consistent with your requirements, change the components of the mixture as required
Basic Glaze Recipe for Beginners (Home-Made)
When looking for the best pottery glaze for beginners, nothing could beat the beauty of a beautiful homemade glaze. Here is a quick recipe for a basic glaze recipe that gives a glossy look.
Check out these materials that are required for the recipe:
- 30 percent EPC kaolin
- 30 percent 3124 Ferro Frit
- 40 percent Gestley borate
- Receptacle or bucket
- Latex gloves, face mask, & goggles (To protect the body while handling toxins)
- Distilled water
- Rib
- Whisk or blender
- Sieve
- Spoons and measuring cups
Starting the Process of Glazing
To start this process, here is what you need to do:
- Measure out all the mentioned ingredients for the glaze & then mix it slowly
- Make sure the amount is precise. This is because even a small amount of change, whether it is an increase or decrease, can change the final result
- You need to be as precise as possible because a dangerous glaze could lead to pot-shattering
- Ensure that you wear protective gear to avoid any issues during the firing process
And there it is a glaze that is amazingly easy to use, especially for beginners.
Now, if you wish to work with a gloss that has a brilliant white hue with some amazing gloss, we have yet another glaze recipe for you.
Naragon White Glaze
The Naragon White glaze is a particularly brilliant glaze that brings in an opaque and glossy surface that looks whiter after you coat it on the body of the pottery piece. This particular glaze is generally fired at the cone 6 temperature along with an oxidative atmosphere.
Here is a list of the ingredients to use:
- 4 percent defomite
- 6 percent whiting
- 26 percent 3124 Frit
- 31 percent Feldspar (F-4)
- 8 percent EPK kaolin
- 12 percent zicopax
- 25 percent silica
- 2 percent bentonite
With this particular glaze, you would have to mix the ingredients & achieve a consistency that has a heavy cream-like consistency that comes from whipping.
Blue-Green Glaze
Another beautiful glaze you might use as a beginner to achieve a color different from plain boring white is opting for the blue-green glaze.
Here is all you need to form this amazing glaze:
- 4 percent strontium carbonate
- 11 percent whiting
- 22 percent Gerstley Borate
- 38 percent Custer feldspar
- 25 percent flint silica
- 1 percent Chrome oxide
- 5 percent Cobalt Carbonate
- 2 percent Bentonite
Mix all these ingredients to form this blue-green mix. You might notice that the percentage goes higher than 100. However, this is to achieve the color that might not turn out right if these percentages shift.
Strontium Bronze Blue Glaze
Another great glaze option you can use as a beginner is the Strontium Bronze Blue. This can be fired at cone 6 in the kiln. However, you might have to keep in mind that the glaze isn’t food-safe. It doesn’t work right for outside forms or sculptures. If you are planning to keep your piece indoors, this is the perfect glaze for you.
The recipe for this glaze is similar to the bronze-green one. However, all you need to do is increase the percentage of cobalt carbonate while reducing the percentage of copper carbonate.
Here is a recipe that you need to bring on board before starting the mixing and glazing process:
- Start with 1 percent Lithium carbonate
- 20 percent strontium carbonite
- 60 percent Nepheline Syenite
- 10 percent ball clay
- 1/5 percent cobalt carbonate
- 9 percent flint silica
- 4 percent copper carbonate
To ensure that this glaze brings out its truest form, you need to keep it thick and then test it out with a patch application. This glazing coat might require multiple applications to ensure the colors come out all shiny and bright.
Matte Base Glaze
As a beginner, if you are looking for a matte base glaze, here is a recipe that we bring for you. It is easy to mix and has minimum chances of going wrong post-firing.
- 43 percent whiting
- 43 percent 3195 Ferro Frit
- 14 percent EPK Kaolin
Mix it and watch the magic happen after firing. This matte base glaze will help you achieve a shine-free look to ensure you can easily photograph your first pottery achievement.
Satin Base Glaze
If you are a fan of the satin base, you could surely achieve great results with this particular glaze mix. Here is everything you need to prepare your mix:
- 30 percent Dolomite
- 50 percent 3195 Ferro Frit
- 20 percent EPK Kaolin
With this glaze mix, you can get access to a glaze that is rather satiny as opposed to being glossy.
Another factor to note as a beginner is to achieve the color you need without any errors. Here is a table that enunciates more about the component, color, and percentage.
Chemical Compound | Percentage | Color Achieved |
| Rutile and Copper Carbonate | 5 percent and 3 percent (respectively) | Blue-Green |
| Purple Encapsulated Stain Mason | 15 percent | Dark Purple |
| Red Encapsulated Stain Mason | 15 percent | Pink/Red |
| Copper Carbonate | 2 percent | Blue/Teal |
Conclusion
As a beginner, you need to keep in mind various factors that could go wrong during the glazing process. Picking the right glaze composition is the key to achieving amazing colors and shine for your pottery piece. You might go wrong in the first few trials. However, practice and you will surely achieve success in the long run.


