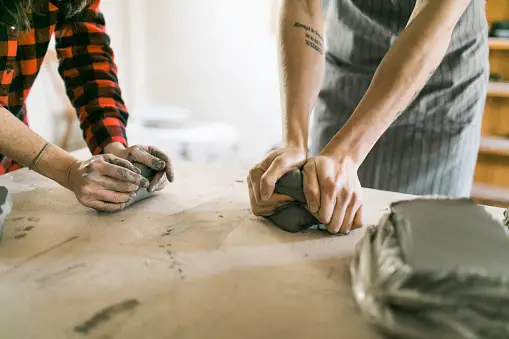
Pottery making includes a large number of activities that you need to follow step by step to get the best results. And wedging the clay is one such important process, which adds value to the clay and makes it eligible to form a beautiful pottery piece with amazing shape and texture. A lump of clay does not come in a readily usable form right after you unpack or collect it from natural sources. You have to follow an entire process to mold it in the way you require for your pottery.
Wedging thus gives your clay a smooth texture and easy-to-mold feature, which makes it ideal for shaping your pot. But before wedging as a beginner, here are some tips that you must be well acquainted with. So, let’s get started.
Do you know what is wedging?
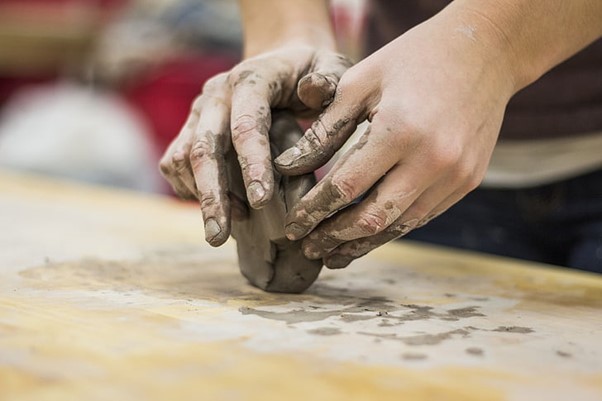
Well, wedging is the process where you need to put pressure on your clay to prepare it properly for pottery making. A clay lump usually contains many air pockets and small hard spots. Wedging thus ensures the clay is much pliable than before, has proper consistency, and is rid of the air pockets. Before you start heading for a pottery project, wedging allows you to make the clay ready for use.
Choosing the right surface for wedging:
A piece of clay at the initial stage stays a bit sticky. This stickiness goes away when you properly wedge it, putting it on a leveled surface. It is crucial to find a surface that is safe for your clay and allows it to separate out properly. Choosing a plywood surface or smooth plastered surface is going to be suitable for your wedging job. Avoid using cement slabs, as your clay will stick to such a rough surface.
Choosing the best clay:
Not all types of clay are going to be right for your pottery. So, to get the ultimate wedging results, choose a clay that is easy to work with and gets the best texture when you wedge it. You can opt for Pottery Clay: Best Mix- BMix – BMX – Mid Fire Cone 5-7 – Rocky Mountain Clay to have the best pottery experience.
Opt for the right position to wedge your clay:
The correct position of your body and table height matters a lot in making your wedging job comfortable and appropriate. Make sure that you are opting for the right position so that your hands or back don’t hurt and allow you to put proper pressure on the clay surface. Choosing a too-short table or too-high place is going to add much pressure on your arms and shoulders. So, select the height of the table that goes better with your comfort. Also, choosing the proper position allows you to have enhanced control over the clay while wedging it.

Know the different types of clay wedging:
Before starting with the process of wedging clay, you must know that there are different types of wedging that you can practice. Each type of clay wedging comes with its own techniques, which are executed to achieve proper consistency of the clay.
Knowing the varieties of wedging gives you better knowledge about which type to apply and when to use. Here are some of the kinds of wedging that you must know for a better outcome.
Types of clay wedging |
How is it done? |
Rams head pottery wedging |
This method includes making a rams head shape or a bullock’s head shape with the clay. It is mixed by pushing it in multiple directions so that it forms an ox head shape at the end. |
Spiral wedging |
The spiral wedging of clay involves making a spiral pattern. In this method, the clay is mixed in a spiral way by applying proper motion and pressure with your palms and fingers. Therefore, it creates a swirl pattern and removes all the air bubbles with much efficiency. |
Stack and slam wedging |
In this clay wedging process, two halves of clay are taken. One chunk of clay is stacked on the other. They are slammed together to create an evenly mixed rectangular-shaped clay. |
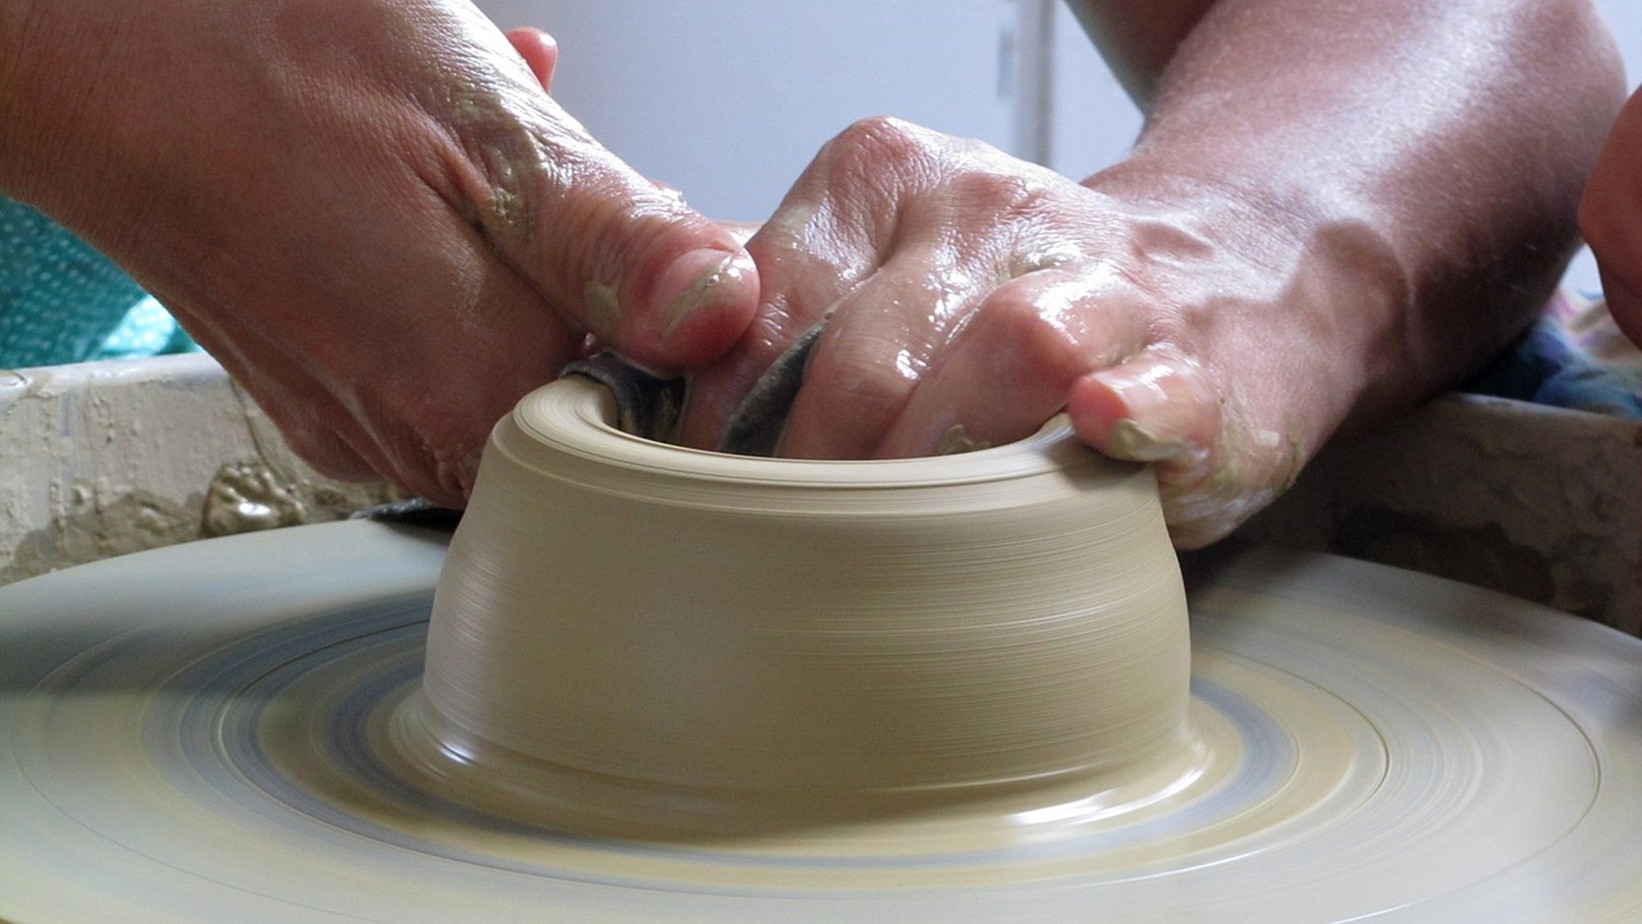
Wheel wedging |
It is the method of wedging clay after throwing it at the center of the wheel. The process includes building a tower with clay while pushing down the head of the tower to form a bee-hive-like shape. |
Do not fold your clay over:
It is especially applicable when you opt for ram head wedging of your clay. While wedging your clay upward-inward and making a square shape, make sure you are not folding your clay too much over. The repeated folding of your clay creates a large number of air pockets in it. When you push the clay in and fold it over, it traps too much air in it, which results in a non-uniform consistency of the clay. So, stay away from folding the clay too often.
Hold yourself back from pushing your clay too hard:
While pushing your clay to wedge it perfectly, make sure that you are not pushing it down too much. It is going to ruin the shape of the clay and thus make it lack uniformity in texture. Therefore, it is better to avoid too much pushing of the clay downward.
Never leave wedging at 20-30 wedges:
If you are working with two different types of clay, they are more likely going to differ from each other in color. Thus, wedging them together helps in mixing the two colors properly.
You have to keep a note of the color mixing. Until the entire clay gets the same color all over, you need to keep continuing with the process. Leaving the clay at 20-30 wedges is not going to give you accurate results, and even the colors do not mix up this fast. So, keep wedging it more than 100-200 times to get better results and the perfect consistency of the clay.
Don’t dig your fingers in the clay:
When you work with a fresh lump of clay, you must not dig your fingers too much to create a hole in it. Digging your fingers deeper allows air to get trapped in the clay body. And trapping of too many air bubbles in the clay body will create obstructions in proper blending.
Do not add too much water while wheel-wedging your clay:
While wedging your clay on a potter’s wheel, it’s better not to pour too of water. Adding a lot of water makes the clay softer and slurrier, which, in turn, reduces its workability. When the clay is too soft, you can hardly shape it. So, it is better not to wedge too much when you are wheel wedging and avoid excessive use of water.
Take a small amount of clay for wedging:
Taking a large quantity of clay at once will make your wedging job much more difficult. Wedging includes a lot of hand activities, and when you take too much clay, it becomes difficult to control the amount. It is better to take little amounts of clay together and wedge it, as it will blend more appropriately when the amount is small.
Also, it becomes less tiresome and frustrating to work with smaller amounts. Thus, experts recommend wedging only up to 3 pounds of clay at once and not more than that.
Do not take too much-contrasting clay colors:
When you are mixing two types of clay, make sure you are not choosing too many contrasting shades. Similar kinds of shades with minute differences get mixed up easily, whereas clays with too many different colors don’t mix easily and take more than 200-300 wedges, which is tiresome and hard enough to accomplish.
Keep your hand position right:
Your hand position matters a lot in wedging the clay properly. Wedging involves rigorous pushing of your clay while slapping it back. Also, keeping your fingers active determines the wedging quality. When you are wedging the clay, make sure you are keeping the wedging speed moderate. Being too speedy or too slow is not going to lend the clay particles the proper consistency. Keep your hands in a comfortable position from where you can offer better control and pressure, and go on wedging with perfection.
Do not bend too much on the wedging table:
When you bend too much on the wedging table, you lose the pressure over your clay. While wedging, make sure you are not bending too much, or else you will lack proper control over the clay. Also, it promotes back pain and spine-related issues when you work for a long time in a bent position.
Make sure your hands are not too oily:
While wedging your clay properly, make sure that your hands are not sweating too much or containing oil. If you have applied any lotion to your palms, wash your hands before starting with wedging. If your hands sweat too much, keep wiping it using a towel. Otherwise, it will add too much moisture to the clay, which will make it stickier.
Pay special attention to removing all the air bubbles:
As we have mentioned earlier, you must wedge the clay properly to get rid of all the air bubbles present in it. The air bubbles present in the clay are going to stay trapped inside. It might cause an accident when the clay is fired inside a kiln. The trapped air bubbles in the clay body lead to the explosion or bursting out of the pottery. So, it is better to remove all the air bubbles from the very beginning to make sure that your pot is not going to face any disaster inside the kiln due to those notorious air pockets.
Do not wedge the fresh clay too much:
There is no need to wedge too much if the clay is fresh. If you are cutting a new packet of clay, then the clay is said to be fresh and untouched. And there is no need to wedge such clay too much. Wedging fresh clay about 20-30 times will be enough as the new store-bought clay does not contain any air bubbles.
Too much wedging is only applicable when you are working with two different kinds of clay or considering recycling the old clay. Also, if you want to add color to your clay, then you need to wedge it 100 times or more. Otherwise, it’s unnecessary for the fresh clay pieces.
Know how much wedging is needed for the process you are using:
How much you need to wedge your clay depends on the wedging method you have adopted. Not every wedging process takes the same amount of time to blend. Some require more than 30 minutes, while others take about 3-4 minutes.
Based on the type of wedging process you are going to apply, you need to know how many times you should wedge the clay. So, here is how much you need to wedge the clay, depending on the process.
Wedging process |
How many times do you need to wedge? |
Rams head method |
Wedge the clay 200 times to reach the right consistency. |
Spiral method |
100 wedges are enough to blend the clay properly. |
Stack and slam method |
Cut the clay into 15-25 slices to blend it properly. Also, it will need around 140 slams. |
Wheel wedging method |
4-times of towering up the clay is enough to wedge it properly. |
Consider using a pug mill:
Though it is a bit costly alternative, using a pug mill for the clay wedging process is going to make your job faster and easier. The machine comes with horizontal chambers at the top where you need to put the clay. Then, the metal cylinder of the machine augers the clay inside and wedges it properly. The other end of the device discharges the blended clay.
Bottom line:
Wedging your clay is the best way to achieve a smooth texture from the lumpy clay. It adds more plasticity to the clay and removes all the air bubbles to give you the best results. Implementing the tips mentioned above during wedging will help you in many ways to acquire the best technique for pottery making. We hope this article will be beneficial for your learning. Keep creating the best of your pottery pieces using these tips.
Happy sculpting!


