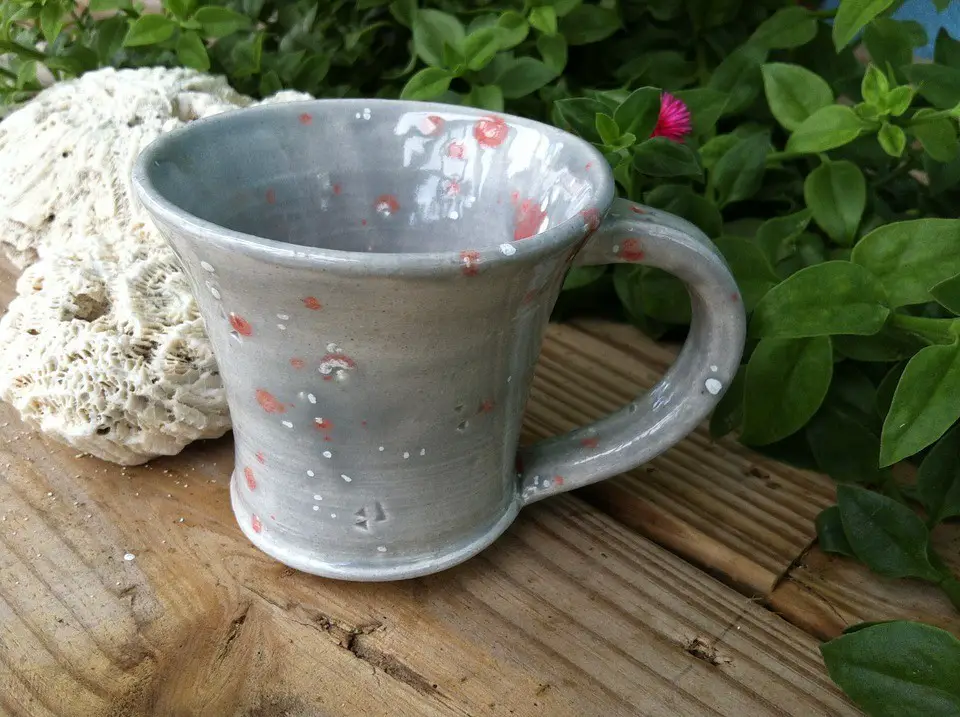
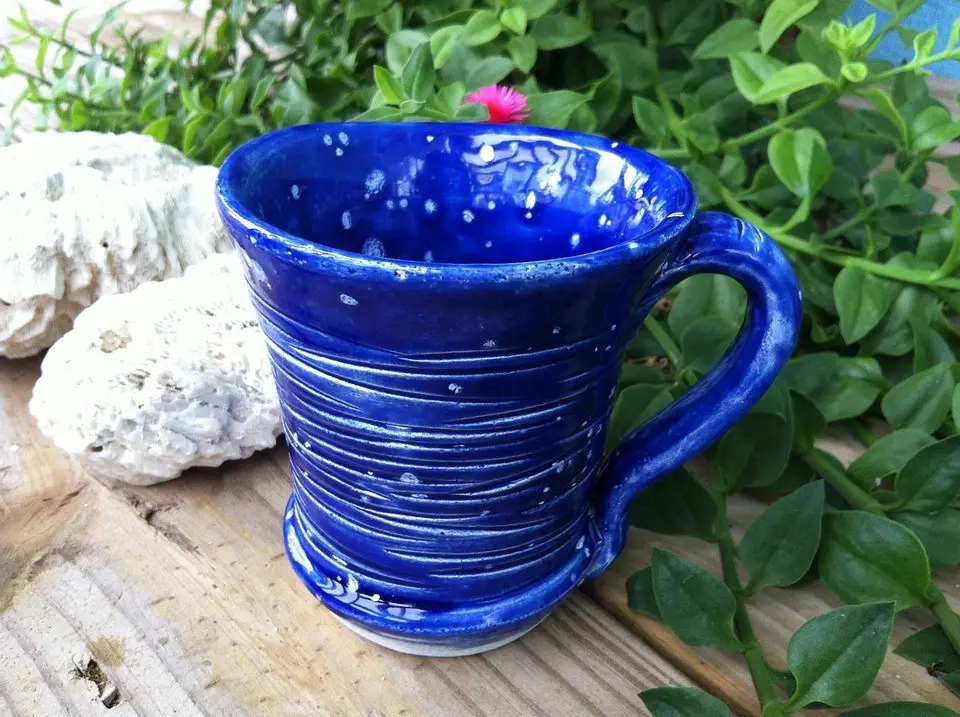
Some people like certain types of homemade pottery. If you don’t have a wheel, you can still make some awesome pottery pieces. One super popular pottery people you’ll love, are hand-built pottery mugs. They look great, and they are often perfect gifts for some people. If you’re curious about hand-built pottery mugs, here are some ideas that you can try!
Why a Hand Built Pottery Mug?
The first thing you may wonder, is why consider hand building it? Why don’t you just use a wheel to create them? Well, there are a few reasons people choose this option, and they are the following:
- Hand-built pottery mugs look unique
- They cost less to make than buying a wheel and getting everything for that
- They typically don’t take a ton of work, not much more than throwing on a wheel
- It tends to hurt your hand a little less
Hand-building pottery is incredibly popular, and in my opinion the first step you should take when learning pottery. Why is that? Well, it’s because a hand-built pottery mug often is simple to do, and you only need to learn a few techniques to do so. It’s important that you do learn these before you begin, but it should not take more than a few minutes to understand.
What are they Good Gifts for?
Some people make hand-built pottery mugs as gifts too. I think that’s a great idea! Why is that? Well, usually they work well for just about anybody. If you’re trying to save a little bit of money this year, and you don’t want to spend a ton of money on someone, if you have clay, and you know how to score and slip your work, then you’re in business!
Some holidays where hand-built pottery mugs work include the following:
- Mother’s Day
- Christmas
- A birthday
- Father’s Day
- A day to commemorate an event
- A welcome gift
- A goodbye present
I’ve given these hand-built pottery mugs to plenty of people in the past. They tend to love them, and that’s something I enjoy about this. It creates a sense of satisfaction. If you love to give homemade gifts, this is a great thing to consider. I personally feel that these gifts are perfect for most people.
These are meaningful gifts because of the following:
- They are unique, practically nobody else will have this and no one will have the same one you do
- They’re super cheap to make
- They are meaningful because you did put your heart and effort into it
- They matter more than just giving a gift card or another gift
Our society is practically obsessed with giving the perfect gift to the one that we care about and love. Even if it’s a trivial holiday such as a welcome gift, these matter way more than just buying someone a gift card, or some physical gift. It’s a different idea that you can consider whenever you’re thinking about trying to put together a gift for someone.
Slab Built Pottery Mug
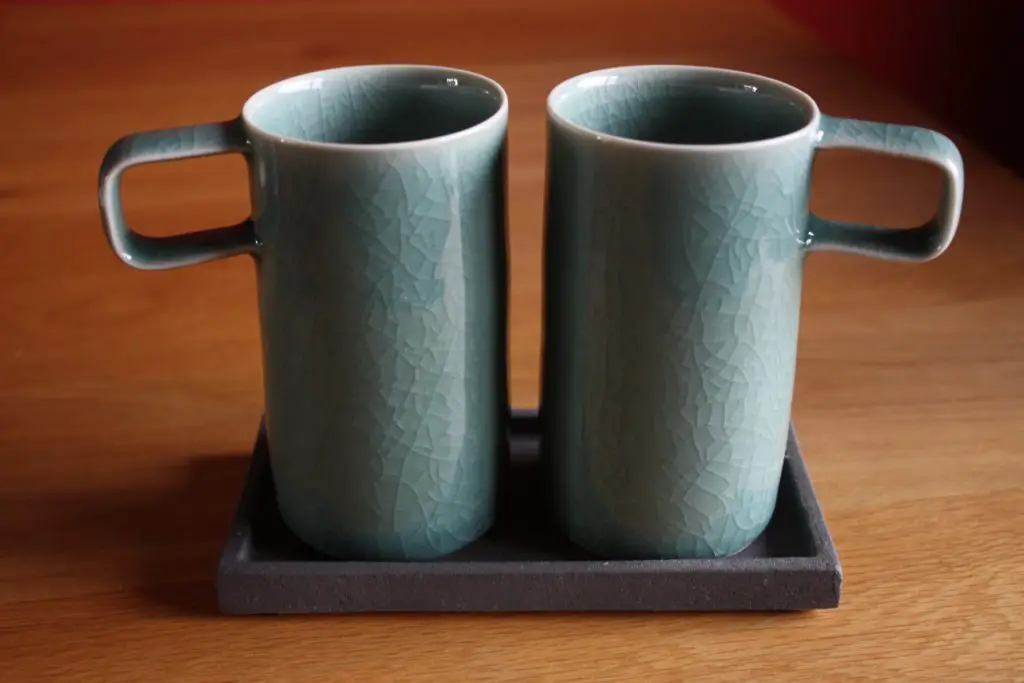
First, let’s talk about a slab-built pottery mug. This is probably the most popular type of mug, and you must have the right materials and space for everything.
Some materials that you need include the following:
- Clay (obviously)
- Slip or magic water
- Trimming tool
- Potter’s needle
- Modeling tool
- Glass to be a template
- Carpenter’s square or ruler
The last two materials on the list are optional, but they make the job way easier for you. When it comes to the magic water or slip, a slurry or some waterworks as well for this. You need this because if you do utilize each of these, it makes the job easier.
To make this, you need to start with the bottom of it. The steps to make this are as follows:
- Use a jar as a template to make a circular floor of this.
- Remember the wall is attached to the top of the floor, making it big enough. You can use a cloth-covered board to make it wrap around this, and you can use a little bit of water to stretch this out.
- Roll the slab out to a thickness that is about a quarter inch.
- Put the jar near the middle, cutting directly around it to impress the jar and improve the quality.
- Using a potter’s needle or the fettling knife, cut the circular floor, taking off the excess clay.
At this point, you will be making the wall of the mug, which is quite easy for you to do, and here, we’ll discuss how you can make this easily:
- With the rolling pin, roll out a slab that’s about the same thickness as the bottom of it. If you need to figure out the length, get a string and loop it around for circumference.
- From here, make sure that you roll it out to slightly larger than it needs to be, and then, you can determine the tallness of the mug itself.
- Using both a ruler and a carpenter’s square, you can cut the rectangle out of the middle area of the slab. Make sure that the long sides equal the circumference of the floor, and the short ones equal the height.
- If you have soft clay, let it start to harden before you do anything else. It shouldn’t be leather hard but needs to support the weight of the mug.
- Once you’ve got it stiff, you want to score and slip the top edge around the long side, and both of the short sides where they will stick together.
- From here, once that’s done, you attach the wall to the floor first.
- Next, you want to attach each side to make a cylindrical shape similar to the body of the mug.
- Make sure all of the joints are welded together, both on the outside, and the inside of the mug.
- You can always add small coils for an extra touch.
- Sometimes, welding the inside works better if you put it on the side, attach the coils, and from there, press it in to blend into the wall itself.
At this point, you should try to put together the strap of the mug, and this will be the handle. To do this, you should do the following:
- Roll out a slab that’s even in thickness to the wall and the floor of your mug.
- Using a ruler, cut it to the length you so desire.
- Make sure when you do this, you can take into account the shrinkage that may happen. Some people may use different handles too for this.
- Once you have it put together, you want to slip and stain this, and then weld the strap to the wall of the mug.
- You should, with this, make sure that the joints are super strong because the handles deal with a ton of stress, so you want to make sure that they will stay on there.
- From here, you can clean this up, whether you want to use slab-built rims that are a bit rounded so that it’s more comfortable for the user to use.
And there you have it! Slab-built mugs are probably the most simplistic types of mugs to create, and if you’re ready to really make it work for you, you can use this tutorial to make some great mugs, and it definitely does really make a difference in how they turn out. Plus, it’s simple, and it’s a great beginner gift that you can give to others.
Ideally, all of these should be bone dry through a bisque firing, and then you want to use a food-safe glaze on this, and you should make sure that the glaze is glossy near the surface and the rim is thick enough to create a surface that’s round and comfortable. The ideal level of firing is cone 7 in an oxidation atmosphere.
Coil-Built Pottery Mug
You can make a coil-built pottery mug too. Now, this one isn’t really that good for consumption if you don’t waterproof it, or if the sides are not fully closed up, but if you want to make it a good holding place, you can do this quite easily. It’s definitely simple, and they look great, plus it’s a fun beginner mug you can try.
To make this, you do the following:
- First, you roll out the slab of clay with either a slab roller or a rolling pin.
- Cut the slab to about ¼ inch in thickness, and from there, you want to make the coils either by hand or by the extender.
- From here, you score and slip the base, and from there, roll the coil.
- When you’ve made a wall, you cut the coils as you can, making sure it’s an even wall.
- You can pinch the interior of the coil easily, merging all of these with your hands and blending them in.
- The outside can be smoothed using a rib, and from there, you essentially do the same thing. Remember, the base of this should be not as thick as a bowl, but also not too small that it won’t hold anything.
- For the next one, you put the second one on there, and then you don’t slip and score this one, but instead, smudge it.
- From here, keep adding the layers, doing about three at a time before you smooth and blend it, only using the slip and score as needed.
- If you’re cutting a coil to fit, make the cut at different points instead of one above the other. That can cause leaks and breakage during the firing, which is what you don’t want.
- To widen it a little bit, you can use longer coils, and from there, you can work with pre-made coils that will stay soft and moist.
- For the rim of the mug, you can make it the same way, but make it a little bit longer so that it extends out if you want. Some people like them as smooth or not smooth.
- You should make sure that, if the mug is taller, you don’t leave it too heavy for it to hold its weight.
- If you’re worried about the mug not holding itself upright, cover it, and then let it sit to harden before you come back to it.
- You can paddle the sides to create a smoother shape, but again, that’s at your discretion.
At this point, you should take some time, let it sit to harden, and fix anything as needed. Also, think about the types of handles that you want, and from there, you can make them. These types of mugs may have to be tightened up just a little bit to get them to be resistant to leakage, but it is possible to use these for consumption. They are simple, and they are similar to slabs as well, which means they’re quite easy to work with.
Pinching Pottery Mug
Finally, there are pinch pot mugs. Pinching is probably the easiest form of making a mug, but they’re usually the least refined. You’ll notice that it may be a little bit uneven, but if you want to learn how to work with clay, this is my personal favorite.
To do this, you must first do the following:
- First, form the ball out of a piece of clay, and keep it about the size of a tennis ball.
- From here, you want to take your dominant hand and thumb and punch a hole to the center, leaving 3/8 of an inch of thickness at the bottom of this.
- Literally, from here you start to do a backward pinching motion, which is pulling out the sides of this, and continue to pinch with the thumb and fingers.
- When you pinch evenly, rotate the clay within the hands, moving in a slow spiral from the bottom to the top.
- Pinch the piece from the bottom to the top five times, being a bit careful about how thick you go with this.
- Remember, you want to create a flat bottom, but the sides are not so thin that they have holes in them.
- Create a look that you want out of this, whether it be uniform or less uniform.
- From here, wait for these to dry to become leather hard, which means strong enough to shape.
- At this point, you want to use a sponge that is barely damp to smooth everything out or fix any shaper angles.
- At this point, you can lightly press and change the sides of the mug as well, making it so that you can create a taller form as needed.
- At this point, you can put handles on it. That’s to your discretion, but some people like to make them almost bowllike with no handle. It’s up to you.
- You can decorate these, or not do so. You should use an underglaze, use a needle tool, and from there, you can glaze this too to make it waterproof. You can make this special with whatever you do.
- When doing this, make sure to put it through a bisque fire first before you use a clear glaze to waterproof it.
- Glaze it, and then fire it a second time, and then there you have it.
Pinch pottery mugs are different, but they create a unique, almost unrefined sort of pottery, which is something that I love about it, and it’s probably my favorite type of pottery mug to create.
Other Skills Needed?
When it comes to making these, I suggest that you know how to utilize a couple of skills, and they are as follows:
- Slipping and Scoring
- Wedging Clay
- Manipulating clay into different shapes
- Knowledge of waterproofing vessels
Before you begin, I do suggest reading about that, there are a lot of other articles on our site that can give you information on how to do each of these since this can help you create the best mugs that you want without the use of a wheel.
What About Handles?
I discussed earlier the different types of handles that you could make. It’s important to understand that you can do a whole lot with this, including coiled ones and slab ones.
To make the Strap and coil handles, you do the following:
- First, you cut and roll the slab out.
- You attach it to the back with scoring and slipping.
- For a coil handle, you should roll it out, with the same thickness as the pottery walls.
- You can also even these out and then stick them together.
There are also pull handles, which are different types of strap handles. Some people like them because they’re more fluid and organic. They also tend to last longer.
To make this one, you do the following:
- First, you wedge the clay and make sure all the air particles are gone.
- You want to form a carrot shape with the clay, to create a handle and the body.
- You take the clay in one hand, smooth it down as you go, and from there, try to make it as long as you can.
- Sometimes hanging it over the edge is the best way, and you can get each side to dry out before you attach it.
- From here, cut the tools to the ideal length, and then score the pot to where you want to put it.
- You should keep this leather hard, and it should be dry enough to create a gentle curve, and from there, you can slip and score the pots and attach them to the handle.
- Let it dry, and then get ready to fire it.
Handles are an integral part of mugs, and you can try to make them as best as you can. The right handle does make a world of difference. I prefer the handles that work for you and ones that you can get a ton of uses out of, which ideally usually are the first two. But, if you want to make it so that it’s more decorative than functional, you can always just try a teapot handle or even leather straps. The possibilities with this are truly endless, and you’d be surprised at how much of a difference this does end up making for yourself, and for others as well. Creating the best handles you can is a part of creating mugs, and it’s something that you should ultimately do.
Mugs are Fun!
Pottery mugs are really fun to make and ultimately are the perfect ones to create at the beginning. I do suggest getting into hand-building pottery mugs if you want to do the following:
- Learn pottery
- Don’t want to invest too much in the beginning
- Want to make something easy, and within your skill level
- Want to work with your hand and have some fun with it
When it comes to pottery, you should do what is right for you. I think these are great gifts, and with these ideas, you can utilize these styles, treat them with different stains and glazes, and from there, create the ultimate pottery experience that you can, and from there, have a much better, and more worthwhile time with this than you’ve had before. Create pottery that you love, and do so now, so you benefit from it whether it be.


