We already know that making coil pottery is fun and creative. However, it is not just about shaping the clay. The real magic happens when we add colors and shine. It is done through a process called glazing. This article is here to make glazing for coil pottery easy to understand. We will discuss making your colors, determining if you want a shiny or smooth finish, and trying different techniques to make your pottery look even more impressive. Let us dive into the colorful world of glazing!
Understanding Coil Pottery Glazing Process
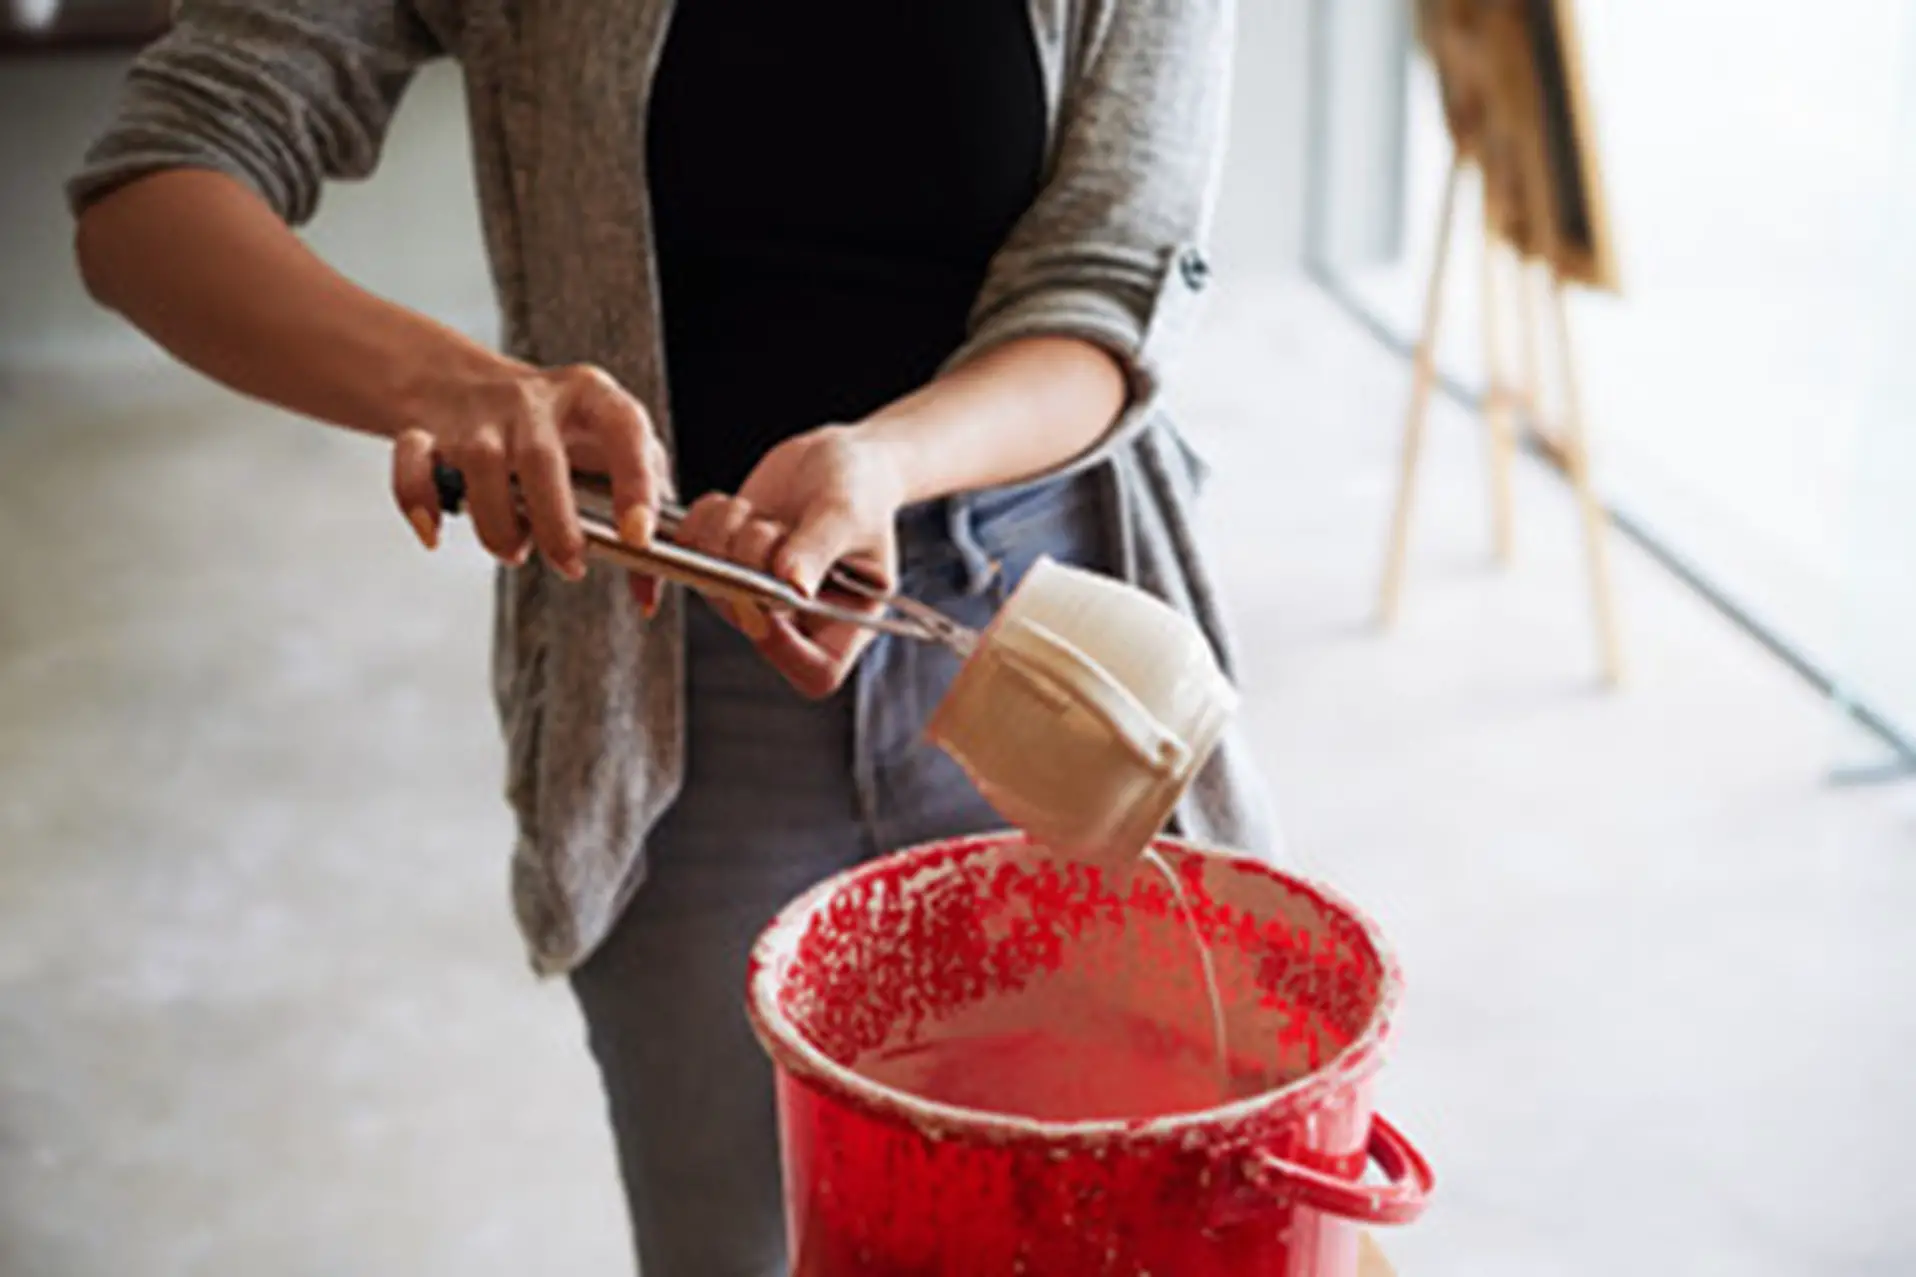
Before delving into the world of glazing, it is essential to ensure that your coil pottery is ready for this final step. The pottery should be thoroughly dry and bisque-fired. Bisque firing involves the initial firing of the clay. It is done to enhance the stability of the pottery item. It will also prepare it for the glazing process.
How to Make Glazes for Coil Pottery?
Making your glazes may seem daunting at first. However, it can still be an enjoyable and rewarding process of the coil pottery-making experience. Moreover, the key ingredients are readily available if you search for them. They are mainly clay, silica, and various metal oxides. Try experimenting with different proportions of these elements. In a way, you can create a palette of colors. It can suit your artistic vision.
Glossy vs. Matte Glazes for Coil Pottery
When choosing a finish for your coil pottery, we have two options. It is between glossy or matte glazes. Glossy glazes make the surface of your pottery very reflective and shiny. It creates a very visually striking effect. On the other hand, matte glazes provide a more subdued and non-reflective finish. The decision between the two mostly depends on your style. Some artists even opt for a combination of glossy and matte glazes. It adds further complexity to their pieces.
Glazing Techniques for Coil Pottery
Now, let’s explore various glazing techniques in simple terms, ensuring that even beginners can grasp the basics:
- Dipping Technique
The dipping technique is akin to immersing your coil pottery into a pool of glaze. It creates a transformative and uniform coating. Picture it as though you are submerging your piece into a bucket filled with the chosen glaze. It ensures that every inch of the surface is covered. The immersion guarantees an even and consistent application of the glaze. The simplicity of the dipping technique makes it accessible even for beginners. It offers an effective way to impart a beautiful finish to your coil pottery.
- Dripping Technique
In the dripping technique, the glaze is poured onto the pottery. It allows the glaze to cascade and naturally flow down the surface. This method introduces an element of spontaneity. This is because the glaze takes its path, creating a visually dynamic and unique pattern. To exercise control over the direction and intensity of the drips, gently rotate your coil pottery as you pour. The result is a captivating and organic design. It adds an element of artistic unpredictability to your piece.
- Brushing Technique
The brushing technique is akin to painting with glaze. It offers a hands-on and controlled approach to the application process. You can apply the glaze directly onto your coil pottery using a brush. This approach makes it ideal for intricate designs and detailing. This method allows for creativity and precision. It enables you to experiment with various strokes and patterns. The brushing technique allows artists to bring their vision to life with a level of control. It enhances the overall aesthetic of the pottery piece. However, ensure that high-quality brushes are used for optimal results. In this regard, CONDA Paint Brushes are one of the best buys for glazing your coil pottery.
- Splattering Technique
The splattering technique is a delightful choice. It involves dipping a brush into the glaze. After that, you only need to flick it over your coil pottery. It allows tiny droplets to scatter across the surface. This method introduces a touch of whimsy and imparts a sense of randomness to the glaze pattern. The result is a lively and energetic finish. It can evoke a playful and carefree spirit in your coil pottery.
- Stippling Technique
Stippling involves applying glaze using small dots or touches. It creates a textured surface. It adds depth and character to your coil pottery. Using a stippling motion, this technique can be executed with a sponge or a brush. The small, distinct dots contribute to a tactile and visually attractive surface. It provides an alternative to the smooth finishes achieved through other glazing methods.
- Glaze Trailing Technique
The glaze trailing technique is similar to drawing with glaze. A fine-tipped applicator bottle filled with glaze is used. It can create intricate lines and patterns on your coil pottery. With this, you can have a high level of precision. This method allows for detailed and elaborate designs. It is an excellent choice for artists who want to incorporate intricate patterns and fine lines into their coil pottery.
- Spraying Technique
The spraying technique involves using a spray gun. It evenly applies a layer of glaze to your coil pottery. This method is handy for larger pieces. It provides a smooth and uniform finish. The controlled misting of the glaze ensures a consistent application. It makes this technique an efficient choice for covering extensive surfaces. The spraying technique is favored for producing a professional-looking finish, especially on oversized coil pottery items.
Alternatives to Traditional Glazes for Coil Pottery
If you’re feeling adventurous, alternative ways exist to finish your coil pottery. Experiment with oxides and underglazes, or explore different firing techniques to achieve unique and unconventional effects that set your creations apart.
- Oxides
Experiment with metal compounds for unique colors and textures. Copper oxide creates blues and greens, while iron oxide gives warm, rustic tones.
- Underglazes
These colored liquids allow for detailed designs and vibrant patterns before the final firing, adding a personal touch to your coil pottery.
- Naked Raku Firing
Remove hot pottery from the kiln, creating crackled, smoky finishes with unpredictable patterns.
- Horsehair Raku
Apply horsehair to hot pottery, producing delicate carbon patterns for a one-of-a-kind, organic feel.
- Saggar Firing
Place your coil pottery in a container with combustibles for unique surface effects, allowing you to experiment with textures and colors.
- Neriage/Nerikomi
Layer and fold different colored clays, revealing intricate patterns when sliced, adding depth and complexity to your coil pottery.
Incorporate chemicals into the glaze for mesmerizing crystal formations during firing, creating intricate and sparkling patterns.
Conclusion
In conclusion, glazing your coil pottery is a delightful journey that adds character, vibrancy, and that final touch of magic to your creations. So, with glazing, you can make your pottery a true reflection of your artistic expression. You lean towards glossy or matte finishes, or you can use dipping or brushing techniques. In short, the world of glazing is teeming with possibilities. So, roll up your sleeves, get creative, and let your coil pottery shine, one glaze at a time!


