If you have just started experimenting with pottery firing, you would need a kiln to do that. However, for most beginner artists, a kiln can be an expensive investment. If you aren’t in it for the long run or simply don’t have the budget for it, alternatives should be tried for firing your pottery pieces. You must have heard that ceramics can also be fired inside an oven. But, what if you don’t want to ruin your oven or avoid contamination with any potential chemicals that might stay inside in the form of aerosols?
The key is to convert your old, discarded oven into a clay-firing kiln. But, how would you do that? Let us check it out!
Converting An Old Used Oven Into A Pottery Kiln
To start with, you need to take apart your old oven and check whether the parts are in good shape or do they need replacement. Start by removing the oven’s door, followed by the central heating core. Now, remove its old, worn-out fiberglass insulation padding.
Replace this padding with some high-temperature mortar and firebrick to serve as a base for the kiln. Next, get some fiber blanket and cut it into the right size by measuring all the inner walls of the oven. Once you are done cutting the pieces, fix them onto the walls of the oven.
When cutting up your fabric blanket, make sure you use long-sleeve gloves as these materials can be very itchy, especially if you have sensitive skin. Make sure you choose a fabric blanket that is bio-soluble. This means if you accidentally breathe the fumes or get some on your skin, it won’t go to your lungs or sit there as it happens with asbestos-based oven padding. This will help protect you from major health issues such as cancer.
One thing you must do for any type of fabric blanket for kiln firing is to seal it off for added protection from heat. Mostly a solution that contains colloidal silica mixed with water to get the job done. All you need to do is spray it all over the blanket, and you are done.
You can also add another layer of mortar on top of the fabric to prevent moisture-based degradation. The moisture that evaporates from the pottery being fired inside can seep into the fabric and cause rotting issues. To prevent this, sealant or mortar coverage is preferred.
For the next step, you need to install a digital temperature controller for your kiln. You can get a ready-made kit at your local store or shop for one online. The kit generally comprises these three parts that include:
- Controller Unit
- Thermocouple
- Relay
Let us understand how each of these parts helps with the temperature control inside your DIY oven kiln.
Temperature Controller Parts |
Function |
| Controller Unit | This is the outer unit used to replace the old oven temperature knob. It will help you decide the temperature for the DIY kiln and check the existing temperature maintained inside. |
| Thermocouple | A thermocouple is a sensor that is used to determine the temperature inside the DIY kiln. It can also sense any flame and hence alert you of any possible accidents. |
| Relay | Relays are designed to open up the electric flow circuit if there is an excessive flow of current. This helps prevent any unforeseen accidents that might happen during the pottery firing process. |
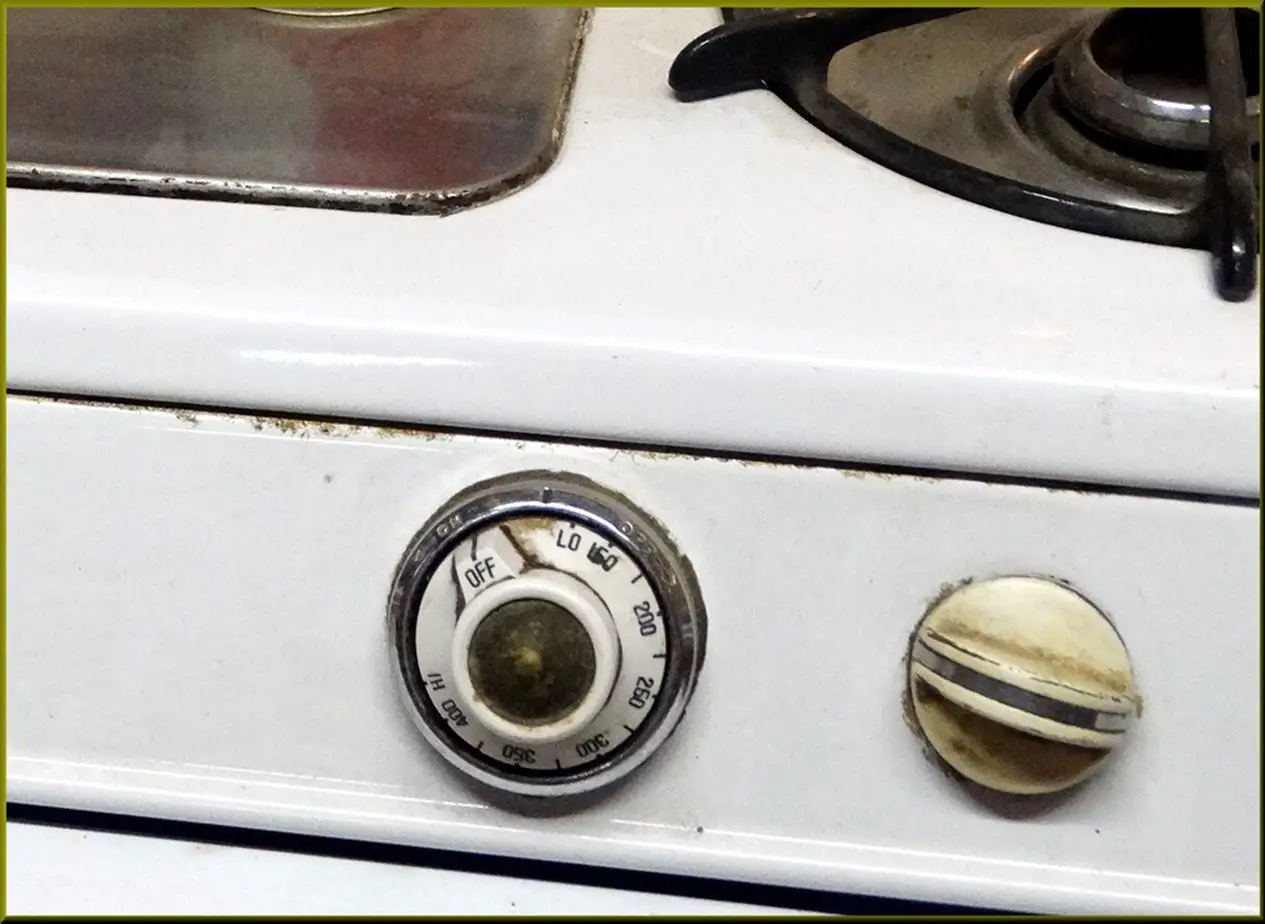
So, start by replacing the temperature control knob in the old oven. This is where you are supposed to attach the digital temperature controller kit. If it doesn’t fit in, you can cut the area to your desired shape and gently push the controller unit in.
On the interior side of the oven, start by drilling some holes to allow the wires for the temperature controller to slide in. You can use the old heating element from the oven and stick it right into the old hole and join the wires. At this stage, you can also paint your oven to help prevent any rusting possibilities. A great option is spray paint for faster application.
Next, you need to change the insulation in the oven door if it is no longer functional. Rock-wall insulation is preferred for faster heating. You can check how hot your DIY kiln gets by experimenting with some aluminum utensils and placing them inside the oven.
If your oven is able to melt the aluminum, you are almost there with your brand new DIY home kiln. At max, the project would cost you somewhere about $200 to $300. However, the cost can be reduced significantly by using all brick and mortar insulation as opposed to adding refractory blankets. The final decision is up to you, but it is recommended that you use refractory blankets for better results.
If you already have an old oven, the cost for this DIY setup would be as low as $150. But, if you got it from a second-hand product seller, the cost would add up. Regardless, the cost of this DIY project is way less than the amount you would have paid for a ready-made kiln for pottery firing.
Can You Fire Glazed Pottery In A DIY Kiln?
Keep in mind that the glaze added to your pottery piece isn’t always safe when used in the oven. Now, talking about your DIY kiln, it won’t be able to attain the temperature achievable with commercially-manufactured kilns. You might be able to achieve perfection with some low-fire glazes. However, you won’t be able to properly glaze your pottery piece and achieve permanency if it is high-fired clay.
So, make sure you choose a glazing option that works best in the low-fire temperature range. A great glazing option you can choose is the Sax True Flow Glaze Set with assorted colors. This set is comprised of 12 color-burst pints that are certified as non-toxic and fire at a low kiln temperature which is at cone 06.
Will My DIY Kiln Use More Electricity?
The oven kiln will use as much electricity as the temperature achieved by it. If it doesn’t achieve the high-fire temperature range as seen with traditional kilns, the electricity consumption will surely be minimal. However, it also depends on the parts used. If the parts are too old, the machine will use up more energy to reach a certain temperature. So, keep this in mind.
Conclusion
So, the next time you think of dumping your faulty oven in the trash, remember, you can make the best out of it with this DIY process. If you aren’t good with electronics, make sure you seek help from someone who is well-versed in this domain. Follow all safety procedures to ensure that you don’t harm yourself during this DIY process.

