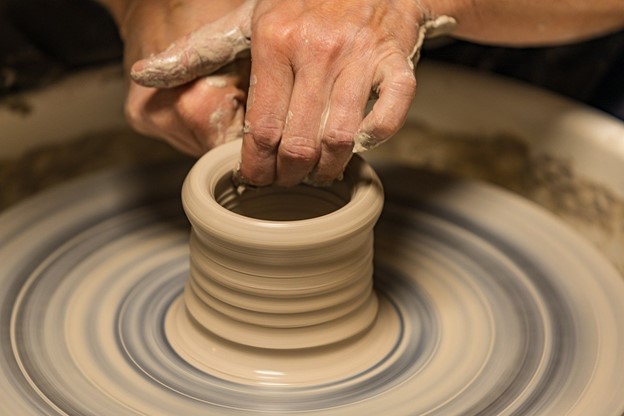
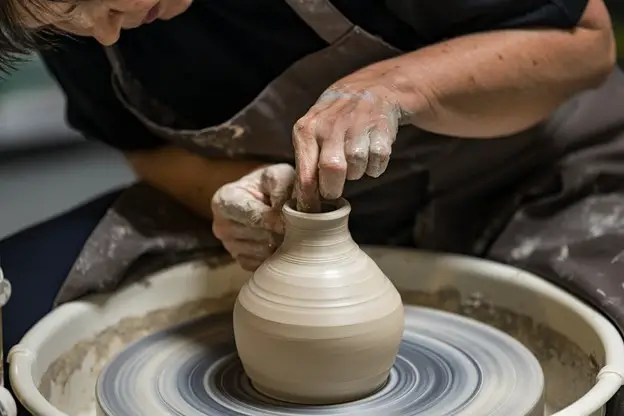
Clay variants such as ceramic clay or air-dry clay tend to dry out when exposed to air while working for long. In order to keep your clay workable, you need to ensure that it is moist for a long time. The key to preventing it from turning unmalleable and hard is to add the right amount of water as you craft your piece. However, this addition shouldn’t be too much or too little, just the right amount.
So, how exactly can you do that? And why does your clay lose water when molding?
Reasons for Clay to Not Stay Wet When Working
1. Pulling the Walls Too Soon:
One thing most beginner potters do when crafting a pottery piece is to pull up the walls way too soon. As you do this, a large surface area of your project is exposed to air in one go. This can lead to faster drying of the wall. The key is to pull up the walls slowly. This will ensure that the clay doesn’t dry out faster.

Plus, it will also avoid any cracking or breaking of the walls due to lack of moisture.
2. Choosing the Wrong Clay:
Depending on your expertise level, you can craft fast or slow. If you are a beginner crafter, it is given that your crafting process would be a slow one. So, what can you do to address this issue? The key is to pick a clay variant that addresses your working speed.
While some clay variants tend to dry out faster, others take their time. If you are a professional crafter, you can surely work with any clay you want. However, in case you are a beginner crafter, you would need clay that dries out slowly and gives you enough time to mold it just as you want. Clay variants like porcelain tend to pack in a good amount of water which would take longer to dry out as compared to other clay variants.
3. Environmental Factors:
Another major factor that comes into play and could lead to faster drying of the clay as you mold it into shape. If you are working with a fan in the room, the exposure to air could cause the clay to dry out fast. Apart from this, if you are working outside in the sun, it could lead to a faster reduction of the moisture content in the clay piece.
The key is to work in a place away from direct sunlight or a source of wind. If your workspace is humid, the clay will stay wet when working on the design. Having a humidifier would serve well in such as situation.
4. Not Using a Grog-Based Clay Mixture:
Grog is actually a mixture of fired pieces of clay that are ground and screened to a specific size and mixed with the clay you plan on using. This combination of grog and normal clay helps add a rustic and gritty texture to the pottery piece. This clay variant helps reduce shrinkage even aids the drying process by making it gradual as opposed to an unregulated one. The mixture also helps prevent defects like crow’s feet pattern, cracking, or lamination.
Here are a few tips and tricks to ensure that your clay body stays wet when working.
1. Keep a Sponge and Water Bowl in your WorkSpace:
When working on your new clay project, it is important that you have a bowl of water and a sponge by your side. Make sure it is within a reachable distance to help you dab some extra water onto your pottery piece as you mold it to your desire. An ideal choice you can opt to use is the versatile Mudtools MudSponge tool. This particular set of three sponge pieces allows you to dab in the right amount of water along with its kidney-shaped design that fits well in the palm of your hands.
Using the sponge allows you to dab in the right amount of water in your pottery piece without making it too watery or too dry. Alternatively, you can place a small water bottle with a spray top to allow you to mist out the clay while working. As far as your piece is hydrated in the right way, the moldability will be top-notch.
2. Wrap a Damp Towel or Paper on the Piece:
If you have an extra piece of clay lying around as you mold your pottery piece, you need to ensure that it doesn’t get exposed to air and get affected by the drying process. The key is to have a set of damp paper towels or cotton towels by your side to cover the clay piece when not being used.
This will ensure that the clay is ready for molding when you need to add more parts to the pottery piece. Before you start working with the clay, make sure you check the consistency of the same and whether it needs more water. If it does, make sure you dab in some more water to make it malleable.
3. Use Slip Instead of Plain Water:
When working with your pottery piece, you need to ensure that your hands are moist. Now, there is a difference between keeping the hands moist as opposed to keeping them wet. While plain water might not stay on your hands for long, using slip is the key. The slip allows you to mold the pieces with ease while maintaining the moisture content.
Slip is easier to use as compared to plain water. In addition, it adds to the quality of the piece being crafted by you while preventing unwanted drying of the pottery.
But, make sure you use the right kind of slip for the project and differentiate one from the second. Here is a quick table of the types available for use.
Types of Pottery Slips |
Features |
| Clay Slips | Liquified clay that is applied to the dry or wet greenware |
| Engobes | Engobes generally have a lower content of clay & can be used for bisque-firing of pottery ware |
| Casting Slip | Casting slip is prepared by using slips and mixing it with plain water along with a deflocculant like sodium silicate or sodium carbonate |
| Slurry | The slurry is a thicker variant of slip with a higher amount of clay as compared to water |
Conclusion
Apart from this, you must also remember not to get your wheel rotating too fast. This could lead to a faster drying out of the clay. So, try to slow down the wheel speed and wet your hands with slip regularly. Finally, keep dabbing water on the piece, whether it starts feeling too harsh on your hands, and you will have a masterpiece by the end of the day!


