Clay pots crafted by pottery professionals are durable and hard given the fact that it goes through the rigorous and chemically altering firing process in a kiln. However, if you plan on creating pottery in the comfort of your home, you might not get access to a professional kiln for the firing. Without a kiln, your pottery wouldn’t be as rock-hard or durable.
But, you surely don’t need to worry because the firing process is quite possible with a home oven.
Pottery Firing with a Home Oven
Firing with the help of a home oven is doable, but the results might not be the same as that of a kiln. With a regular home oven, you cannot reach a temperature that is as high as that of any industrial kiln. Pottery that has been dried in an oven won’t be as durable or hard as compared to the pottery fired in the kiln. Most potters choose to use clay variants that are made for oven drying as opposed to the standard clay used in pottery.
As a beginner enthusiast, you might be wondering what the best ways are to fire a pottery piece with no need to shell out your dollars for an expensive kiln.
Are Pottery Pieces Fired In the Home Oven Durable?
If you cannot arrange a kiln to fire your pottery pieces, don’t worry! Even your regular oven can get the job done and create some amazing and high-quality artwork with some creativity in the crafting process. No doubt kilns are effective in firing pottery, but as a creative artist, they shouldn’t be your only option. When created with care, your pottery pieces can be heated to a suitable temperature in the home oven for the right amount of time.
Such pottery pieces will last when maintained properly and taken care of.
Pottery Firing in Oven: Is It Fired or Dried?
This is something most artists get confused about. When talking about oven firing a pottery work, it isn’t firing, but rather drying. Your home oven cannot reach the temperature required to physically and chemically alter the pottery work and turn it into a durable piece.
However, it can surely aid in the drying process and speed it up for you. When you leave your pottery work to air-dry, it could take a long time to dry. Depending on the thickness of your piece, it could take as long as a week to air-dry completely. With an oven by your side, you can speed up the drying process and end up with a bone-dry piece.
How Can You Care For and Maintain the Oven-Dried Pottery?
Oven-dried pottery must receive special care and maintenance to last for a long time. Here are some tips for you to keep in mind while doing so:
- Always hand wash your pottery work as opposed to washing them in the dishwasher
- Refrain from dropping or bumping the pottery piece
- Do not microwave the oven-dried pottery
- Use a minimum amount of detergent & avoid using things that might stain the pieces
Here are some mistakes you might make when firing pottery in the oven:
| Pottery Oven Firing Mistakes | Solutions |
| Not using parchment paper on the baking tray | There is a chance that your clay piece might stick to the tray and dry as it is. Having parchment paper on the tray allows the pottery to be removed with ease minus the breaking. |
| Not air-drying the pottery | Air-drying your pottery helps the clay piece to dry in an even manner which helps avoid any unforeseen cracking issues. |
| Removing the piece immediately after firing | When you remove the pottery work immediately after firing, it is exposed to a fairly lower temperature instantly. This can cause cracking in the pottery work. |
| Creating very thick or very thin walls | When the walls of your pottery pieces are too thick or thin, firing could go wrong anytime. A piece that is too thick would not fire evenly, and a piece too thin would crack. So, make sure the thickness of your pottery work is somewhere around 1/4th the size of an inch. |
Tips for Oven Firing Your Pottery Work
If you plan to fire your pottery in the oven, you should do it correctly to avoid any random accidents or unforeseen circumstances. Here are the tips you can follow for a successful output:
1. Pre-dry your Pottery Before Firing in Your Oven:
It is essential to keep your potteryware dry at all points in time, especially while you fire it in the oven. If the clay is damp, leave it in a warm but airy place for a day or two. When you fire the pottery, it should feel much drier and lighter to the touch than when it felt damp. You may have a chipped or cracked piece if you put it into the oven without letting it dry enough or pressure it to dry fast. Waiting until it reaches a dry-to-touch state is essential to become a more substantial piece upon firing.
2. Place Your Pottery in the Oven’s Center:
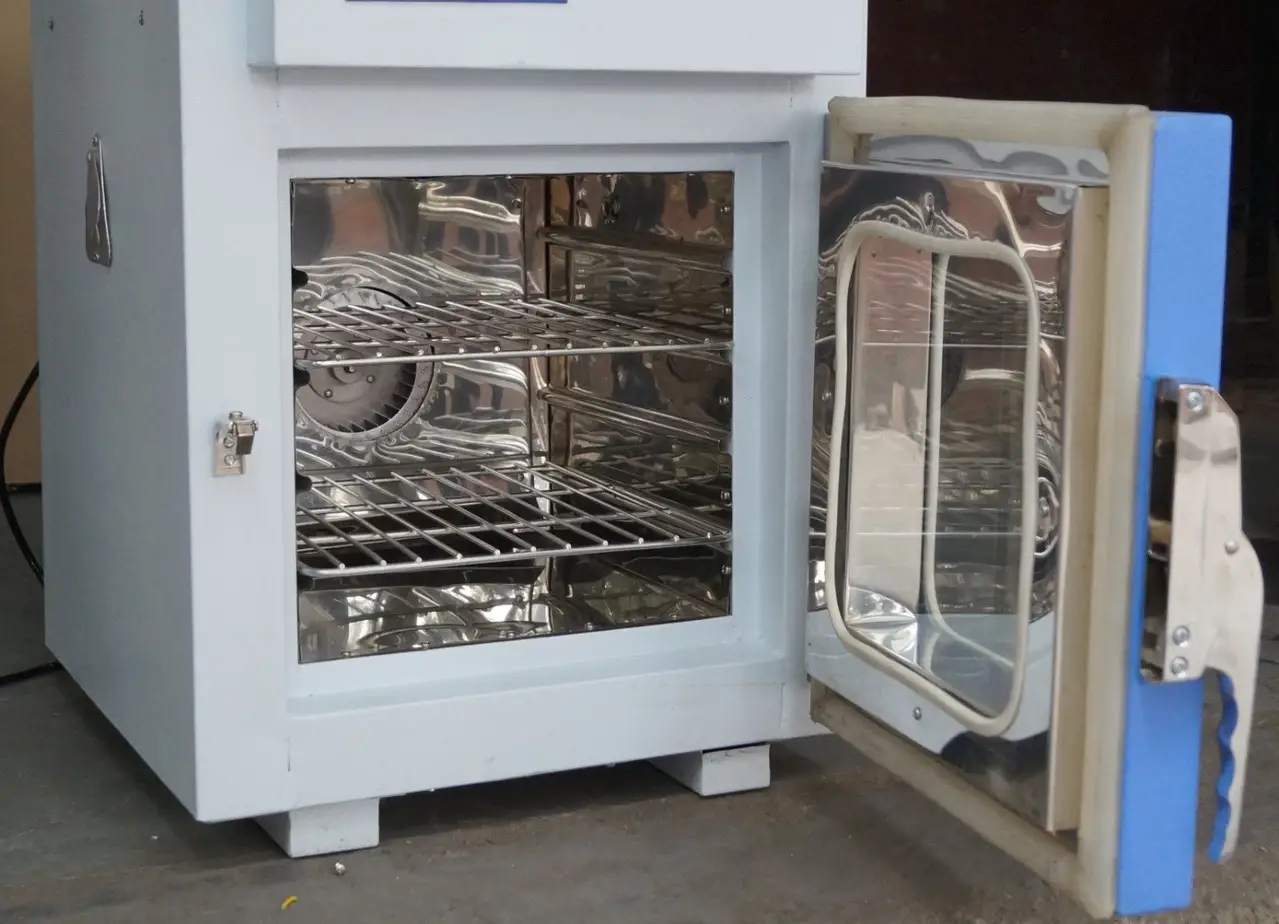
You must place them all in the middle, whether firing one, two, or three pieces of pottery. This method has two-fold implications; it helps the pottery stay out of touch with the sides of the oven and receives an equal distribution of heat on all sides. Using a drying rack can also help you when you are placing pottery in the oven. Racks are helpful for pottery drying, so choose the high-graded oven-safe ones. The P&P Chef Store Baking Rack is a beautiful option for this. It is made of stainless steel and qualifies as a heavily oven-safe rack for pottery.
3. Set the Right Temperature:
Depending on the thickness and size of the wares, you can modify the temperature and time you fire them in the oven. To fire the pottery properly in an oven, you need a minimum temperature of about 325° F. Sometimes, your home oven may not reach such a high temperature. In that case, you must set it to the highest possible temperature on the dial and fire it for much longer.
4. Leave It Inside the Oven Post-Firing:
Expert potters and clay artists advise waiting for their work to be removed from the oven. The sudden transition from oven hotness to room temperature provides an unhealthy exposure, which can eventually cause thermal shock cracks. Let your pottery cool down for 4-5 hours after the firing, and switch off the oven. When the temperature inside the oven is similar to or equal to that of the room outside, you can remove the pottery piece.
Conclusion
Apart from home oven firing, you can try other household firing methods like dustbin-based smoke or pit firing. However, home oven firing is still the best due to its ease of use in pottery. Other methods often prove labor-intensive in the long run. If your wares are usually meant for personal use, everyday gifting, or decoration, home oven firing will do just fine for you. It must be noted that such wares are less durable than kiln-fired pottery wares.


