
Air-dry clay doesn’t require baking to be hardened and made permanent. The only reason crafters tend to place it inside the oven is to fasten the drying process. This will help save up on any extra time spent in the drying process. So, essentially, you cannot fire or bake the air-dry clay, rather dry it or let the moisture evaporate faster.

In order to ensure that air-dry clay doesn’t burn out or crack during the baking process, you need to follow a thorough process. Here is a quick run-down of the right procedure for baking Crayola Air-Dry Clay.
Crayola Air-Dry Clay: How Can You Dry It In An Oven?
To dry the Air-Dry clay in a perfect way, follow these steps to a T:
-
Line your baking tray using high-quality aluminum foil
-
Now, place the sculpture on a baking sheet
-
Place your tray in the cold oven. Do not preheat it, or the sudden temperature change could lead to cracking in the clay
-
Once you have placed the clay inside the oven, set the temperature to its lowest setting, which is somewhere between the range of 200oF and 250oF
-
The baking period can vary depending on the thickness and size of the sculpture
Naturally, Crayola air-dry clay would take somewhere around 24 to 72 hours for complete drying. The hours required for drying can vary depending on how thick and how big your sculpture is. Moreover, the drying time is also gets altered by environmental conditions. Most manufacturers provide a drying time of 1/4th of an inch. So, if your sculpture is thicker than this, simply add on to the drying time.
Is Crayola Air-Dry Clay Perfect for Modeling Process?
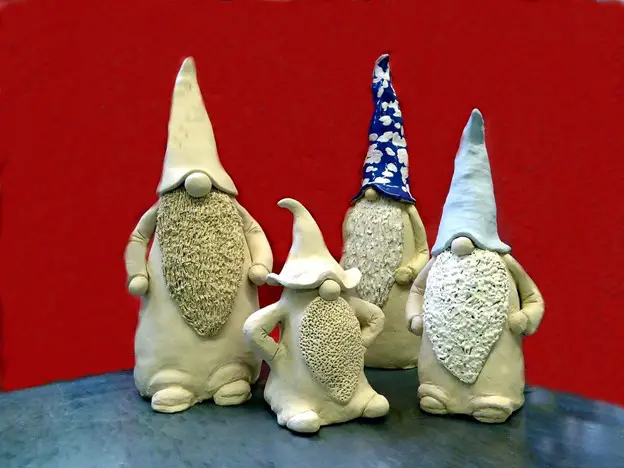
Crayola air-dry clay is ideal to be used for pinching, slab creation, coiling, welding, & scoring. It can also be used in the form of modeling clay. The clay is also great for embellishments in cards or other projects. The finished sculptures have to be dried up thoroughly. It might take up as long as a week for the project to dry up completely.
This clay is easy in terms of cleaning and molding. It comes in a high-quality re-sealable bucket that keeps the clay from drying out. Made of fine-quality, natural earth, this clay dries up to become solid and hard. It can be molded using traditional air-dry molding techniques.
Crayola Air-Dry Clay Features:
| Features | Air-hardening and non-toxic |
| Dry Time | 24 hours (varies depending on the thickness and size) |
| Color | White |
| State After Drying | Hard and Solid |
| Material | Made of White Earth (Natural) and Water-Based Mix |
Crayola is no doubt an improvement on the traditional air-dry clay variant. The texture is fine and smoother than before, with a less sticky design. Post-drying, air-dry clay can be varnished or painted. But, just like any other air-dry clay, Crayola can also dry up during the molding process. So, make sure you use just the required amount of clay and keep the rest in the re-sealable bucket to preserve the moisture. Air-dry clay can be colored with Tempura, watercolors, or even acrylic paint.
To know more about Crayola Air-Dry Clay, check out our complete review at Spinning Pots Crayola Air-Dry Clay.
Can Crayola Air-Dry Clay Break During Baking?
While the epoxy variants of the air-dry clay become tough fast without any cracks, the white earth variant could be fragile & even crack if the baking is done wrong. In order to avoid the cracks that happen during the baking process, do not place the sculpture in the preheated oven. The sudden temperature change can induce sudden expansion in the clay and hence induce cracks in the sculpture.
The key is to place the clay in an oven at normal temperature. Then, let it slowly pre-heat to the required temperature. Do not try to achieve the maximum possible heat in a short time frame. The hastened expansion could also be a major cause for cracks to happen.
Apart from this, if the air-dry clay doesn’t have the right amount of moisture in the mold, it could also induce cracking. While molding, you need to ensure that the sculpture’s layers aren’t too thick or too thin. In both cases, cracking could happen. So, the key is to follow the 1/4th of an inch rule. This thickness is ideal for sculpting with Crayola air-dry clay and doesn’t break or induce cracks in the project.
If you are unsure whether the project would do well during the baking process, you can simply prepare a dummy project for testing purposes. Then, place it in the oven to check whether it cracks or breaks during the baking process. This will help you decide whether the size, thickness, moisture content, or other add-ons work well.
Can Crayola Air-Dry Clay Stick or Burn to the Baking Tray?
When baking Crayola air-dry clay, you need to keep in mind that it doesn’t actually stick to flat and smooth metal surfaces. However, it will surely stick to rougher metallic surfaces. The same is applicable to baking trays as well.
This is why artists recommend that you should place aluminum foil on the baking tray to avoid it from sticking to the tray. Plus, it also ensures even drying of the sculpture from all sides and even the base.
How Long Should You Place Crayola Air-Dry Clay Inside the Oven?
To harden the air-dry clay, the ideal baking period is between 20 to 30 minutes when baked between 215oF and 300oF. Keep in mind that this temperature and time can vary depending on the brand and might not be applicable for variants other than Crayola.
Conclusion
The next time you plan on creating new artwork or a project, no doubt Crayola Air-Dry Clay is the best choice. Crayola is the easiest to work with and can easily be squished, sculpted, or reused before it dries out. The brand gives you a good time to sculpt the clay before it starts to dry out. So, you can craft with precision, and the oven-drying process can help you fasten the process when followed the right way!


