Transparent glazes are an essential part of pottery making. They offer not just protection but also an aesthetic touch to your form. While the modern versions of transparent glaze recipes help you explore your creativity, the traditional recipes offer a standard basis. However, no matter your skill level as a potter, you can still create transparent glaze using the correct instructions. We’ll discuss this in detail in the article given below. So, keep on reading to learn more.
Understanding Transparent Glazes
Transparent glazes are similar to a shiny finish for pottery. They give the surface a glossy, glass-like appearance. Let’s learn about them to understand their characteristics, purpose, and benefits.
- Characteristics
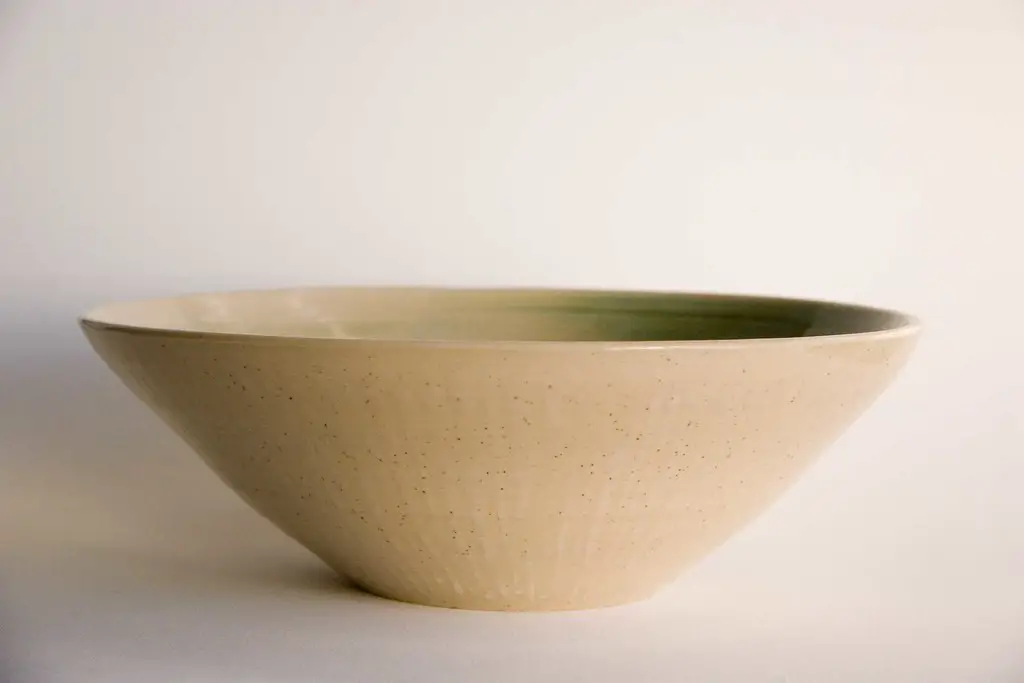
Transparent glazes are similar to shiny finishes for pottery. They give the surface a glossy, glass-like appearance. When applied to pottery and fired in a kiln, they melt and spread uniformly to form a see-through layer.
- Purpose
Transparent glazes are mainly used to protect pottery. They serve as a shield, protecting the clay from spills, scratches, and other damage. They also seal the pottery from liquids and rough handling. Transparent glazes also accentuate the colors and textures of the pottery, giving it a more attractive appearance.
- Advantages
Using glaze on your pottery has several benefits. It improves the pottery’s look by providing its colors with a more vivid and bright appearance and a glossy, polished finish that draws the eye quickly. Transparent glazes also offer longevity and durability to pottery by creating a robust protective covering that protects it from stains, water damage, and scratches. These glazes also provide painters with great adaptability because they can be mixed and used alone or in combination with other glazes to achieve various effects.
Exploring Various Transparent Glaze Recipes
Two main distinctions are made when discussing glaze recipes: traditional and modern variations. Both are good and used by potters all over the world. Let’s explore each in depth below.
- Traditional Recipes
Potters have passed down traditional transparent glaze recipes through the years. These recipes use essential ingredients and methods. The table below explains the ingredients and proportions, mixing and preparation techniques, and firing instructions for the best results.
| Ingredients and Proportions | Mixing and Preparation Techniques | Firing Instructions |
| Feldspar: 50% | Weigh out ingredients. | Apply glaze evenly. |
| Silica: 25% | Mix thoroughly with water. | Allow pottery to dry completely. |
| Whiting: 25% | Sieve mixture to remove lumps. | Fire pottery in a kiln according to recommended temperature and duration. |
- Modern Variations and Modifications
Modern potters often play with traditional methods, changing them to create specific glaze effects or features. Transparent glazes can be altered in many ways to produce the desired effects. If you want to change your glaze’s final texture, color, or transparency, you can adjust the components, substitute some for others, or add more. Add oxides or stains to your glaze to give it a dramatic hue or tint if you want to add color. You can add ingredients like Arabic gum or bentonite to increase how well your glaze clings to your pottery or spreads. The most excellent thing is that you can use whatever recipe or technique you like.
Recommended Transparent Glaze Recipes

Different transparent glaze recipes are available regardless of your level of pottery skills. So, let’s discuss the recipes you can create and use depending on your level of pottery skills.
1. Simple Transparent Glaze Recipe for Beginners
This recipe usually uses basic elements and methods that even pottery beginners can follow to ensure success. A basic formula needs equal parts of feldspar, silica, and whiting. The glaze is appropriately mixed with water to get a smooth consistency before being applied to pottery surfaces. Firing instructions are often standard, demanding that the pottery be fired in a kiln at the right temperature and time settings.
2. Intermediate Recipe with Variations for Texture and Finish
Try intermediate-level transparent glaze recipes as you learn pottery skills. These recipes include changes in components and amounts to create different textures and finishes on the pottery surface. To adjust the glaze’s characteristics, a recipe may contain other ingredients, such as ball clay or kaolin. Artists can change the formula to get specific effects, such as more glossiness or matte finishes. Firing instructions may be similar to those for novice recipes, but they can be adjusted to fit particular differences in glaze composition.
3. Advanced Recipe with Customizable Options for Experienced Potters
More complex transparent glaze recipes offer many choices for skilled potters looking for the perfect customization. Several components are often used in these recipes, providing precise adjustments to get what you want. Skilled potters might experiment with adding colorants, fluxes, or additions to get specific effects and textures in their glazes. The firing process requires close observation and supervision but might differ significantly depending on the glaze’s composition and intended results.
Additional Tips for Better Glaze Application
Several additional tips can be used when working with a transparent glaze in pottery. Remember them to avoid common mistakes.
1. Proper Surface Preparation
Applying glaze smoothly and uniformly needs careful surface preparation. Before applying the glaze, the pottery surface must be dust-free, dry, and clear of greasy residues or debris. You can use a moist sponge or towel to wipe the surface and give it time to dry. Also, removing any rough edges or flaws from the clay surface can help prevent glaze defects like pinholing and crawling. Several sponges are available on the market, but you can use the 12 Pcs Tack Sponges for perfect results at an affordable price.
2. Application techniques
How you apply the glaze can drastically change the final look. Try various application methods, like brushing, dipping, or spraying, to get the right finish and coverage. Applying the glaze too thickly or pooling it too much might result in uneven burning and defects in the glazing. You will need to be patient while you use the glazes.
Conclusion
Transparent glazes are crucial in pottery making. They offer much-needed protection to your form and add aesthetic appeal. It’s easier to make the recipe for transparent glazes for pottery when you understand their characteristics and techniques. But don’t worry — there is a recipe and method for potters of all skill levels.


