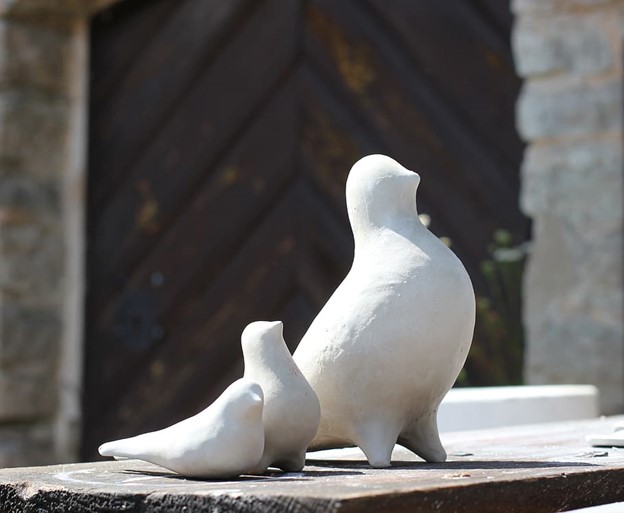
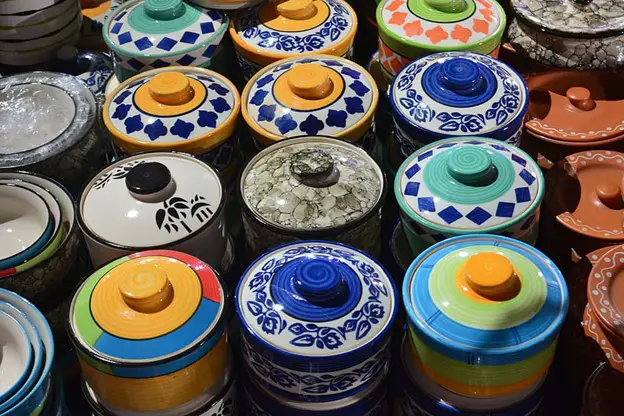
At some other point in our lives, we all have been a part of a project that involved the use of air-dry clay. This lump of malleable and soft clay is best for someone who has just started to tread in the world of pottery. It is easy to use and doesn’t require the involvement of a kiln firing process. Whether you plan to shape it in the form of wonky structures or your favorite superhero, this clay is beautiful and amazing as it is.
However, using air-dry clay the wrong way can leave you with a bad craft job, and you surely wouldn’t want your clay to go to waste. So, here is a quick guide to help you use air-dry clay the right way and enjoy it while you craft.
Crafting With Caution: Air-Dry Clay
1-Avoid Mixing Different Types of Air-Dry Clay Brand:
If you plan on experimenting with your clay, make sure you stick to just one brand for one project. While there is a standard number of hours required for air-dry clay to dry up completely, not all brands create their clay the same way. While clay from some brands might dry off faster, the one from others might take a tad longer.

So, mixing them up together can cause varied drying rates. While some parts would dry up fast, others won’t. This can cause the parts to break off or lead to unwanted cracks. This is why air-dry clay users must stick to a single brand for air-dry clay. You can surely opt for different brands for different projects but make sure you don’t mix two clay brands for one project.
So, if you are wondering what would be the best option for you, the DAS Air-Hardening Clay is just what you need. This 2.2lb block of white clay is best suited for all your projects.
2-Do Not Fan the Air-Dry Clay Project:
One thing there is to learn when you partake in an air-dry clay project is to let it dry at a natural pace. You must never place your project under a direct source of air. This will lead to expedited drying of the project and cause cracks all around. The key is to opt for a rather non-cold and non-humid drying process with ample ventilation. Let it dry for a reasonable time frame. Refrain from placing it in an oven or air-conditioned room to hasten the drying process.
3-Do Not Create a Clay Structure Smaller than the Base Layer:
If you plan to build your clay model on top of any base structure, you need to ensure that there is no shrinking. Else the base might show, and your project would look weird. However, with air-dry clay, shrinking is obvious. In such as case, always remember that your clay model should be a bit bigger than the base.
This ensures that your clay dries back the exact shape or is a bit bigger than your base layer. Apart from this, you also need to keep in mind that the clay structure might shrink onto the base, but the base won’t shrink in size. This means there is a chance for the project to break or at least develop some cracks. To avoid this, you can make use of crinkled paper or aluminum foil or even something spongy to stuff between the clay project and the base.
4-Never Use Cooking Oil to Prevent Cracking:
There is a popular trick several crafters use to prevent the cracking issues that occur with air-dry clay. Yes, you can surely do this while kneading the air-dry clay. You can put in some drops of your regular cooking oil in the mixture and use this clay for the project.
This does get rid of the cracks to a certain extent. However, you need to keep in mind the fact that air-dry clay, when mixed with cooking oil, might not dry out completely. So, your air-dry clay project might never attain that perfectly permanent state. Plus, it could invite mold formation if left wet for a long time.
So, this is not worth the risk. A simple slow drying process with properly planned clay thickness will get you the results minus the cracking issue.
5-Fill in a Crack Before it Spreads:
Remember how fast a crack in the wall spreads and grows bigger with each day you spend ignoring it? The cracks tend to widen and elongate due to the extra pressure that falls on the parts with no cracks. The very same rule applies to air-dry clay projects as well.
If you do see a crack forming on your air-dry clay project, make sure you take care of it immediately. Failing to do so can lead to the widening of this crack, and it could cause more cracks to appear all over the project that could be harder to repair. You can repair the crack in two ways. You can either make use of watered-down clay slip to fill into the cracks or simply stuff in some fresh clay into the cracks and dab in to set it properly.
6-Bake it for Proper and Faster Drying:
Well, you cannot use the kiln to dry your air-dry clay. However, you can surely bake it for faster drying and avoid the cracks in this manner. It isn’t like the polymer clay that creates fumes. Rather it is made from natural materials and can be baked in a standard oven.
However, you must ensure that you line the baking tray with aluminum foil. Doing this ensures that the clay doesn’t stick to the tray surface. Also, your oven must be cold when you put in your clay. Placing the air-dry clay in a pre-heated oven can cause cracking issues due to sudden temperature changes.
Here is a table denoting the time required to bake clay of varying thickness:
Clay Thickness | Curing Time |
| 1/4th inch | 15 Minutes (275oF to 285oF) |
| 2/4th Inch | 20 Minutes (275oF to 285oF) |
| 3/4th Inch | 25 Minutes (275oF to 285oF) |
| 1 Inch | 30 Minutes (275oF to 285oF) |
Conclusion
With these tips in mind, you can create an amazing craft item for your next project or even for some décor requirements. Artists always believe in the trial & error method. However, you can surely avoid the issues if you follow this guide to a T.


