Stenciling is a unique and innovative decorative technique in pottery art. Traditionally, the method to apply stencil paper is by cutting or tearing the shapes of paper and then attaching them to leather hard clay, thereby spreading the slip over the clay surface. Though this is the traditional technique, there are other ways to use stencil paper on pottery.
Hence, this article will discuss how you can use stencil paper differently to add a dimension to your pottery.
However, before we proceed with the stepwise procedure, let us understand why one must apply stenciling on pots.
Why Should You Use Stenciling In Pottery?
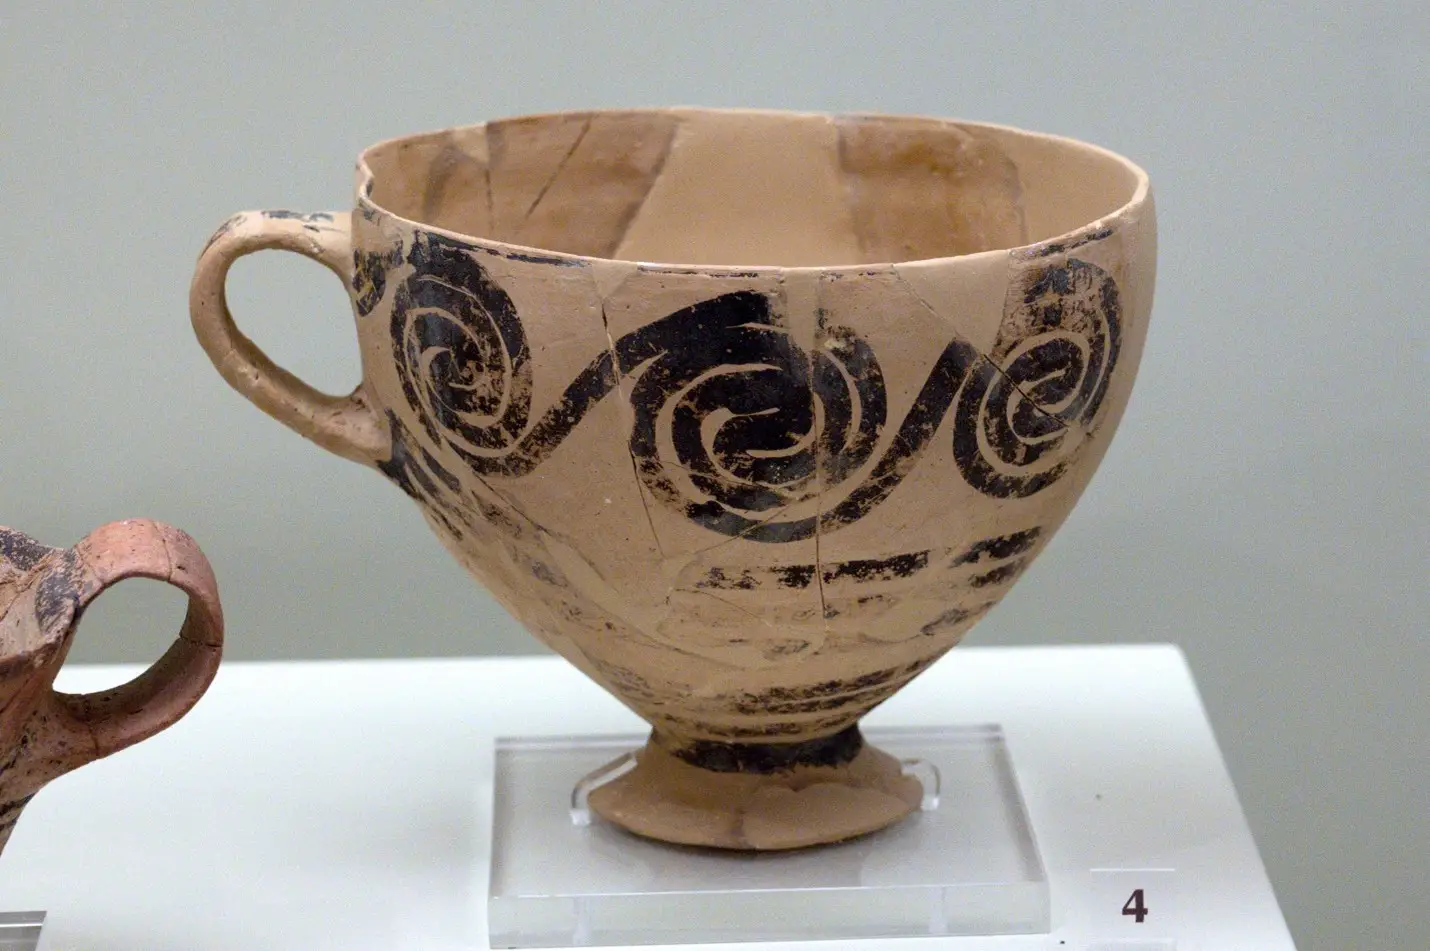
Stenciling is an effective way of applying repetitive and unique surface decoration on ceramic surfaces. There can be various types of stencil designs, and one can always infuse more creativity with them. Most artists use European block prints, Islamic architecture, and traditional American quilt designs to work on their stencils.
Now, let’s see how you can use stencil paper in a stepwise procedure in your pottery project.
Step 1: Choosing Unique Stencil Paper Materials
Various stenciling materials can be used to add dimension and create interesting textures, like shelf liners, doilies, lace, and lace paper. Following is a table where we have listed the stenciling materials and how you can use them.
Stencil Materials |
How To Apply Them? |
Shelf Liners |
Shelf liners are generally non-gripping materials that are pretty inexpensive, easy to cut, and typically have a collection of perforated designs. |
Paper Doilies |
They have pierced spiral, scallop, and heart patterns that can be cut apart and rearranged in various designs and textures. |
Laces |
Laces generally come in beautiful patterns that can be cut and rearranged, and you can come up with exciting designs. You can create various kinds of designs with lace stencil paper. Polyester and thicker cotton laces are generally more durable and can be used for different designs, thereby avoiding slip applications. |
Lace Paper |
One can also use Japanese lace paper, mainly made from manila hemp. With this material, patterns can be formed by dripping water on the sheets and creating a separation of the hemp. These fibers add a unique texture to the pottery. |
Step 2: Building Textures With Stencils
Try experimenting with the above-mentioned unique materials or use traditional stencil paper. The choice lies with you. For designing on stencil paper, you can develop a repetitive pattern to carve out certain objects. On the other hand, if you are thinking of outlining, try to create it easily.
You can cut the stencils by hand or using a sharp blade. If you are new to stenciling, you can purchase the stencils from a craft store. You can go for the 17 Pieces Stencil Template.

Once you have made the design, try to test it by using paint on the surface before you put it on the clay piece.
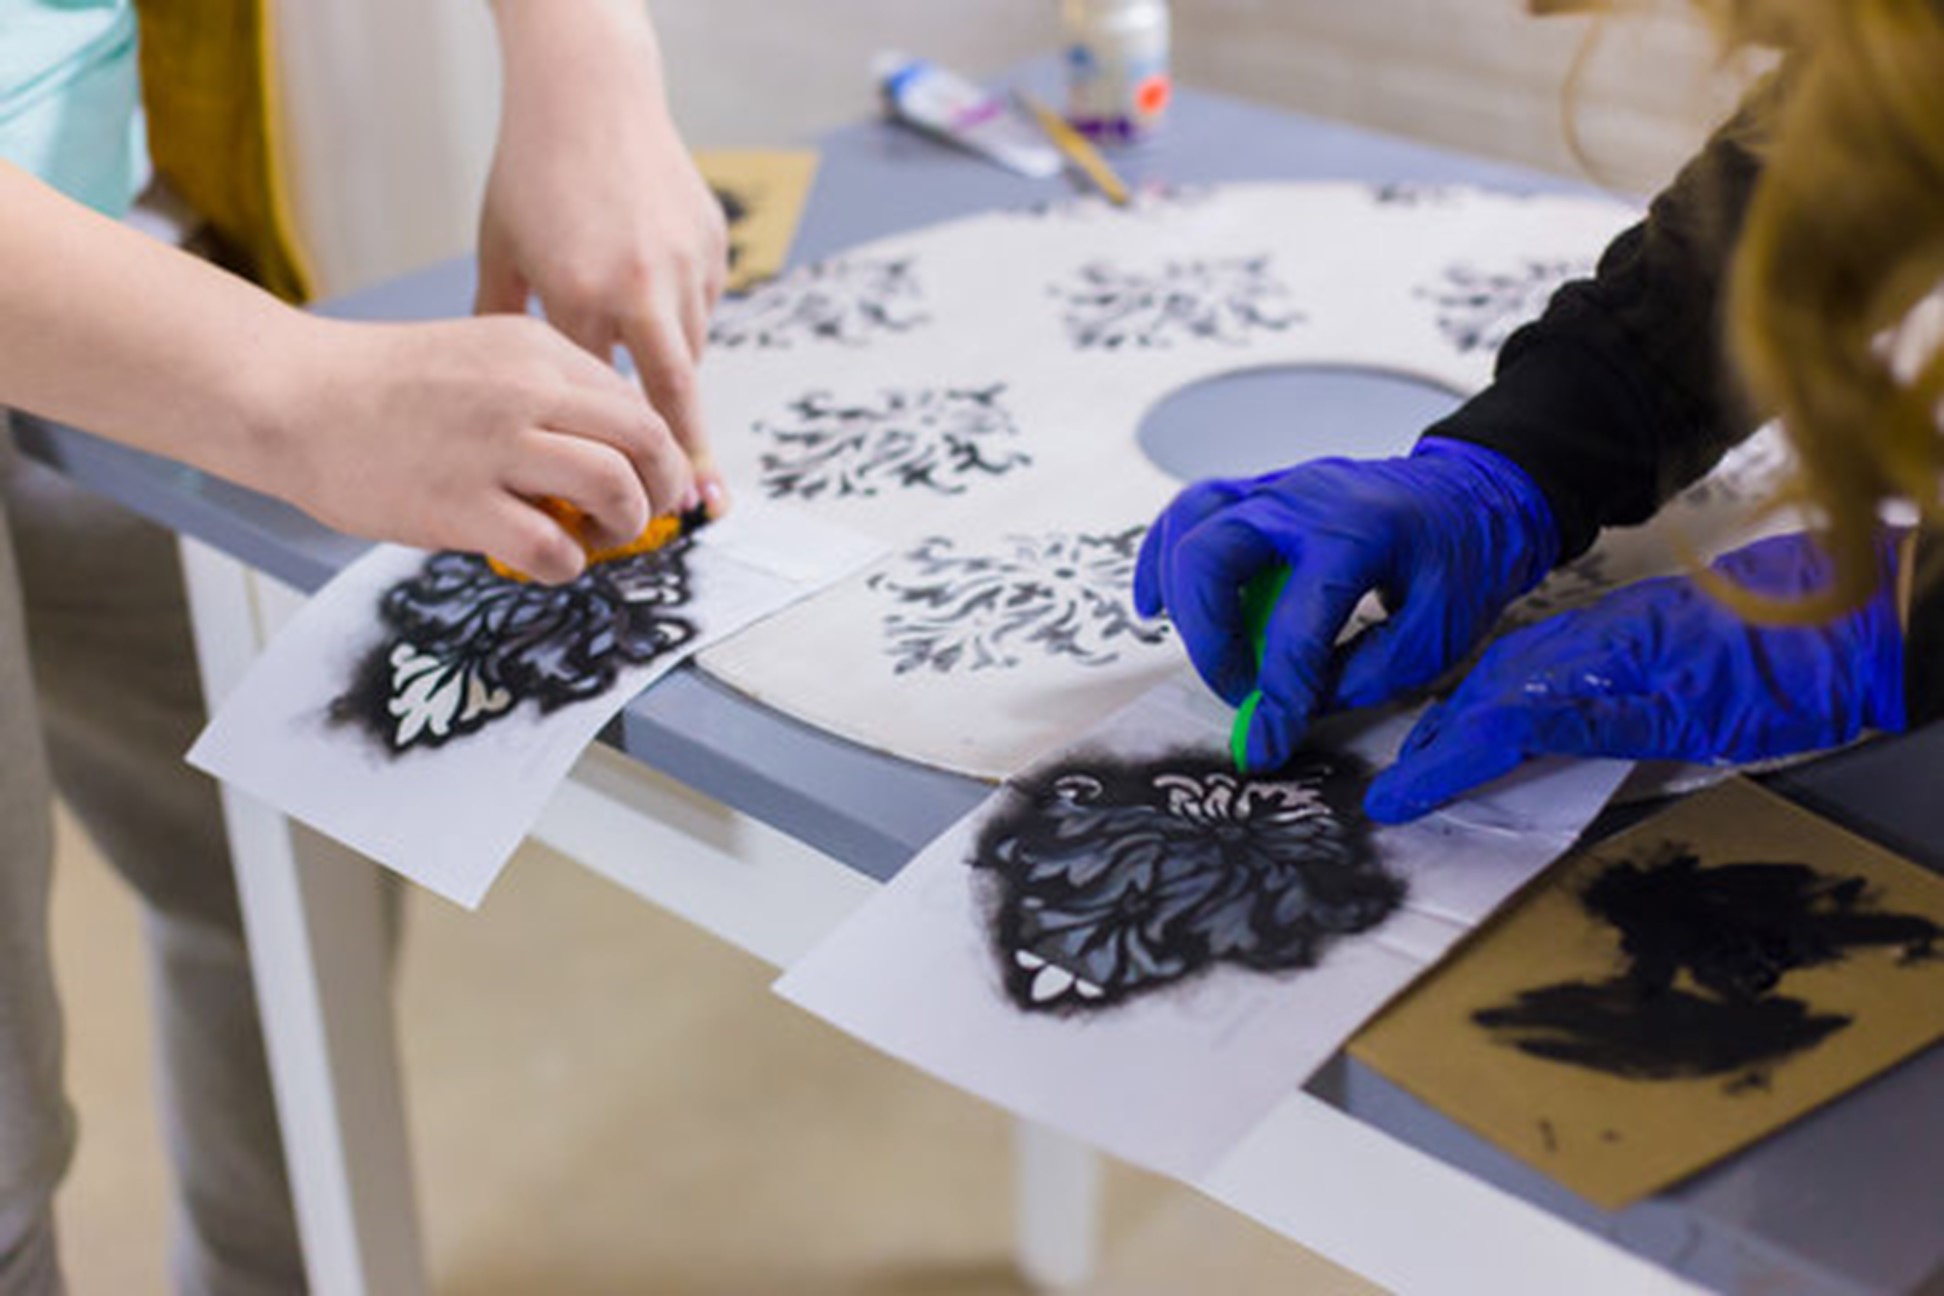
Step 3: Printing The Texture On Your Clay
Printing plays a significant role in creating a pattern on the pottery. First, lay the stencil on the clay and then press it lightly with a roller. It is done so that the damp clay, as well as the stencil, is stuck together. Also, it helps get a crisp pattern and prevent slipping off.
Apply the color slip on the stencil using a stiff and large brush. The slip you would apply adds consistency to the icing and covers most of the slab, which is exposed by the stencil.
Step 4: Glazing The Slip
The next step after printing is to apply the slip using a spray gun. Generally, most stenciling paper or materials can handle two to three spraying rounds. Make sure to wear a mask and glasses while you are spraying.
Once it is done, allow the slip to dry between the rounds, and try to be careful not to peel the stencils away.
It is essential to ensure that the slip coating is quite thick so that the outline of the stencil paper is not visible.
Once done, try to lightly smooth the slip using a piece of the soft rib to eliminate the excess slip. It creates an even surface.
Now lift the stencil, and you have got a beautiful lovely pattern. Set aside the piece to dry while you repeat the process for the other side.
Step 5: Repeating The Procedure
To create a second pattern later as well as color, start by putting a clean piece of cloth made out of cotton over the slab. Then, roll it gently and compress the pattern into the clay to absorb any moisture. It will help the stencil stick onto the pot body.
Then, to form subsequent layers of pattern, keep repeating this pattern so that the registration marks are consistent and accurate.
Once done, wrap each section of the structure in a cotton cloth and then in plastic overnight. It is crucial as it helps in rehydrating the clay.
Step 6: Performing The Post-Stenciling Process
After that, you can unwrap each side of the structure and lay a piece of cloth on it to absorb the moisture. Then, the tar paper template is placed on the printed slab to trim the edges. Finally, use a needle tool to cut out the outline.
When done, press the clay onto the mold. You can choose your mold as per your wish. Then allow the clay to firm up and lift it so it does not lose shape. Repeat the process for the other side.
Finally, let it dry and assemble your structure. And voila! Your intricately designed pottery is ready.
Summing Up
A simple and plain piece of pottery is hardly an attraction anymore. Hence, as an artist, one must create pottery pieces innovatively and uniquely. Stenciling can be a great way to create intricate designs on your pottery. Try to create different designs and add various dimensions to your ceramic, making it look visually appealing.
So, happy stenciling your pots!


