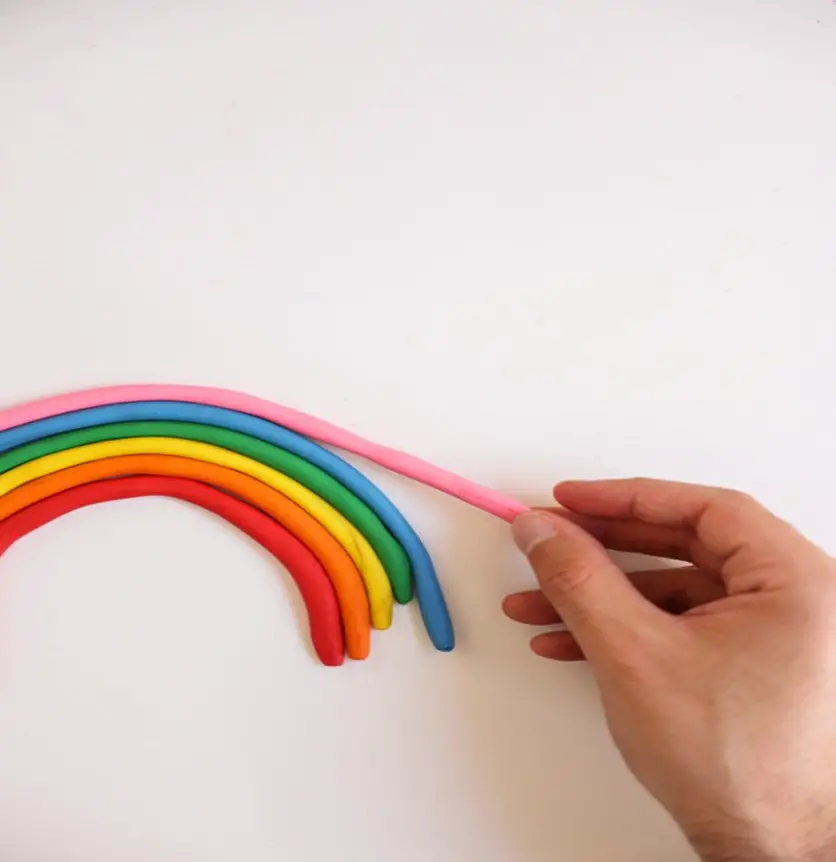
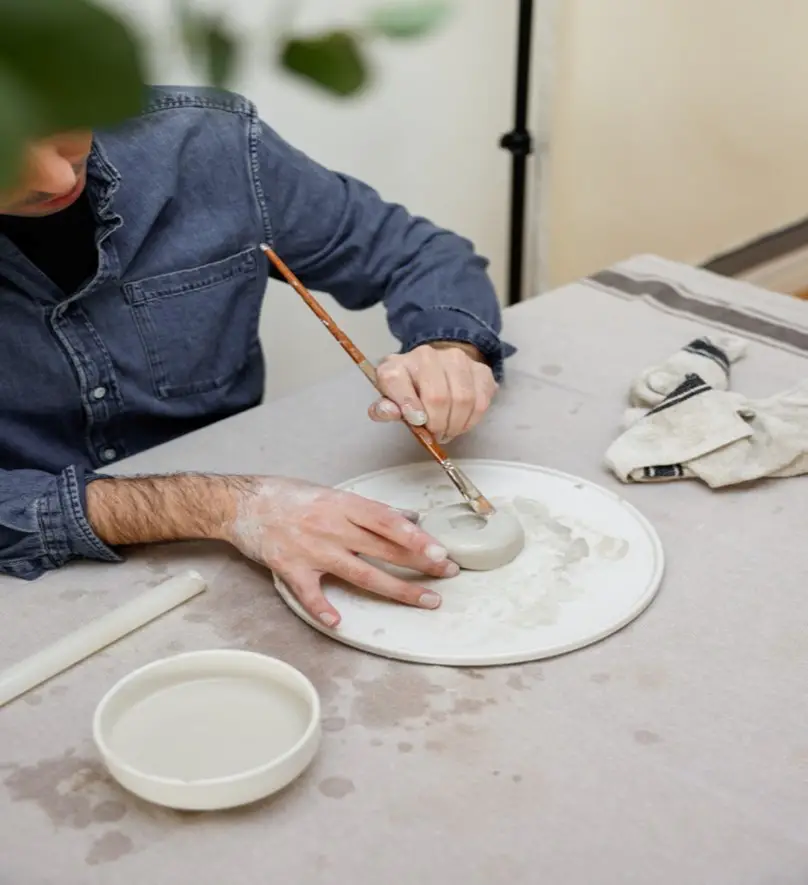
With air dry clay, the possibilities are endless, it’s a magical material that can shape your imagination and bring your creative visions to life with its versatility and accessibility, making it an unparalleled choice for sculpting and crafting. It is a type of clay that does not require firing or baking, which makes it easy and accessible for people of all skill levels to use. To unleash your creative juices use the air dry clay, which is best suited for all skill levels, from novices to experts.
To make the most of air dry clay, you will need to work with some materials including –a work surface, clay tools, and paint or other decorating materials.
Through this article, we will take a closer look at how to use air-dry clay, including tips for conditioning the clay, shaping and sculpting it, and adequately drying and finishing the project. By the end, you’ll be ready to start experimenting and creating your unique pieces with Air dry clay. So, let’s dive into the world of air-dry clay!
How to prepare Air Dry Clay before use?
Conditioning the clay is an essential step in working with Air dry clay. It makes the clay more pliable and easier to work with. Properly preparing the clay will help ensure that your finished project has a smooth and even texture and holds its shape as it dries. To add a unique touch to your project, experiment with different textures on the clay surface you can use:
-
a kitchen sponge
-
a plastic fork
-
or a small brush
Tips to smooth out Air dry clay for the finest results:
1. Use a clay roller or pasta machine:
Rolling the clay through a clay roller or pasta machine can help to make the clay more consistent and even in thickness, giving you a smooth surface to work.
2. Wet your hands:
Moisten your hands with water or clay slip (a mixture of clay and water) will help to smooth out any cracks or rough spots on the clay surface.
3. Use smoothing tools:
A clay smoothing tool, such as a rubber rib or a palette knife, can smooth out the clay’s surface and remove any imperfections.
4. Allow the clay to rest for a while:
After conditioning and shaping the clay, give it some time to rest and firm up before continuing to work on it. This will allow the clay to settle and become more stable, making it easier to smooth out.
5. Sand the clay:
Once the clay is dry, you can use fine-grit sandpaper to smoothen out the rough spots or bumps on the surface of the clay. This will give the clay a smooth, polished finish.

Various Techniques to shape and sculpt the clay:
Air dry clay is a versatile material that is often used by sculptors to create a wide variety of projects. Here are a few ideas for different types of projects that can be made with Air dry clay:
-
Sculptures: Use Air dry clay to sculpt figures, animals, or abstract shapes.
-
Jewelry: Create beautiful and unique jewelry such as pendants, earrings, and bracelets.
-
Home décor: Use Air dry clay to make picture frames, vases, and candle holders.
-
Ornaments: Create holiday-themed ornaments such as Christmas tree decorations or Easter eggs, or experiment with different shapes according to your choice.
-
Miniature figurines: Air dry clay is excellent for creating miniature figures, such as dollhouse furniture or action figures.
-
Handprint and footprint crafts: Create keepsake crafts, such as a handprint, footprint plaques, or keychains.
How to make the most of Air dry clay?
Listed below are some ideal conditions for using Air Dry clay and making the best of it:
Type of Conditions |
Ideal Condition for Air Dry Clay |
Temperature |
Room Temperature (60-70°F) |
Ideal Humidity (%) |
40-60 |
Ventilation |
Good |
Surface |
Smooth, non-porous |
Storage |
Air-tight container, cool and dry |
Why is Air Dry clay one of the best options for sculpting?
Air dry clay is one of the best options for sculpting for a few reasons:
-
Air dry clay is a very versatile material used in a variety of projects, from simple sculptures to detailed figurines.
-
Air dry clay is easy to work with; it can be shaped and molded by hand or with essential tools, making it accessible to crafters of all skill levels.
-
Air dry clay doesn’t need to be fired or baked, eliminating the need for specialized equipment and making the process more convenient.
-
Air dry clay is relatively inexpensive and can be found in most craft stores.
-
Once the clay is dry, it becomes rugged and durable. This allows you to paint, varnish, or even sand the clay, giving a great finish to your sculpture.
-
Air dry clay is lightweight, making it easy to handle and transport. This makes it great for creating large sculptures or working on a large scale.
-
Air dry clay is non-toxic, making it safe to handle, and it doesn’t produce fumes or release toxic substances in the Air like some other clays.
-
Once the clay is dry, it can be painted with acrylic paint, which allows for more creative freedom and customization.
These factors make Air dry clay a brilliant choice for sculpting, whether you’re a beginner or an experienced crafter.
Conclusion:
Air dry clay is a versatile and easy-to-use material that is often used to create a wide variety of projects. Whether a beginner or an experienced crafter, air dry clay is the best for sculpting, as it can be shaped and molded by hand or with basic tools. Air dry clay can be easily found and it’s relatively inexpensive than other clay varieties.
One downside of Air dry clay is that it can form cracks as it dries, especially if it is not correctly conditioned or if the piece is too thick. However, following the recommended ideal conditions, you can repair or seal these cracks and make the most of your Air dry clay projects. Overall, air dry clay is an excellent choice for sculpting and other craft projects, and with the proper techniques and tips, you can create beautiful, unique, and durable pieces.


