The art of pottery is deeply rooted in human history. After all, it is a craft that has evolved over millennia to become a beloved activity. While pottery can let you explore your creative abilities to the maximum, it can also help you stay in touch with sustainable practices. These are extremely important to preserve the craft without causing environmental damage. Gas bottle kilns are one such inventive approach that puts discarded propane tanks to an efficient use. This article will be your comprehensive guide to understanding how a gas bottle kiln can be created by carefully assembling propane tanks.
Understanding the Working of Gas Bottle Kilns
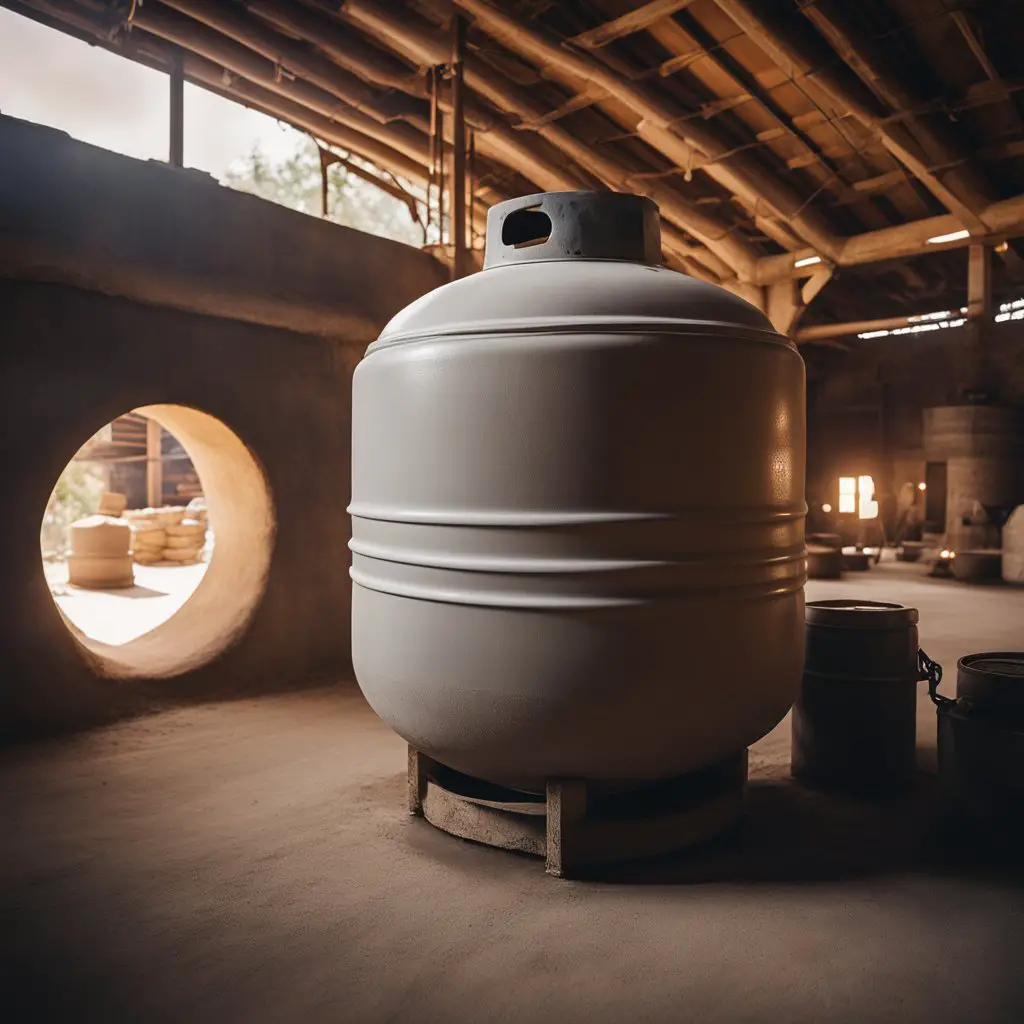
Gas bottle kilns are propane tanks that have transcended their initial purpose and have become essential pieces of creation. Through careful planning, propane tanks can be turned into gas bottle kilns that give your pottery a controlled firing environment. The underlying principle is the application of intense heat, a fundamental process in pottery-making that has been refined and adapted to meet the demands of contemporary artisans. Manageable fire under these kilns makes the clay functional and durable, eventually turning it into a visually stunning piece of art.
To use a gas bottle kiln best, one must understand the balance between heat and clay to reach the zenith of pottery. Potters can use this sustainability by assembling cheap resources to help the pottery thrive upon molding. You can use Meuxan 30Pcs Pottery Tools to give a defined shape to your pottery projects before putting them into the kiln you are about to create. It is an all-in-one set of tools to get the design you envision.
Recycling Propane Tanks into Kilns
The most obvious task is to dive into the process of recycling (or upcycling) propane tanks into gas bottle kilns. It is a process that requires dedication and can yield great results. Upcycling can be more sustainable and affordable than getting a commercial kiln from the market.
Step 1: Assemble Propane Tanks
Before you begin with anything, you must wear protective equipment as you assemble everything you need to construct a gas bottle kiln from propane tanks. Also, ensure the tank is free from residual gas and cleaned to perfection before it is used for anything; this will help prevent any mishap later on. Assembling high-quality, carefully-sourced, clean propane tanks will make this process much easier.
Here are different propane tanks you can use and what kind of kilns they will make in tabular form.
| Propane Tank Type | Size (in gallons) | Application in Kiln |
| Standard | 20 | Small- medium kiln |
| Residential | 40 | Medium kiln with moderate fire |
| Commercial | 100 | Larger kiln |
| Forklift propane tank | 33.5 | Specialty kiln |
| Bulk storage tank | Variable | Industry-scale kiln |
Step 2: Construct Kiln Shell
The next step is great attention to precision as you carefully shape the tank to form the shape of a kiln. Rely on a welder or professional, or use metal-supported equipment to construct a proper kiln. Carving out a proper shape will ensure the pottery has a safe kiln to rest in after molding. Remember to wear safety gear during this process.
Step 3: Insulate the Kiln
An important step that will safeguard the kiln from accidents and other issues is insulation. Use ceramic fiber blankets or refractory bricks to line the inside of the kiln. It ensures the heat is evenly distributed, making the kiln last longer. If you wish to create professional pottery pieces, this is a great way to guarantee that excellence.
Step 4: Install the Heating System
Installing a propane burner or a gas injection system is pivotal to getting your kiln up and running. Set up a system you can control under the supervision of an expert or with your skills. Experiment with various clay types before deciding on a final heating system. Ensure that the controls work seamlessly if the heating system is more mechanized.
Step 5: Create Ventilation
Before you test the kiln, ensure proper ventilation, both inside and outside the kiln. Create openings that are thoughtfully placed. Ensure a placement that only allows the air to pass through gently and does not interfere with the heating process. Proper ventilation also prevents the formation of toxic gases in pottery workshops.
Step 6: Test the Kiln
Testing the kiln is an uncompromised activity before you begin using it regularly. It is a way to ensure that the finished product aligns with what you envisioned and how it works. Thoroughly check the adjustments, temperature distribution, and overall functioning.
Firing the Pottery in a Gas Bottle Kiln: Achieving Control and Precision
Now that your gas bottle kiln is safe to use, you can move to the next step, which is finally firing it. Firing pottery through a gas bottle kiln requires excellent craftsmanship and care to ensure the first few attempts are not accidental. Begin with a good understanding of the scientific principles behind this practice, like adjusting temperatures, heat effects, clay properties, and optimal working conditions of the gas bottle kiln. These factors are pivotal in having your molded clay become enduring art pieces. This section comprehensively explores the methodologies adopted to make a gas bottle kiln a successful project!
Step 1: Setting the Temperature
The gas bottle kiln you built out of recycled propane tanks is a delicate instrument you need to fine-tune in every aspect to achieve a successful heating system. It begins with an effective setup of temperature. Whether you have installed a manually operated or a digitally controlled system, your expertise as a potter is significant in making this project a hit. Even if you are doing this for the first time, learn how setting up temperatures works now.
1. Preheating Phase
Just as perfect baking begins with the oven’s preheating, a pottery project can only come alive if we have a well-preheated kiln. A gas bottle kiln well-structured toward growing temperatures can withstand the rise in temperature as you leave the pottery for baking. A slow preheating session prepares the kiln chamber to accommodate higher temperatures for greater durations. It decreases the chances of thermal shock, sudden breakage, and other accidents.
2. Bisque Firing
When the real heat kicks in, your pottery enters the initial phase of its baking. During bisque firing, the temperatures rise to approximately 1800°F (982°C) to 1940°F (1060°C), which are only the former numbers, and a much higher temperature is yet to be achieved. A successful transition to this stage makes it easier for the pottery to enter its final stages of formation. This process creates sturdy pottery that is now ready for further firing.
3. Glaze Firing
The glaze firing is one of the most appealing parts of the pottery, for it oversees a drastic transition into an aesthetic piece. The kiln temperature rises to whopping temperatures between 2200°F (1204°C) and 2400°F (1315°C) during this process. After the bisque firing is complete, the heated pottery can be covered in unique compositions of the glazes that best complement their design. Potters can decide between glossy, matte, textured, and other finishing glaze touches to give the potter its final look.
Here is a detailed elaboration of kiln firing temperatures and their traits in pottery.
| Firing temperature (in °F) | Firing Kind | Characteristics and Use |
| Up to 1800 | Bisque | This temperature makes the pottery stronger and helps it lose moisture. Also, this firing temperature renders it usable for the glazing process. |
| 1830 – 2000 | Low | This temperature range is apt for earthenware and colored glazing. It creates less porous pottery with a short lifespan. |
| 2100 – 2230 | Mid-range | It is perfect for stoneware and porcelain. It creates durable pieces which can be glazed in a variety of ways. |
| 2300 – 2400 | High | This firing temperature is also ideal for porcelain and stoneware. It is responsible for creating non-porous but strong pottery pieces. |
| 2400 and above | Cone 10 | It is the highest temperature for pottery that creates glass-like textures that have some glazing potential. This firing temperature and kind is ideal for artistic purposes. |
Step 2: Firing Pottery in a Gas Kiln
Upon becoming familiar with the temperature dynamics, firing techniques, and more, it is finally time to let your pottery simmer in heat to become functional pieces. Follow the steps below to get a perfectly baked pottery piece through dedication and precision.
1. Loading the Kiln
The primary step is to load the kiln with the piece(s) you wish to bake. Make sure to thoroughly clean and sanitize the inner chamber of the kiln before you put anything in it. It will ensure a seamless heating experience and reduce the chances of contamination during the process. If you put more than one piece at a time, ensure they are at equal distances to prevent diffusion and sudden breakage.
2. Firing Process
When carefully placing the pottery into the kiln, it is time to see the magic unravel under heated circumstances! Close the kiln door carefully to prevent any heat leakage from here. Ensure the ventilation pipes or spaces remain unclogged to avoid explosions and combustion. Set the temperature as required and adjust it according to the type of pottery. Sit back as the kiln does its job. Observe the fiery hardening process and the piece’s transition into a sturdy visual art. Allow breaks in between, and put additional touches and glazes as required.
3. Cooling Down
The most crucial part after heating is the cooling down of the pottery. It is often overlooked, but it can change the trajectory of how the piece will turn out to be. Carefully take the pottery from the kiln to let it sit in a cool corner. Do not try to skip through this process, or the tedious heating process will be reversed faster than you can imagine. Especially for glazed pieces, cooling down is a vital process of preserving the desired texture. A few hours in the open ensures the piece turns out exactly as you thought.
Step 3: Exercising Precise Control
While firing and cooling seem easy, it is impossible without precise control over the changes in the kiln’s temperature. It is crucial to ensure that the temperature does not fluctuate, fall too low, or exceed the required amount. Here is how you can easily exercise control over temperature.
1. Monitoring Control
While it is up to you what kind of heating system you install in your gas bottle kiln, choosing the one that allows you to monitor your control is essential. While manual systems will need constant checkups, modern heating systems can provide relief through thermocouples that constantly update you regarding the temperatures inside the kiln. Continually checking helps you be in charge quicker if anything goes wrong.
2. Adjusting the Atmosphere
When you can easily toy with controls, the time comes for you to learn to adjust whenever you want. Constant monitoring helps you devise specific responses to changes in temperature where you can easily adjust the oxygen and heat levels to affect the outcome. Intervention on your end, done with cognizance, allows for achieving various types of colors and textures.
3. Understanding Cones
Pyrometric cones are one of the most critical parts of this whole process. These are the litmus tests for your gas bottle kiln. If you are unsure how to fire a piece of your own, get a good-quality pyrometric cone to do the job. Potters always use these cones to test temperatures, adjust heat levels accordingly, and prepare their kiln better for their work. You can even put the cone alongside your pottery and observe for bends at a specific temperature to ensure you work with the right amount of heat.
Conclusion
Gas bottle kilns are more than just recycling propane tanks. They are a significant step towards incorporating sustainability in an easier way rather than a drastic one. These functional kilns put discarded propane tanks to greater use and help potters own an adjustable kiln system that they can easily navigate.


