
Slump molds are a fun way to create molds that are good for clay. Here, we’ll discuss the best way to make slump molds for clay, and how to do it.
They are an effective, worthwhile way of making your clay adventures better, and here we’ll discuss some great molds, and also why you should make slump molds for your clay products.
What is a Slump Mold?
First thing you may ask yourself, is what is a slump mold. Well, a slump mold has the following characteristics:
- Has a convex form to it
- Can easily put clay within it
- Allows you to drape the clay inside to make the shape
- Can come in all kinds of forms, including squares, cylinders, and also circles and other unique shapes

While many people may want to just buy their slump molds online, making your own has a lot of benefits to it, including the following:
- It’s way cheaper, you can make it for just a few bucks worth of materials rather than say, 15-55 dollars
- It is a lot of fun
- You can always adjust and reuse these as needed
- It’s simple to do, and much easier than you’d think
Slump molds are a lot of fun, and we’ll even tell you how to make them, and how you use a slump mold.
The No-Assembly Slump Mold
Yes, you can make a slump mold out of practically no materials or assembly, and here, we’ll discuss how you can do it.
To begin, you need a few materials, and they include the following:
- A bowl that you are okay with using for your ware
- A roll of clear plastic wrap newspaper print paper, or whatever
- A design table for you to use in your space
- Clay
Now, in order to make this type of mold, you need to begin with a few steps, and they include the following:
- First, gather your materials
- Next, take your slab of clay and roll that out
- Cut it into the shape that best fits the bowl
- Transfer from your design and workspace to a plastic wrap or newspaper piece
- Pick it up and put it in the bowl
- Press it lightly into the bowl, not pushing down too hard, and then, let it sit to dry
- Once it is “leather hard” you can take it out from there, and transfer it to the drying rack
- If you plan to add feet to the bottom of this, now is the time for you to do it
At this point, that’s all you need to do, and if you’re looking to spend minimal money, you can always do this since it’s very low-cost and not a ton of work.
For beginner potters, a slump mold doesn’t have to be something overly huge, but instead, you can utilize this.
Slump Molds Made With Plaster
This is the next one that you can make. Plaster is a great way to build durable molds, but it must be ceramic grade, and you will have to be careful with the chemicals that you’re using.
This allows you to create molds specifically for pottery, which means you don’t have to worry about doing this again. Pretty cool, right?
To begin, there are a few materials that you’ll need, and they are the following:
- Ceramic-grade pottery plaster
- A NIOSH mask when working with dry plaster, since yes, this can cause lung cancer
- Water
- A bucket you’re okay with messing up
- The objects you’re building the mold from, and they have to be flexible, or else good luck getting it out
- A spray bottle of vinegar
- A scooper
- Something to stir the plaster that you’re okay with getting dirty
- A scale
Next, you must begin with making the mold itself from the plaster, which means you must begin with the following:
- Take about a pound of water with 1.5 pounds of plaster mix, measuring it onto the scale
- Stir this, and make sure you get all the lumps out as you can before you pour it into your molds
- Give your molds a few good taps on a sturdy surface to help remove the bubbles from the bottom of this
- If you notice that there are bubbles on the mold itself, spray this lightly with vinegar to get rid of them
- Wait at least 3-4 hours before you take it out, sometimes a little bit longer if it’s a bigger mold
- If you’re working on this on a day that’s either wet or humid, wait a little bit longer
- Gently tap and move the mold out of your plastic
- When it is out, you can then gently sand or rub out the imperfections, but so long as you’re not pressing the clay too hard you should be relatively fine
Making your molds out of plaster is a great way to create a tool that you can effectively utilize since it allows for the following:
- A much easier time to work with it, rather than awkwardly trying to balance a newspaper on something
- Allows for more shapes
- You can create your favorite bowl types without ruining your wares you currently have
- Is pretty simple, and it doesn’t take long to make it
For many, they love to go the plaster route since it is pretty simple, and it allows you to create slump molds that are effective and worthwhile.
The Welled Plaster Mold
This is essentially a variant of the plaster mold, and if you want to create a more detailed slump mold that you can use, this is the way to go.
To begin with this, you will need a few materials that you will have to utilize to create the molds that you want to, and they are the following:
- A bowl that you want to use as your template
- A trash bag, or heavy plastic sheet to use as a surface
- Cardboard, vinyl sheets such as plexiglass, or wooden squares
- Plaster
To make this, you must begin with the following:
- Create your space, putting the plastic sheet and trash bag that you can use in order to help create a base
- Put the square windows of plastic, vinyl, or heavy cardboard around this
- Put your bowl or whatever object you want to use as a mold
- Mix up your plaster again, usually using the 1.5 pounds of plaster per 1 pound of water
- Pour this straight into the mold
- Let it sit for at least 3-4 hours
- Once it sets up and is firmly in place, you can move the outside walls away
- Flip this over, and from there remove the bowl
And there you have it! You have a great little slump mold that you can use in order to craft some wonderful pieces, and this is a good one for the clay pieces that you feel need it, and if you’re looking to create some wonderful structures that are unique in form.
Making a Slump Mold on the Potter’s Wheel
These are great if you already have a potter’s wheel, and you can do this relatively easily. If you’re familiar with how to do this, you can with these steps.
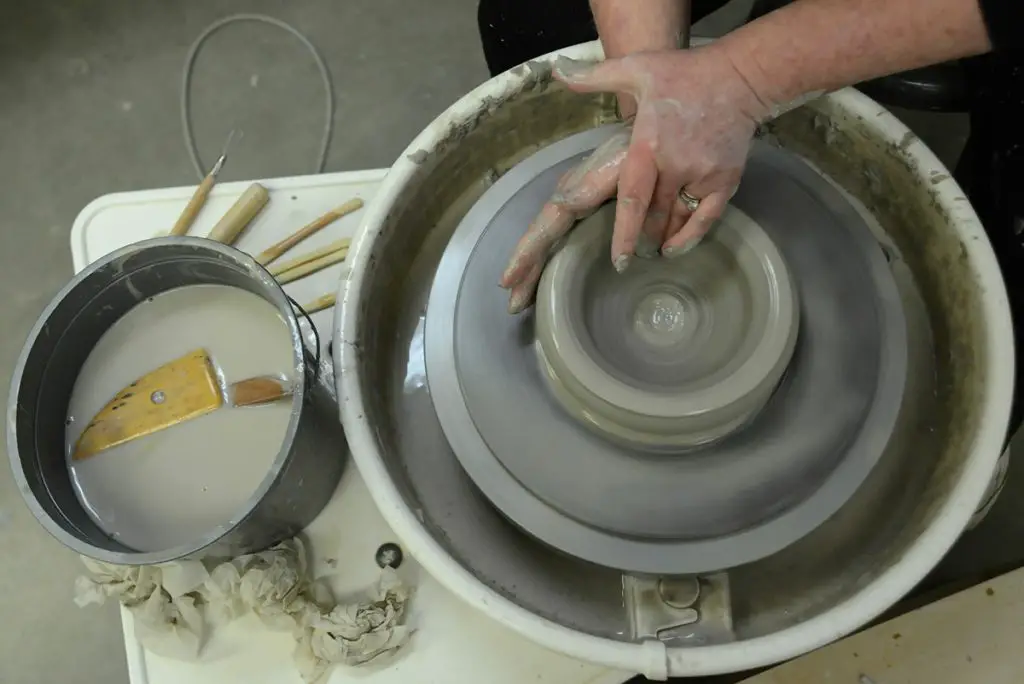
- First, you want to start with working to get this centered, flattening it out, making a pancake shape
- Drive the clay out more and more and from there, start to create a flat circular piece
- You can then open up the inside, start to pinch this and move it outwards
- Once you have the walls built, you can then start to line both the inside and the outside more
- Create a little bit of a curve more so if you’re looking to push the clay towards the bottom
- Pull the wall up a tiny bit, making sure that as you pull this you allow the walls to open up slightly more on the outside to allow space inside
- Thin out the walls a little bit on the inside, but keep them thicker than your average bowl
- From here, you can use a fancy chamois for the cups and bowls, finishing it off to make it look tidy
- Clean up the inside with some wooden tools, helping to define the shape
- Use a wire tool to handle the underside on the outside
- If you want to open it up a bit more, use a wire rib
- Take your wire tool and from there, move it downwards
- Clean off your hands, and then lightly pull on your mold into the shape that you want, such as outwards to create an oval, or whatever
- With this, you can make different shapes, let it sit to harden and then fire
The nice thing about these is that if you already have the materials, you can then use this, and effectively create a wonderful mold that you can use. We’ll also discuss below how you can make the pottery piece with this mold, and the steps to do it.
Making Pieces with a Clay Slump Mold
So once you’ve bisque-fired the pieces, you can from there use this to make the clay pieces. The piece should minimally be bisque-fired, you don’t need a second firing.
To do this, start with the following:
- Take a pre-rolled slab, or if you need to make one, do so
- Drape it right over your mold, and cut off the excess, especially if there is a lot
- From here, lightly push it down
- Take a bag of sand with a sock in it, and lightly push around the rim area, pushing this into the shape of the mold
- If you don’t want to slump it all the way down, gently do this
- Lay it down, lightly smooth it out and from there, you can let it sit to get leather hard
- Alternatively, you can cut it out further in order to make sure that you cut off more excess, however, do be careful so you don’t make it slump too much
- Cover it, let it sit, and from there, you can then let it fire
This one is pretty simple to use because it can create the shapes that you want immediately, but do be careful that, when you do use these, you take your time with them and make sure that you don’t push too far down on this.
Slump Mold Cautions
With these slump molds, you should definitely take the following cautions for them:
- Make sure that you don’t push down too hard on them
- Take your time with them, and work towards creating a nice piece
- Don’t make the walls too thin
- Make sure that your plaster has fully set before moving it at all
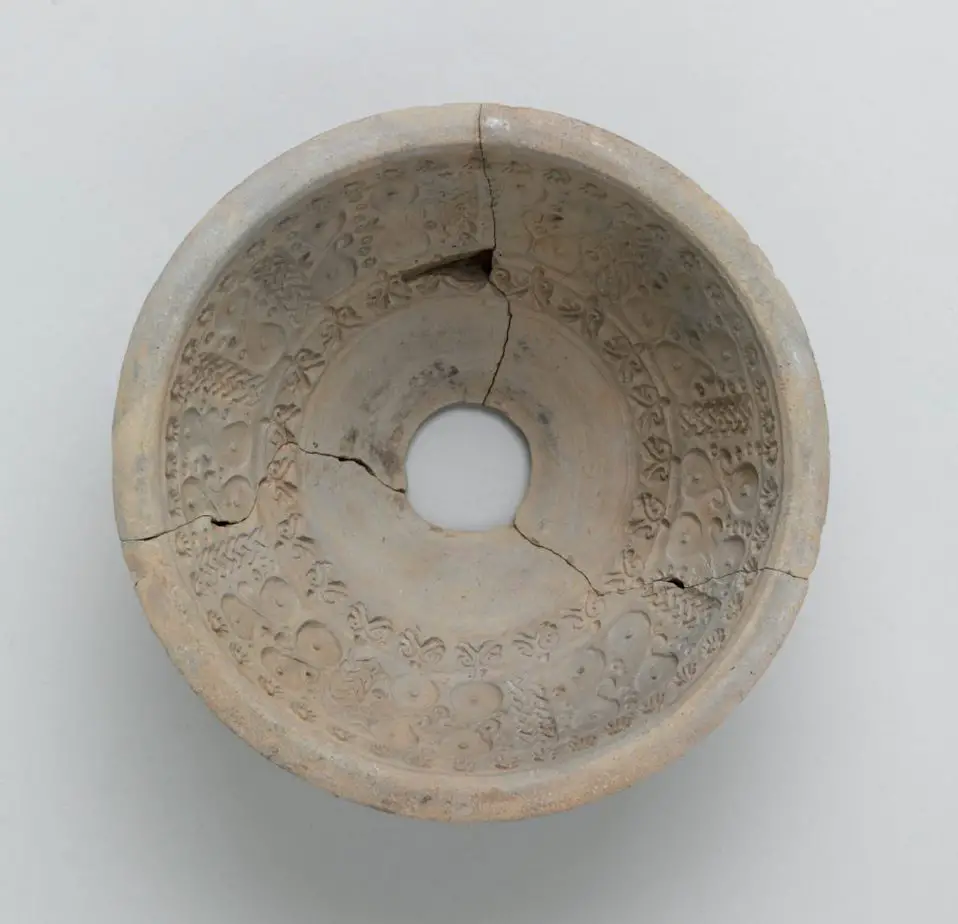
- Don’t push too firmly into the plaster molds, unless you want the extra little impressions that come along with this
- Always make sure that you use the proper equipment when working with plaster, since it is dangerous when inhaled, and it isn’t fun to deal with that
Making these molds is super easy, and you can see from here that it doesn’t take that long to create an effective piece.
Slump Molds are Fun!
Slump molds are a great way to bring your pottery to the next level, and the fact that there is such a versatile way to create these molds is awesome and effective.
If you’ve been curious about making these types of molds, well now is the time to use it, and you’ll be able to, with these molds, create wonderful impressions and new ideas that you can try with your pottery, no matter what your skill level may be.


