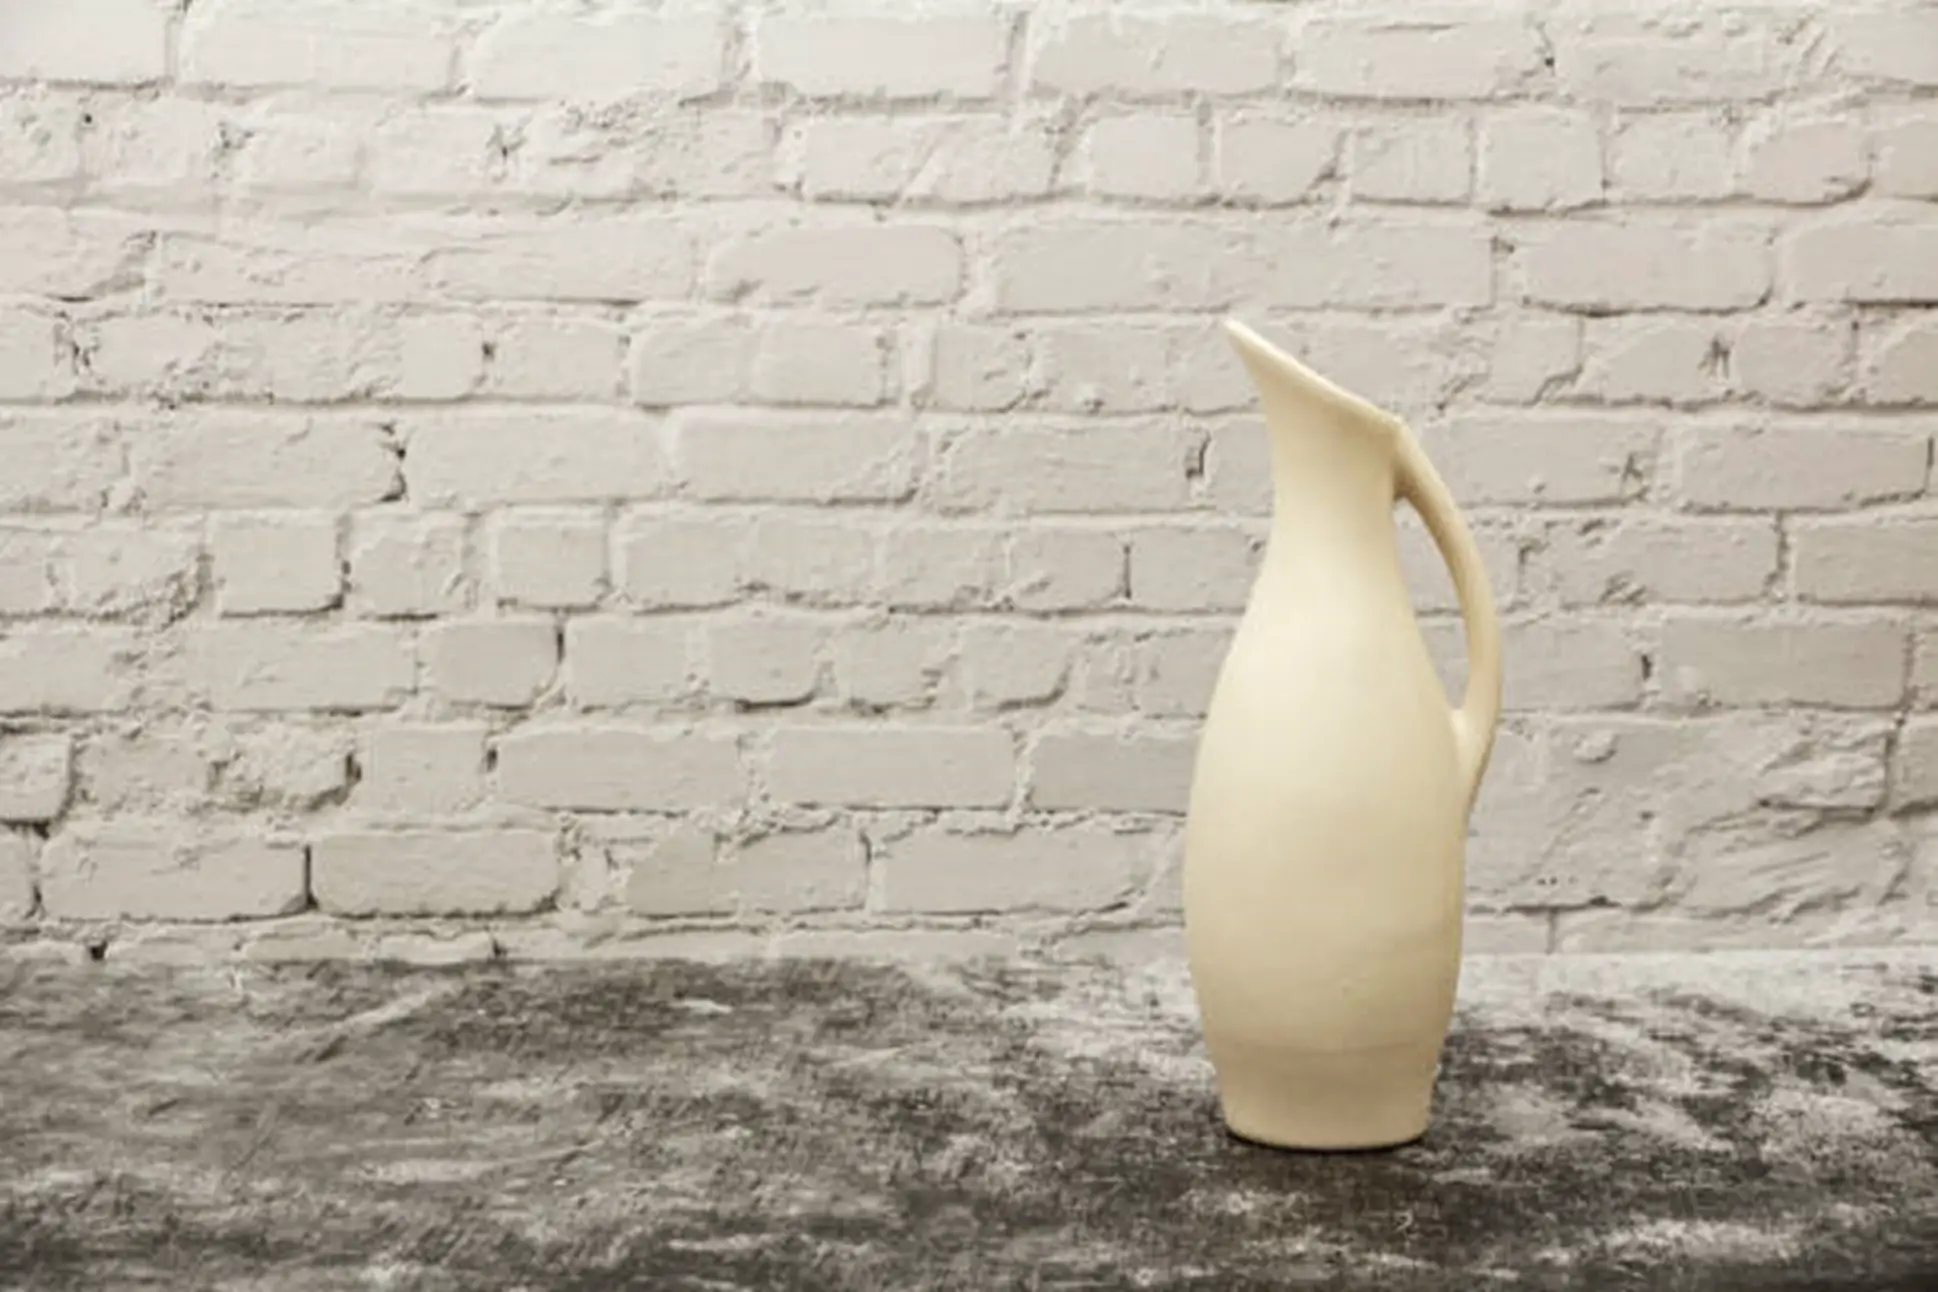
Crayola Air Dry Clay has gained much popularity amongst artists, crafters, and other creators across demographics for its pliable nature and convenient air-drying properties. It has also come forward as the clay that can dry much faster than other alternatives available. This article is a diverse exploration that will go into the distinct factors that set Crayola Air Dry Clay apart from its market counterparts, focusing on drying time, unique chemical processes, and the drying mode compared to other air dry clays.
How Fast Does Crayola Air Dry Clay Harden Compared to Other Clays?
Crayola Air Dry Clay has an impressive drying time of 24-48 hours, which sets it apart from other clays. Many artists switch to this clay due to this difference. You can even try out Crayola Air Dry Clay today to see its durability upon drying. It takes significantly less time to harden and thus provides a seamless window for your creations.
So now, let us understand how drying works in Crayola Air Dry Clay.
The Drying Process of Crayola Air Dry Clay
A distinctive feature of Crayola Air Dry Clay is its astonishing drying time. Unlike alternatives with an average drying time of 48-72 hours, Crayola Air Dry Clay even stands apart from traditional clays that require kiln firing. Crayola Air Dry Clay exceeds expectations by hardening faster and curing at simple room temperatures. The drying period typically ranges from 24 to 48 hours, usually dependent on the thickness of the crafted piece. This faster drying time is beneficial for artists seeking efficiency. They can see their creations come to life without going through the prolonged waiting periods usually associated with other clays.
Comparison with Other Clays
Compared with alternative clays, Crayola Air Dry Clay is outstanding for how fast it dries up. Polymer clay, a widely used type, needs baking in an oven to harden. Although the hardening time for polymer clay may vary by brand, it generally is much more than that of Crayola Air Dry Clay. Another example is traditional pottery clay, which demands firing in a kiln, which can extend for several hours or even days. Even other air clays take much longer than this clay to come to a fully hardened state. This clay’s epoxy resin content facilitates a quicker drying time, which is a significant benefit for artists seeking efficient working without compromising the quality of their work.
What are the Unique Chemical Processes that Facilitate Air Drying in This Clay?
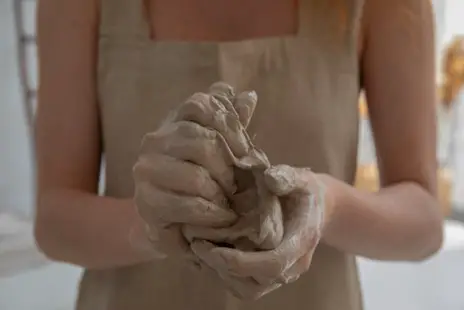
An air-dried clay is the breeding ground for interesting chemical processes. It is essential to realize how these facilitate a better drying time for Crayola Air Dry Clay. Let us discuss this in detail:
- Understanding the Composition of Crayola Air Dry Clay
Knowing its ingredients is essential to understand Crayola Air Dry Clay’s air-drying mechanism. The clay contains water, organic binders, and minerals, which create a unique blend. The most crucial ingredient, epoxy resin, binds the clay well and is sourced organically to allow the clay to harden naturally but faster.
- The Science Behind Air Drying
Crayola Air Dry Clay’s drying process primarily involves water’s evaporation from the surface. Traditional clay undergoes a chemical reaction known as vitrification during kiln firing, and other air clays also go through similar evaporation. However, the expert composition of this clay facilitates a much faster drying process. The water content within the clay evaporates when exposed to air, leaving behind a hardened structure. This physical transformation distinguishes Crayola Air Dry Clay and allows for rehydration and reuse if the clay still needs to be sealed.
How is Crayola Air Dry Clay’s Drying Time in Comparison to Others?
Crayola Air Dry Clay’s drying time is quite impressive compared to other of its counterparts and competitors on Amazon. Here are the regular drying times recorded for various clays, including Crayola Air Dry Clay:
| Air Dry Clays | Normal Drying Time |
| Crayola Air Dry Clay | 24-48 hours |
| FlyFlag Air Dry Clay | 72 hours |
| DAS Air Dry Clay | 48-72 hours |
| ACTIVA Air Dry Clay | 48 hours |
| Pepy Premium European Air Dry Clay | 72 hours |
| Drama Planet Air Dry Clay | 48-72 hours |
The table accurately represents how Crayola Air Dry Clay stands at par with other air dry clay products in the market. With the recorded estimated durations of hardening, we see that only Crayola Air Dry Clay comes forward as the quicker drying clay. In contrast, others have a drying time of 48-72 to achieve proper hardening.
What is the Mode of Drying for Crayola Clay Compared to Others?
Crayola Air Dry Clay does not need an elaborate drying setup like traditional clay. It adds to ease by drying only at room temperature and drying faster. Below is a detailed comparison of its drying rate concerning other air-dry clays.
The Air Drying Process
Crayola Air Dry Clay, as the name suggests, is a simple clay that only needs air to harden. This to-the-point process eliminates the need for additional heating, firing, and unique temperature settings. The clay needs to be placed in a dry, well-ventilated area where it can receive airflow. It is the most efficient way for artists to create on time without involving too many steps.
Comparing Drying Methods
Polymer clay usually needs baking, while traditional clay needs a fire kiln to dry up. As mentioned earlier, various other clays need different drying methods. While the air drying method may be the same for the additional air dry clays, Crayola Air Dry Clay has a much better composition for faster, more superficial drying. Even if you do not have access to elaborate tools, you can still sculpt great things.
Conclusion
Crayola Air Dry Clay is a versatile and user-friendly medium that is a much better alternative than other clay types, counterparts, and others. Crafters can make their visions come to life in no time by putting their creations at ventilated room temperatures. You can become a seasoned crafter without additional tools and create various sculptures and figurines.


