Pottery is an art that requires time, patience, and consistent effort to perfect. Starting as a beginner can seem daunting without an experienced ceramist to guide you. However, with the plethora of online resources, you can learn most processes without a live expert to guide you.
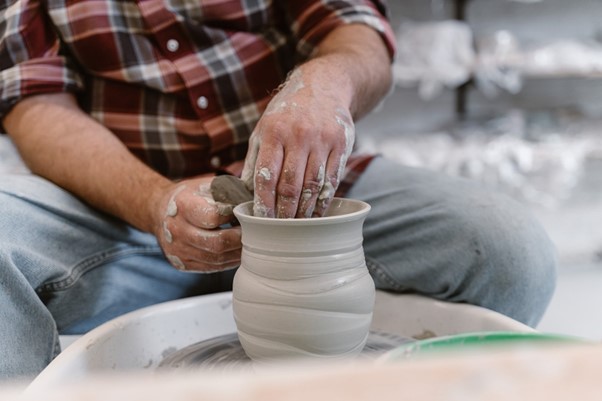
Some parts of the process are more complicated than others and require greater attention to detail and additional tools to perform. Throwing pottery on the wheel is challenging and rewarding, but it leaves the clay looking hand-crafted and different from mass-manufactured ceramics. Minor deformities and irregular surfaces may not make much of a difference initially. Still, post-firing and glazing, they show up on the ceramic and may devalue the effort and resources used to make the ceramic.
In this article, we will discuss turning, why it is needed, and the tools you can use to turn clay.
What Is Turning?
Turning, simply put, is an extension of the process of design and shaping to perfect the existing structure of your pottery. It is done on unfired clay, also known as greenware, and it is usually done on the potter’s wheel. It is an unmissable step for wheel-thrown clay pottery, which helps finetune its features.
Also used as a substitute for trimming, the technique focuses on smoothing and perfecting the surface of the clay. It provides stability and design and shapes the structure. After turning or trimming, the clay is given time to dry in a well-ventilated room to prepare for bisque firing after a few days or weeks, depending on the clay.
The Need For Clay Turning
Clay comes in multiple types for various purposes. Some clay types are better suited for beginners than others, and the same applies to shaping techniques. Based on the type of clay, it can be hand molded, thrown on the wheel, or shaped using molds.
Throwing clay on the wheel is a relatively tricky technique to master and is usually learned under the guidance of an expert ceramist. However, even experts sometimes make errors while shaping their clay on the wheel. There are several variable factors in the process, which result in minor mistakes and deviations.
The wheel’s speed, the clay, the amount of water used, and the molding method all affect the clay’s final shape. To cover such slight imperfections, turning is a necessary step that you must follow for every hand-thrown piece of pottery.
There are several specific uses of turning, as stated below.
-
Shaping: The most basic function of turning is ensuring that your clay is molded into the right shape per your vision. It is a helpful process, especially for beginners who cannot perfect the clay form in the first go.
-
Contouring: Contouring is a method to enhance the existing shape of your pottery. It is to be done before the clay hardens so it can carve out certain sections of the shape and place the spotlight on them. The process is similar to makeup application contouring, except for specific turning tools.
-
Trimming: Trimming off excess parts is a problem many beginners struggle with since it involves using a sharp-edged tool while having a delicate touch to prevent the cut from going too deep into the clay.
-
Designing: Designs like a stripe or a line are standard in ceramics, like bowls, plates, vases, etc. Making the design using fingers is challenging, as finding the right amount of pressure to apply is complex. Excess pressure is bound to break your pottery and make you start again.
-
Taking Away The Clay From The Wheel: Another challenge is separating the molded clay from the wheel without deforming it. It requires cleaning the wheel to get rid of any excess clay.
-
Making The Foot: A foot is essential to any wheel-thrown ceramic. It provides stability to the pottery while lifting it off the ground. Depending on the object you intend to make, the foot’s width varies, but its height is usually maintained from half an inch to one inch.
Factors To Consider While Buying Tools To Turn Clay
Trimming and turning clay are similar in some aspects. While both are done after giving the clay some time to dry and using the same tools, the method of use is entirely different. Trimming focuses on the foot’s shape and the structure’s overall stability, whereas turning focuses on shaping and sculpting small designs like light stripes on the clay.
The process cannot be done without the help of tools. There are plenty of tools available that claim to serve the purpose, but here are some factors you must keep in mind while purchasing tools to turn clay.
- Purpose Of The Tool
Usually, manufacturers make a large set of tuning tools that are very similar and charge exorbitant rates for them. The tools serve identical purposes and result in clutter without providing value for money.
Ensure that you buy tools with different edges of different shapes to allow a more excellent range of uses.
- Material Quality
An essential feature that must be considered before purchasing any tool is its stability and durability. Your turning tools must be made of good quality steel to provide the proper contour only metal can provide on semi-dried clay. Flimsy metal is likely to rust and bend without serving its purpose.
- Handle Adherence
Even if the metal has the perfect flexibility needed to create designs and shapes, it is of no use if the metal is not attached well to the handle. Ensure that the manufacturer guarantees a firm metal setting to the wood.
- Grip Comfort
Tools with a wood attachment are usually more comfortable to work with than complete metal tools. While purchasing wood handle tools, ensure that the tools’ grip is vital to turn your clay precisely.
- Edge Sharpness
A turning tool needs to be sharp, whether it is a straight edge or a rounded edge tool. If the tool has a blunt edge, it will result in vaguely defined indents, contours, and trimming, which do not help you smooth and perfect the shape of a pottery piece.
For beginners, getting a complete set of uniquely shaped tools may provide more excellent value for money. The ARTEZA Pottery and Polymer Clay Tools are a perfect place to start with durable, comfortable, and functional turning tools.


To sum up, certain tools are made for specific purposes and should be used for the intended purpose by beginners. With experience, you can use the same tool for various purposes using your skills.
The primary purpose of some common pottery tools is stated in the table below.
| Spindle | Drawing 2 lines as a design on pottery |
| Blunt U-shaped | Making precise curves at joining parts of the foot and the body, or the body and the neck |
| Triangle-shaped | Scrape off the excess from the wheel or trim |
| Oval skew | Trim down in small sections |
| Bead-shaped | Widen the circumference while the clay is wet |
Step-By-Step Guide On Using Turning Tools To Turn Clay
Now that you know about the tools and factors to consider before purchasing them, it is time to learn the process of using such tools. Turning tools are pretty easy to use as long as you know the purpose of each of them and have a clear idea of what you wish to do with your pottery.
Knowing when to stop is another critical aspect of the process that you must always keep in mind. Stated below are some steps to follow to turn your clay.
1. Get Your Wheel Ready
The wheel is an essential requirement for turning. Turning can only be done when the wheel rotates to ensure that equal amounts of pressure are applied on all sides of the clay to produce the same effect throughout the pottery.
Another vital thing to remember is the wheel’s speed when turning your clay. Depending on when you wish to turn clay, reduce the rate from regular shaping speed to almost one-third to provide precision while turning.
So, the wheel rotation speeds according to the purpose are given in the table beneath.
| Purpose | Speed/ rotations of the wheel |
| Regular shaping | 100 to 150 RPM |
| Smoothing or turning partially dried clay | 30 to 40 RPM |
2. Center Your Clay
Once your wheel is ready, place your partially dried pottery onto the center of the wheel. It does not need to be perfect on the first try. You can slowly spin the wheel and see the clay’s natural movement to determine the wheel’s center.
Once you have the clay centered, place a few pieces of clay around it onto the wheel to prevent it from flying off the wheel. It also helps to avoid any damage in case the wheel spins too fast, or you lose grip.
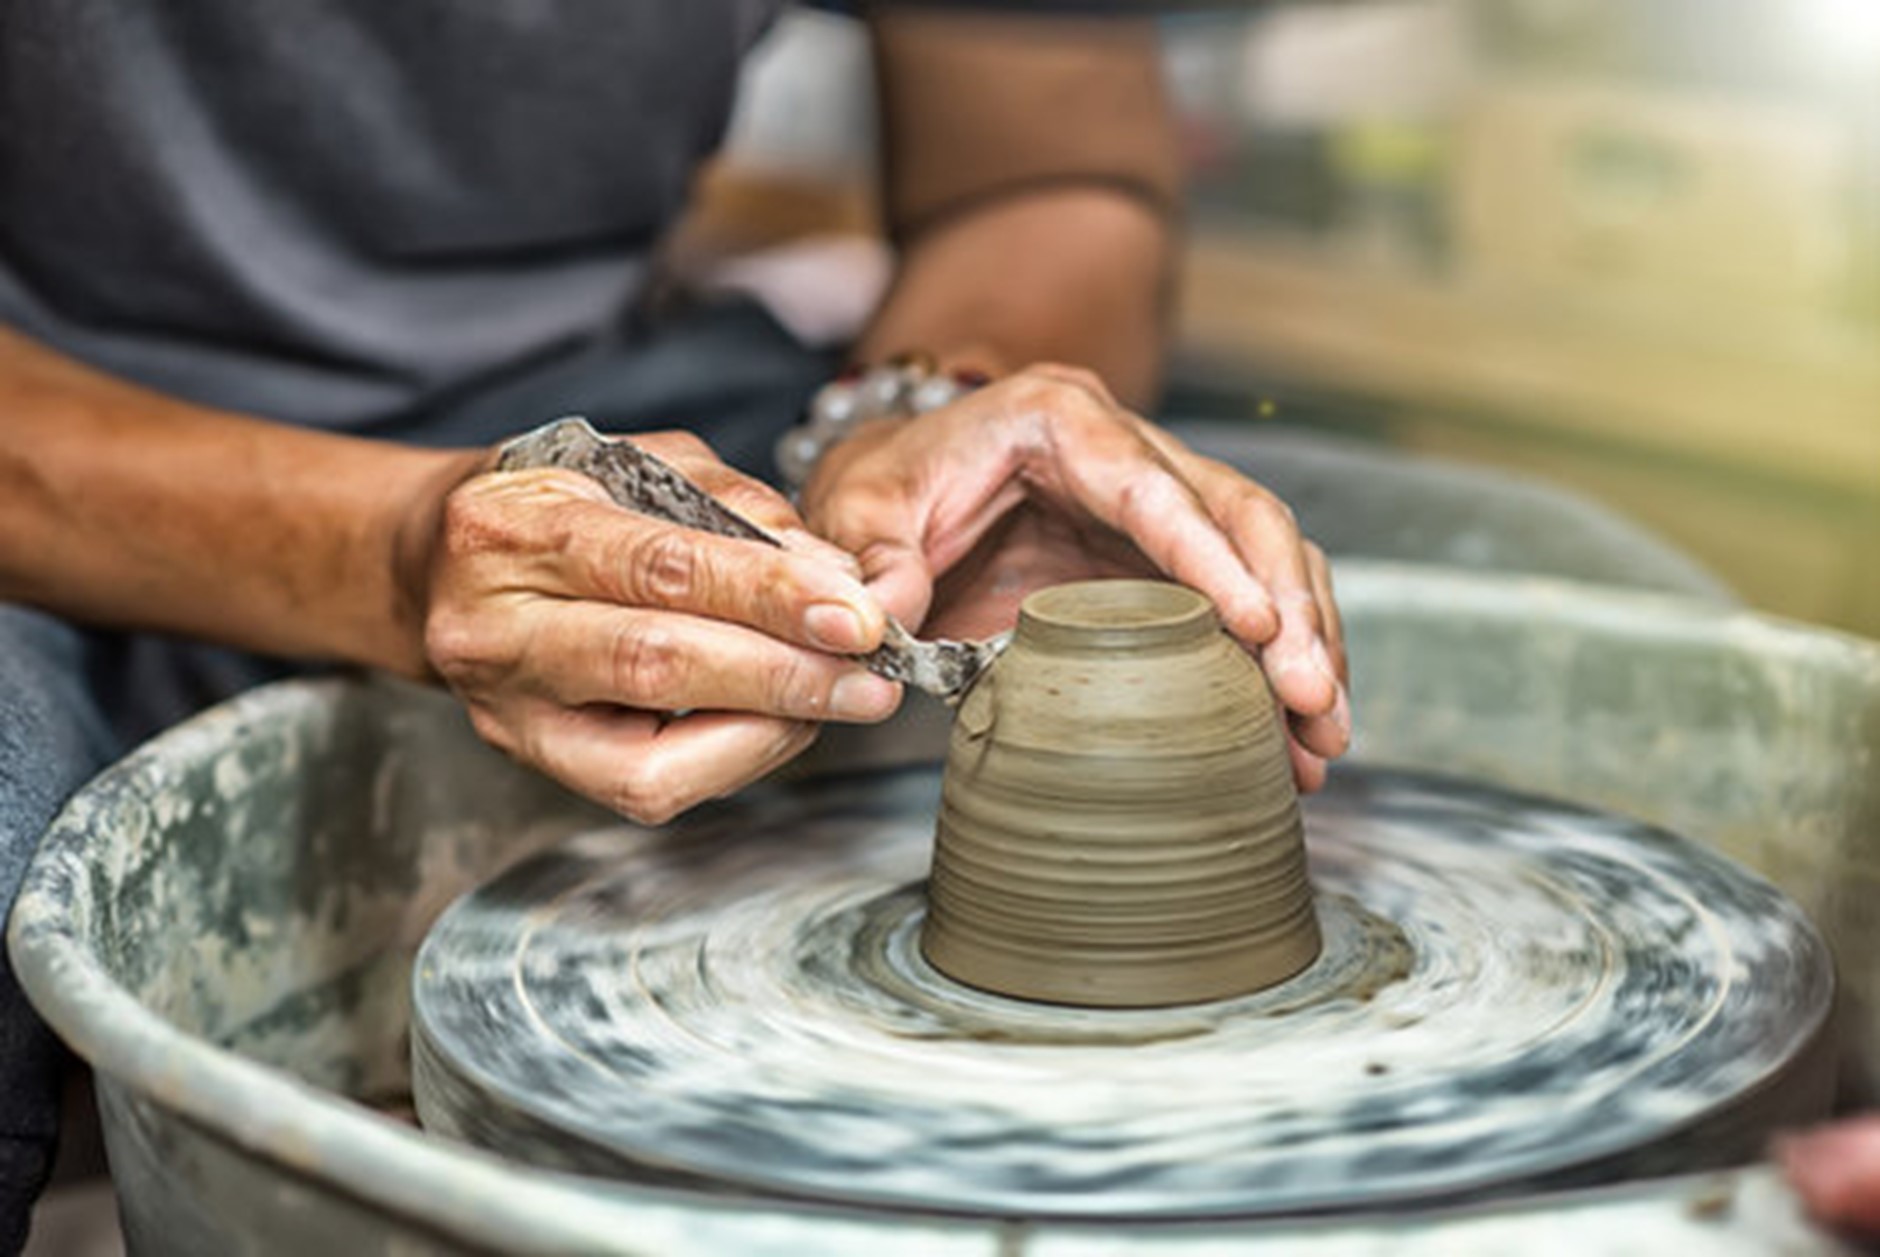
3. Keep Your Tools Handy
Before rotating the wheel, keeping your set of tools nearby is essential to seamlessly shape the clay without taking too many breaks.
Usually, for turning needs, you may require different sizes of triangle-shaped, round-edged, and other angled tools. A bead-shaped flat tool can help contour the curve of bowls and other rounded ceramics. Ensure that your tools are sharp, wet, and ready for use.
4. Trim The Excess Off The Wheel
If you are doing this process while preliminarily shaping your clay, you can use an angled knife to scrape off the additional clay from the potter’s wheel. To do so, place the blade with its point directly onto the wheel where the pottery meets the wheel, over the excess you wish to trim.
Once the wheel has made one complete rotation, you will hear the sound of the scraping of the tool against the wheel, indicating a gap in the clay. Now tilt the tool to angle it like a pencil onto the wheel to scrape the excess off the wheel, which will fly right off.
5. Increase The Depth And Spread The Shape
In wet pottery, if you wish to increase the surface of your ceramic, a bead-shaped tool is ideal. Once you have elongated your clay into a cylindrical tower and cleared off the excess on the wheel, you can work on widening the bowl or plate.
Use the bead-shaped tool in the upright position with the center of the tool between your fingers and gently apply pressure while pushing the tool into the clay on one side. Once you’ve pressed it in, keep your hand steady and allow the wheel to rotate. It will ensure a uniform depth of the pottery.
Use a sponge or cloth in your nondominant hand to control the pressure of the tool and prevent the walls from becoming too thin.
6. Trim The Foot
Continuing with wet clay, you can create afoot to add height to your ceramic. While the clay is spinning, use the triangular tool with a rounded edge to carve out a foot, like a ring of added height to the ceramic. When glazed, this added detail makes the ceramic look more appealing with evenly distributed weight.
7. Contour The Shape
While you may have shaped the clay appropriately on the wheel, you may still notice slight shaping issues as it dries. When your clay has dried partially, use the sharp triangular tool on curved pottery to enhance its shape.
It is done to make the curve more pronounced or reduce the width of the curve of the pottery. It helps in creating a perfect curve with a smooth surface.
8. Design The Surface
You may wish to make a small line-like design on your ceramic. This common element in most simple ceramics takes minimal effort but provides excellent results.
Use a curved triangular tool lightly on the clay without pointing the curved edge directly. Instead, hold it at an angle such that a part of either side of the triangle also rests on the clay. It helps in controlling the depth of the indent and its width. For thinner lines, use only the edge.
9. Accentuate The Shape
The final polishing of the surface can be done using the bulb-like tool, which allows easier access to remove more significant amounts of clay from the pottery and is usually used after the final shape is made. Only the excess needs to be trimmed away.
The bulb tool must be placed steadily at an angle to trim off the excess equally and accentuate your pottery’s shape.
Conclusion
There is an expansive range of turning tools in the market, but a beginner need not fret about what is the best tool for them. Each shape serves a purpose, and the correct technique allows using any tool.


