Be it a cozy cafe in the neighborhood or a crockery store; the clay utensils never cease to mesmerize. The sheer natural allure is unmatched. Creative pottery lies at the heart of these beautiful creations.
Pottery is one of the most ancient forms of art. The clay is your muse and can be molded into beautiful shapes and varying sizes. Be it for storage or decorative plates and vases, pottery’s slow, artistic process makes the results all the more gratifying.
Various techniques are used to give pots a concrete form and enhance their beauty. Of these, microwaving is a common method used to glaze pots to perfection.
Popular pottery techniques
Pottery is a creative process. Over the years, many methods and techniques have been practiced and perfected to bring out the best results. Some of these techniques are:
1. Throwing
The soft, fresh clay pile is mounted on the wheel to create a firm base for the pot. Your hands are the most important tool in pottery, which are put to use here. Hands and other shaping tools are used to create greenware, which is what the resulting article is called after giving it a shape. Pottery wheels are common devices where the throwing technique is used.
2. Sgraffito
This technique is also called Slip Carving. Slip refers to clay particles suspended in water. This liquified clay is used for decoration and bonding clay particles together. Commonly used to cut into the surface, a distinctive slip layer is applied and left to harden. Once it is hard enough, creative patterns can be carved.
3. Trimming
This technique is used to give the pot or vessel a crisp look. Once the greenware is rigid and firm, put it back on the pottery wheel. Using pottery tools, the pot is trimmed to give it the desired shape and facilitate decorating the same. This method has a broad scope for creativity and flexibility.
4. Bisque Firing
In this technique, an electric kiln or stove is used for firing. Before this, the pots must be trimmed to precision, free of dampness or moisture. So, at first, the pots are fired at temperatures ranging from 1800 to 2300 degrees Fahrenheit. Cones are used in the case of kilns. Then, based on the type of clay it will tilt over the cone, the temperature range and characteristics are as follows.
Type of Range |
Temperature Range (approx.) |
Traits |
|
From Cone |
To Cone |
||
Very Low Fire Range |
1112°F |
1566°F |
Suitable for very low firing overglazes and luster glazes. |
Low Fire Range |
1623°F |
2048°F |
Suitable in cases where multiple colors and patterns are used. |
Mid Fire Range |
2167°F |
2264°F |
More durable glazes can be established at this range. |
High Fire Range |
2305°F |
2530°F |
Most commonly used for porcelains and decorative utensils. |
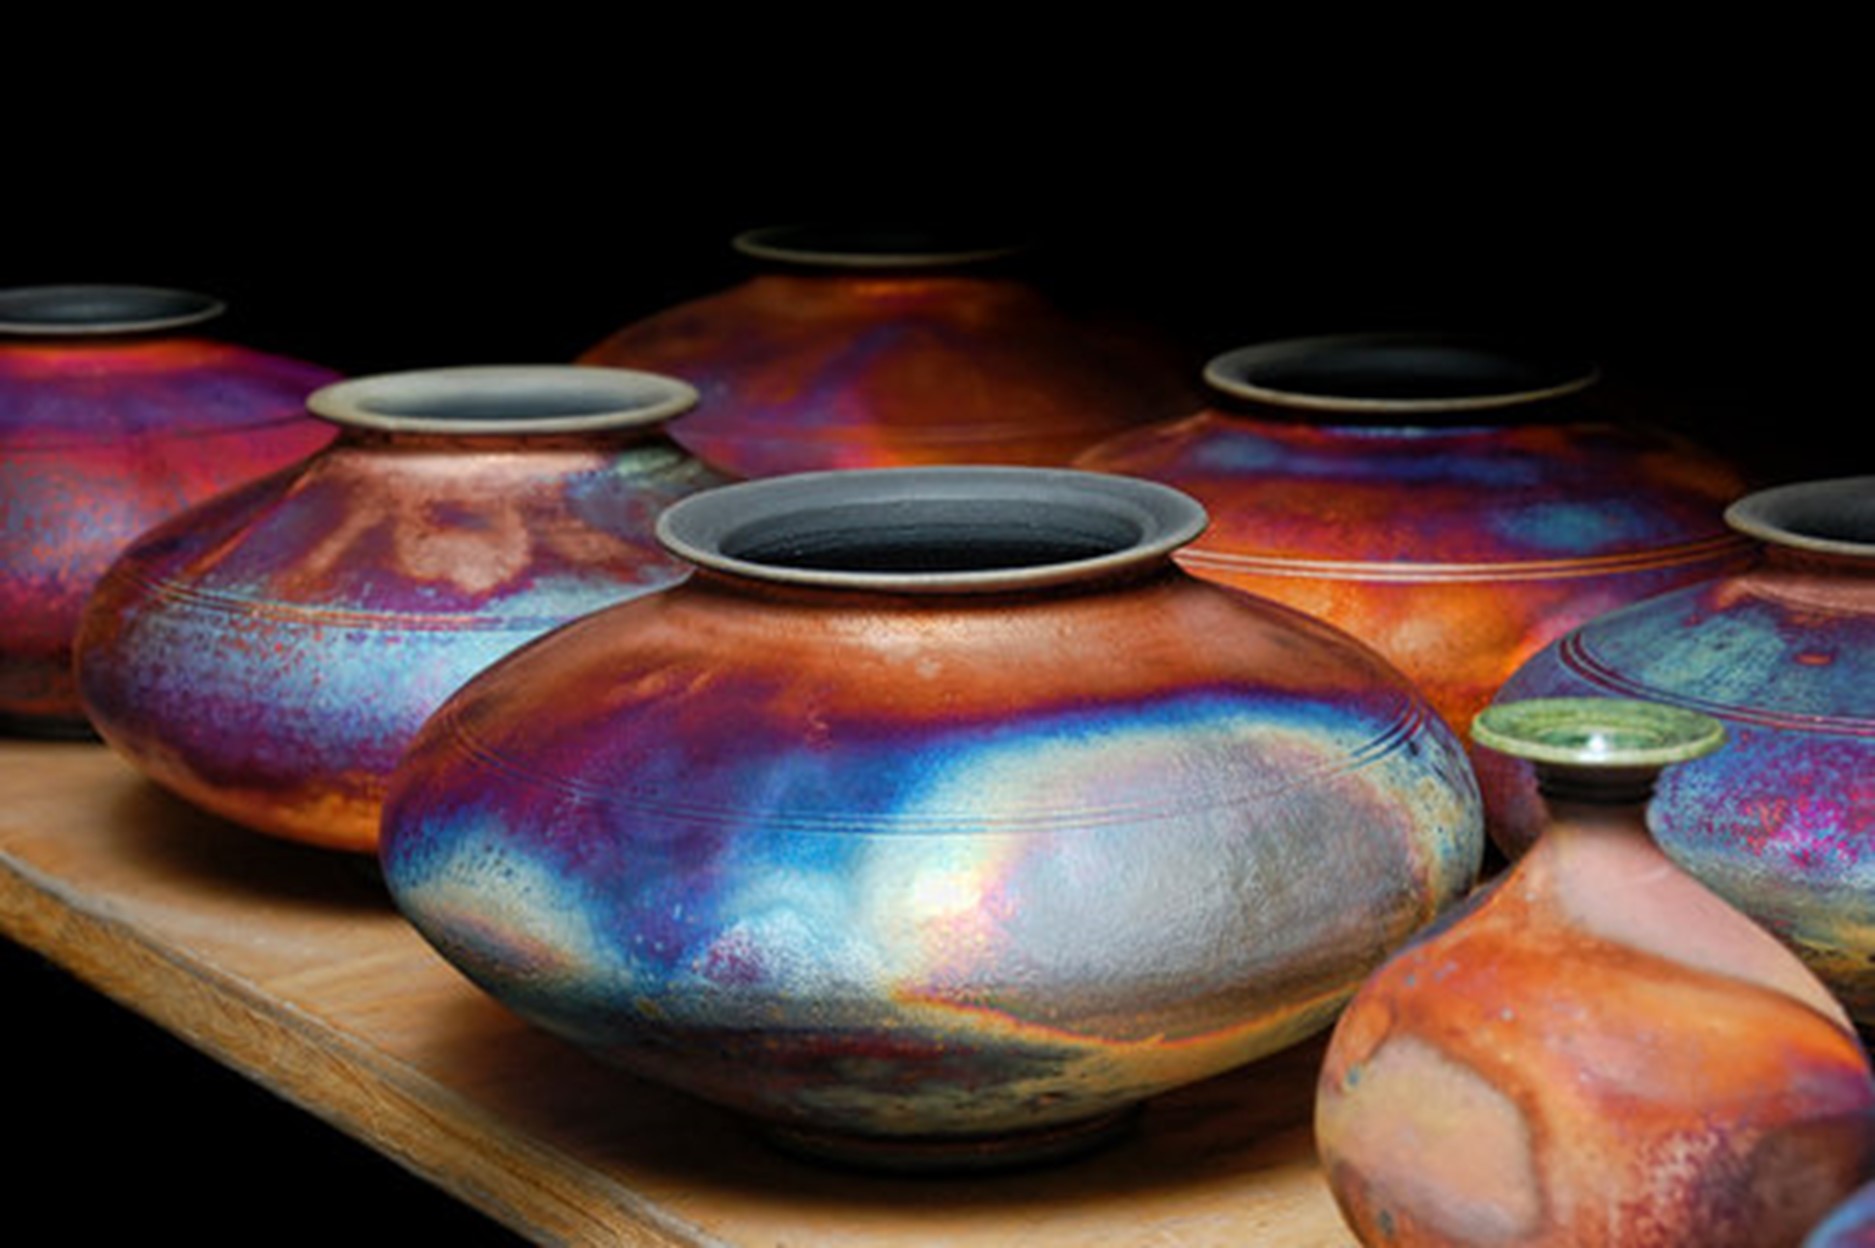
5. Raku
Raku pieces are solely for decorative purposes. An enclosed container of flammable materials is used to place the bisque-fired articles. It is done at approximately 1800 degrees Fahrenheit after the bisque-fired pot is fired and glazed. Oxygen is drawn out, making the glazed and non-glazed regions appear in a picturesque form.
What is Glazing?
Glazing is a popular technique, which will also be discussed in this article. Once bisque-fired, mineral-made liquids and colors are used to decorate the pot or vessel. Glazes are applied by way of dipping, pouring, or brushing. Once applied, it is placed in the kiln for Glaze Firing to give it a firm form.
Glazing brings out the authentic charm, whether the end product is a pot, a decorative bowl, or a vessel for serving and storing. Glazing done right makes the utensil food-friendly, thereby not adversely affecting the dishes served.
Clay-based pots are often prone to leaking. However, glazing them ensures the material is bound together rigidly and taut. In addition, microwaving makes sure that the firing affects the pot or bowl consistently.
What are the types of pottery glaze?
Glazing at your pots and utensils reveals the true beauty of the piece of art. In addition, it is a way of adding niche detailing to your creation. Here are some of the common types of glazes used.
1. Clear Glaze
Clear or transparent glaze, as the name suggests, is a transparent glass-like layer applied on the surface of the article. This glaze highlights the clay’s natural, authentic color, and external texture.
Depending on the type of clay used, these glazes can be hardened at any temperature, adding flexibility to the process.
2. Opaque Glaze
Here, non-transparent materials are used in creating the glaze. This type of glaze is non-translucent, completely covering the underlying clay. The opacity makes light impenetrable and the clay underneath unseen.
Some opaque materials used to make this glaze are zirconium oxide, zinc oxide, tin oxide, and chromium oxide.
3. High Fire Glaze
As the name suggests, these glazes are prepared at extremely high temperatures. Usually, these temperatures range between 1,230 and 1,460 degrees Celsius. The extreme heat makes the resulting article heat and scratch resistant.
Limestone and feldspar, along with silica and kaolin, are some integral ingredients in this type of glaze.
4. Luster Glaze
This glaze forms a glossy layer with a smooth finish to the entire exterior. Items kept on display for purely decorative purposes are the ideal targets for this category of glaze. However, its excessively flowy nature makes it tricky to work with.
The optimum temperature for this lies between 1,180-1200 degrees Celsius. It requires precision and controlled application.
5. Matte Glaze
The matte surface is now a trending and aesthetically pleasing look preferred by many. These glazes create a seamless external appearance with a glossy finish. In addition, the flexibility of temperature exists in this kind of glaze.
Matt glazes are usually made of alumina, barium, magnesium carbonate, and zirconium silicate.
How can you apply the glaze?
Once the glaze mixture has been prepared and left to rest, the manner in which it is applied should be your next focus.
Some of the standard methods of applying the glaze are as follows.
1. Dipping – Here, the semi-finished pot is lowered into the glaze and dipped into it directly. It is usually done when a uniform coat of the glaze is applied across the pot.
2. Spraying – One can use spray tubes or bottles to drizzle the glaze across the pot. This method tends to be messy but is used to create unique patterns.
3. Brushing – Depending on the design and extent, brushes of varying sizes can be used to apply the glaze to the pot in the desired sections.
These techniques, coupled with other modern instruments, are used to create aesthetically pleasing patterns and designs.
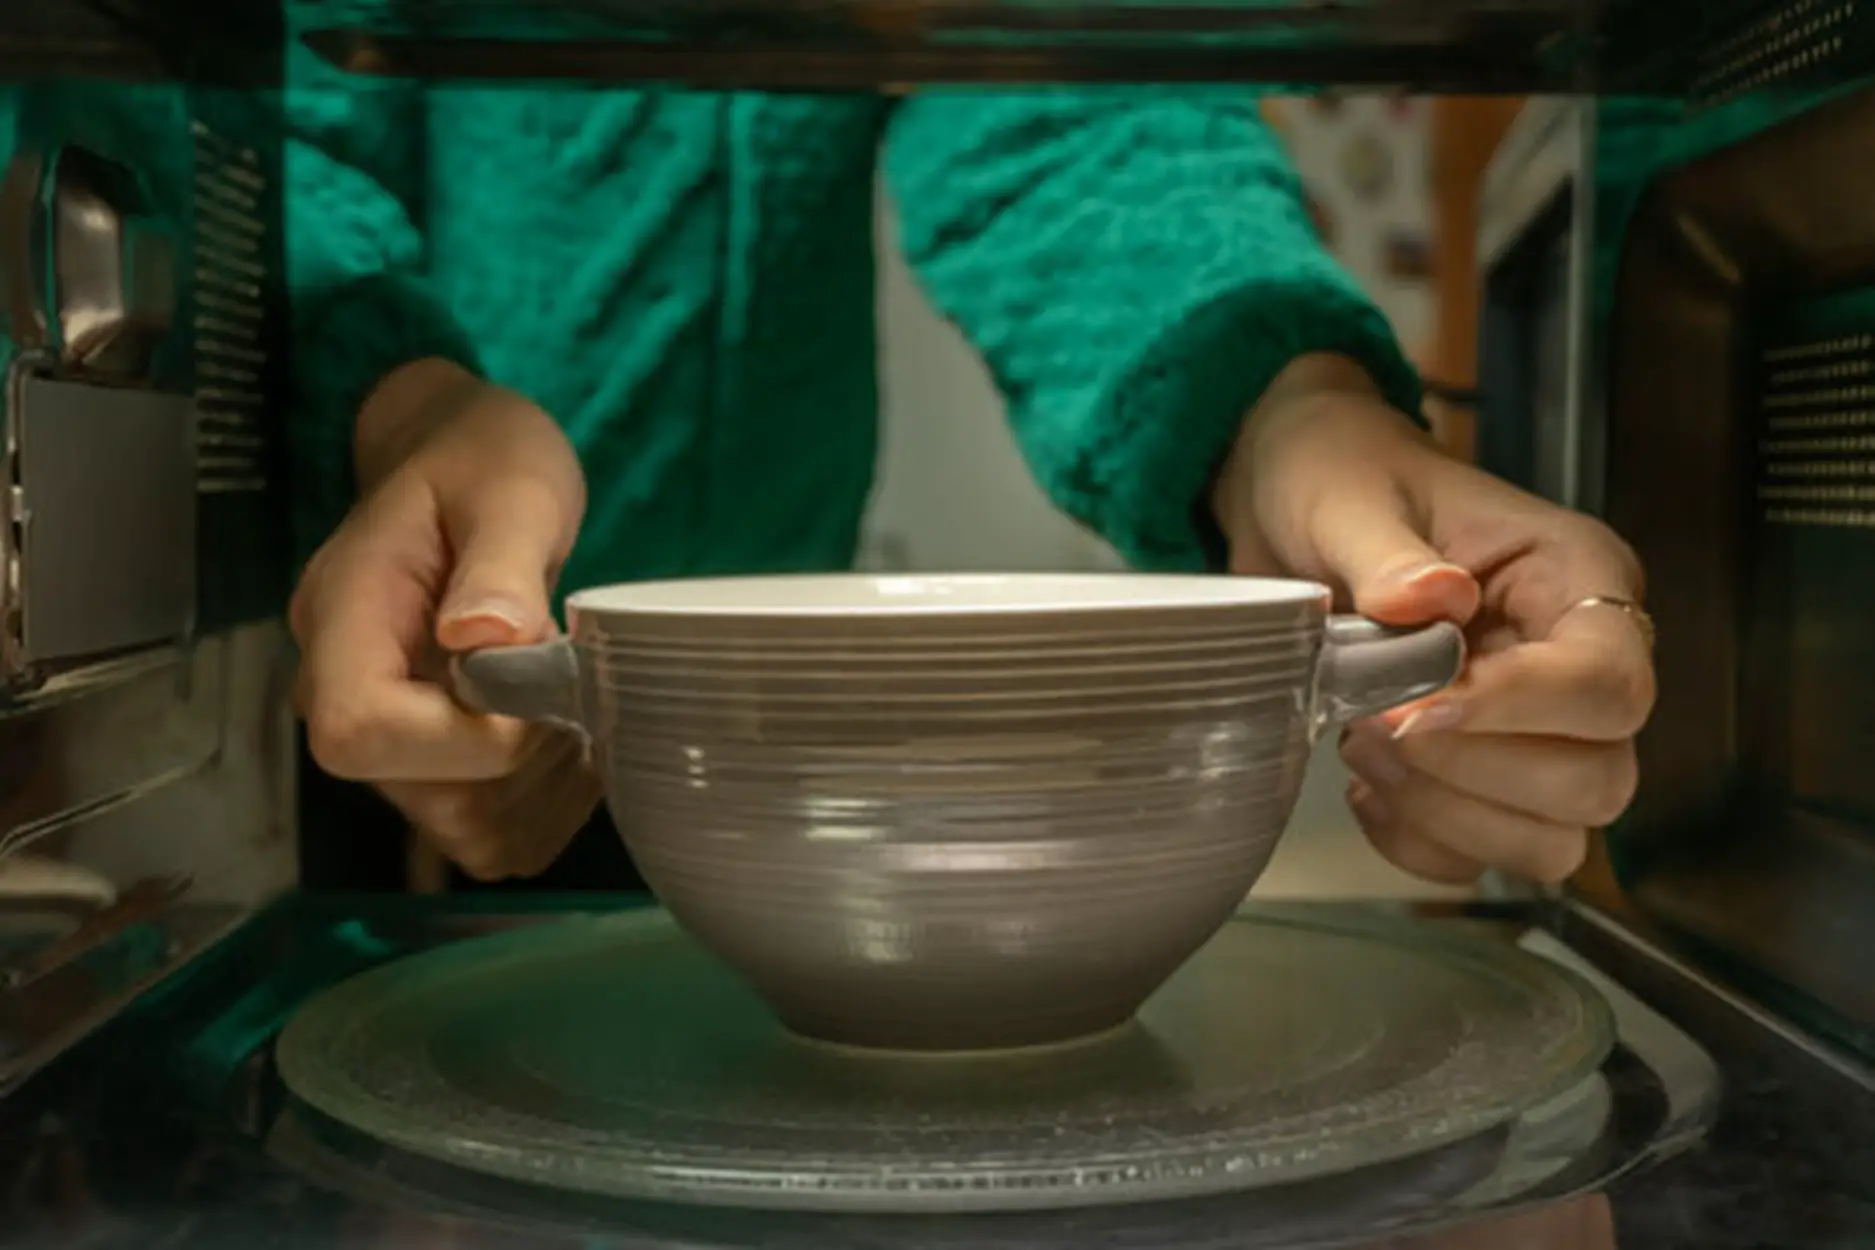
Can a microwave be used for glazing?
After glazing, the glaze must latch onto the pot. For the decorative figures to stick on, glazing is usually done in a kiln.
But as beginners, pottery kilns might not be easily accessible to fire the pots. Glazing your pottery in a microwave is the next best alternative, which works just fine. However, you may wonder, is glazing possible in a microwave? Yes, it is.
Microwaves can provide the same level of heat at the required temperature safely. The clay remains intact, depending on the materials used and the heat level. Monitoring the progress of the firing process also becomes easier.
Tips for glazing your pottery using a microwave
Before directly placing your semi-finished pot or vessel in the microwave, there are some prerequisites to ensure that the end result is just the way you want it. Following are tips to bear in mind in the process:
1. Know your clay
Starting from scratch, know the type of clay you are using. Clay comes in various forms and with multiple components. These ingredients are a crucial deciding factor in the temperature that is optimum for the clay to take a solid form. Below is a summary of clay type and its corresponding temperature:
Type of Clay |
Temperature |
Polymer clay |
Less than 900 ° Fahrenheit |
Scruple clay |
Less than 900 ° Fahrenheit |
Stoneware clay |
Between 1200 and 1450 ° Fahrenheit |
Earthenware clay |
Around 1000° Fahrenheit |
Whether for keen beginners or pottery enthusiasts, CiaraQ Small Modeling Clay Set is a terrific option, suitable for oven-baking.

2. Pottery must be dry
Before being fired up for glazing, the pot has to be completely dry. Bone-dry pots make the glazing process lump-free and uniform. Any dampness or moisture has to be removed from the material. Sintering, the evaporation process, has to occur organically; let it rest. It will prevent the glaze from cracking.
3. Identify the required temperature
Depending on the type of clay and glaze used, ascertain the temperature at which the oven has to be set. It is an important step; it will make or break the pot. Low temperature will lead to the pot being a weak, frail mass. High temperatures, on the other hand, may render it unfit for use. So, make sure you set the right temperature for the pot.
4. Place the pot upside down
Once the temperature is determined, it is time for the main part – microwaving. Uniform distribution of heat is essential for the pot to remain firm. Placing it upside down will ensure this. Alter your oven trays or racks accordingly. It will also ensure that the glaze settles in without the fear of discoloring or breaking.
5. Re-glaze and re-fire
After the first round of glazing, let the pot rest. It helps the glaze stick on, making your microwave-based firing fruitful. For longevity, apply another coat of glazing (overglaze). Post this, and place it in the microwave as you did for the first firing round. Let the magic happen. Carefully take the pot out, with safety gear on, and let it rest one last time.
These aspects must be kept in mind to ensure that glazing is done correctly. Safety is to be ensured while microwaving. Keep your protective gear and gloves handy. Use suitable pottery tools and apparatuses for this process to be a jolly ride.
What are the advantages of microwave-based glazing?
Microwaves are a better medium for firing your pottery than in a kiln. Some of the many benefits are as follows.
1. Perfect choice for beginners
Beginners or pottery hobbyists who are new to the world of pottery might find using kilns challenging. Thus, newbies can use a microwave to ensure they have a safe and monitored start to their pottery journey.
2. Safer to deal with
Dealing with a fire is always a tricky business. It is hard to predict when things may go south, and with fire, it can happen in the blink of an eye. Microwaving is a safer method of glazing your pottery without dealing directly with heat and high temperatures.
3. Easier to handle
Glazing involves two rounds – an underglaze and an overglaze. During this, high temperatures are inevitable. Dealing with the pottery using tongs is easier in a microwave. Removing and replacing it becomes a smooth-flowing process.
4. Pocket-friendly method
Investing in kilns can be a time and money-consuming process. Microwaves are recommended for those just getting started or indulging in pottery infrequently. Microwaves at home can be used for this.
5. Saves time
With the timer feature that recommends the optimum time based on the temperature, microwaving is the best way to go about glazing in a time-bound manner. In addition, commercial kilns may have multiple pots to be fired, which makes microwaves a preferred option.
Conclusion
Using a microwave to glaze your pottery is beneficial in many ways. Not only this, monitoring the temperature is possible, given that they can’t exceed a specific temperature. The dangers of heat and explosions can be kept at bay. It makes pottery a fun group activity too, where your friends and family can be involved.
So, put on your creative hats and unleash your artistic side. Pottery is a pristine way of expressing your imagination. Whether a hobbyist or an avid potter, pour your heart and soul into your next creation. Glaze it to make it a stunning piece of art!


