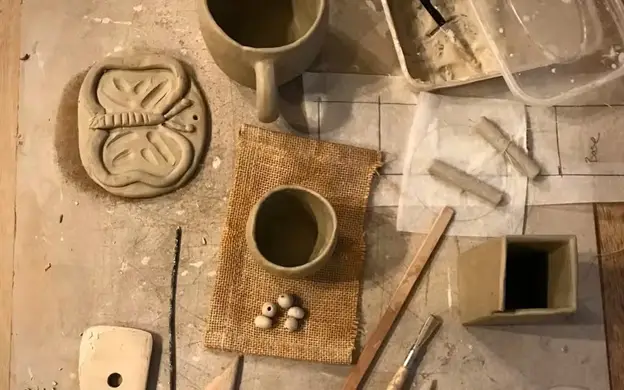
Air-dry clay is a versatile and popular way of crafting that allows artists and hobbyists to create beautiful and elegant sculptures without needing a kiln or oven. While working with air-dry clay, you may encounter problems that can spoil the project’s overall look. For this reason, this article discusses some of the most common problems with clay, what causes clay to dry, and what precautions you can take while crafting.
The Most Common Problems with Air Dry Clay and Their Solutions
Nothing is more annoying than seeing your crafted project with visible flaws. While these errors or mistakes are a part of crafting, they can be fixed if you take the necessary steps. Let us look deeply into how you can fix some of the most common problems effectively and make your crafted object look better.
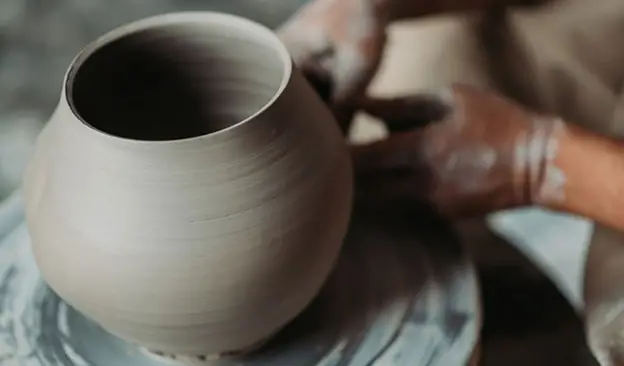
1. Visible Cracks While Drying
You may give your crafted object the final touch, and after a few hours, you notice cracks have started to develop. In this case, you must maintain the consistency of the clay till the last mold is given to the sculpture. Make sure you do not change the composition of clay, as it directly affects the quality of the final result. If the clay is too dry or watery, it will affect your crafting.
In addition to this, avoid exposing the project to direct sunlight. Doing so will hasten the drying process and form cracks that will be difficult to fix. Also, uneven weather conditions result in the expansion and contraction of the project, thus leading to the formation of cracks. So make sure you keep the project covered as per the conditions.
2. Uneven Drying
If you notice that some parts of your project are not drying as fast as others, it will affect the result. To fix this problem, turn and rotate the project regularly to ensure the drying process stays consistent throughout.
Moreover, loosely cover the project with plastic between sessions to slow the drying process and prevent one part from drying too quickly. Also, the weather has much to do with drying, so keep your project in a suitable environment.
3. Color Fading or Discoloration
If you notice that your project’s color has faded slowly, place the project where the room temperature is maintained. Extreme hot or cold conditions can result in color fading or discoloration. Moreover, avoid exposing the project to places where it could come into contact with moisture, as this can spoil the color scheme of the entire project.
Besides, applying color before the drying process is complete should be avoided as it can make the color look different from its original shade.
4. Difficulty in Achieving a Smooth Surface
To prevent your project from having a smooth surface despite using all the smoothening techniques, knead the clay thoroughly before use. It will eliminate air bubbles and their formation and achieve a smoother consistency for your project. Also, use fine-grit sandpaper to smooth out any inconsistency once the surface gets dry. You can also use a damp sponge and rub on the entire surface of the project to reduce smoothness.
5. Problems Related to Adhesion
If you notice that some parts of the project do not stick together firmly, there is a technique associated with air-dry clay that you can use. It is called the Score and Slip Technique. You score both surfaces with a knife and apply slip (a mixture of clay and water) before joining the pieces. It helps stick parts to the project effectively.
Additionally, you can temporarily support the part you want to stick to the project. It is also an excellent solution to ensure the part sticks to your project.
What Causes the Problems While Working with Air Dry Clay?
The following are the causes of some of the most common problems encountered while working with air-dry clay. Keep them in mind to prevent these issues.
| Problem | Cause of the Problem |
| Stickiness | It indicates that there is extra moisture in the clay. It mainly happens if you add more water to the mixture. |
| Dust on the surface of the project | It indicates that the clay is either too dry or has excess moisture. |
| Hard or stiff clay | It happens because you let the clay get too dry or expose it to direct sunlight. |
| Difficulty in shaping the clay | It happens because the clay is too soft or too watery. |
Precautions to be Taken with Air Dry Clay
Before you start working with air-dry clay, taking a few precautions to avoid potential flaws in your project will be better. Some of these are as follows:
- Use a smooth working surface while crafting the project to maintain consistency and smoothness. If the clay surface isn’t smooth enough, you will face several problems working with it.
- Ensure your hands are clean to avoid mixing any other material with the clay. You can use a mild handwash to make your hands dirt-free before you start working.
- Since the clay mix can quickly get dry, it is necessary to retain the moisture to keep it workable. Cover the mixture with a lid to prevent the clay from getting dry.
- Keep the clay away from dust to ensure smooth consistency throughout the project. Dust particles can make the clay surface look rough and uneven.
- Whatever tools you use for enhancing the project, ensure they are high-quality, clean, and usable. You can check out the Meuxan Pottery Tool Set, one of the best tool kits for air-dry clay pottery projects.
- Work in a risk-free environment to avoid any complications. Keep kids or pets away from your workstation.
This is it. You are now ready to craft your piece of art without much hassle!
Final Thoughts
Crafting is a fun hobby, and with the help of air-dry clay, you can craft your favorite objects. While some problems may arise while sculpting, they can be fixed and even be prevented. To ensure a seamless crafting experience, we suggest you decide on the project’s blueprint and work as planned.


