The pottery wheel is an important tool when it comes to crafting with clay. However, several hand-building techniques can also be implemented if you are a beginner and don’t have access to a pottery wheel. Hand-building techniques are of several types and one of the popular options most artists love is pinch pottery. So, how can you master this technique and craft artwork that looks just as good as the one made with a pottery wheel? In this blog, we will outline all the steps that you should follow when trying to master pinch pottery. But first, let’s learn what pinch pottery is!
Pinch Pottery: What Is It?
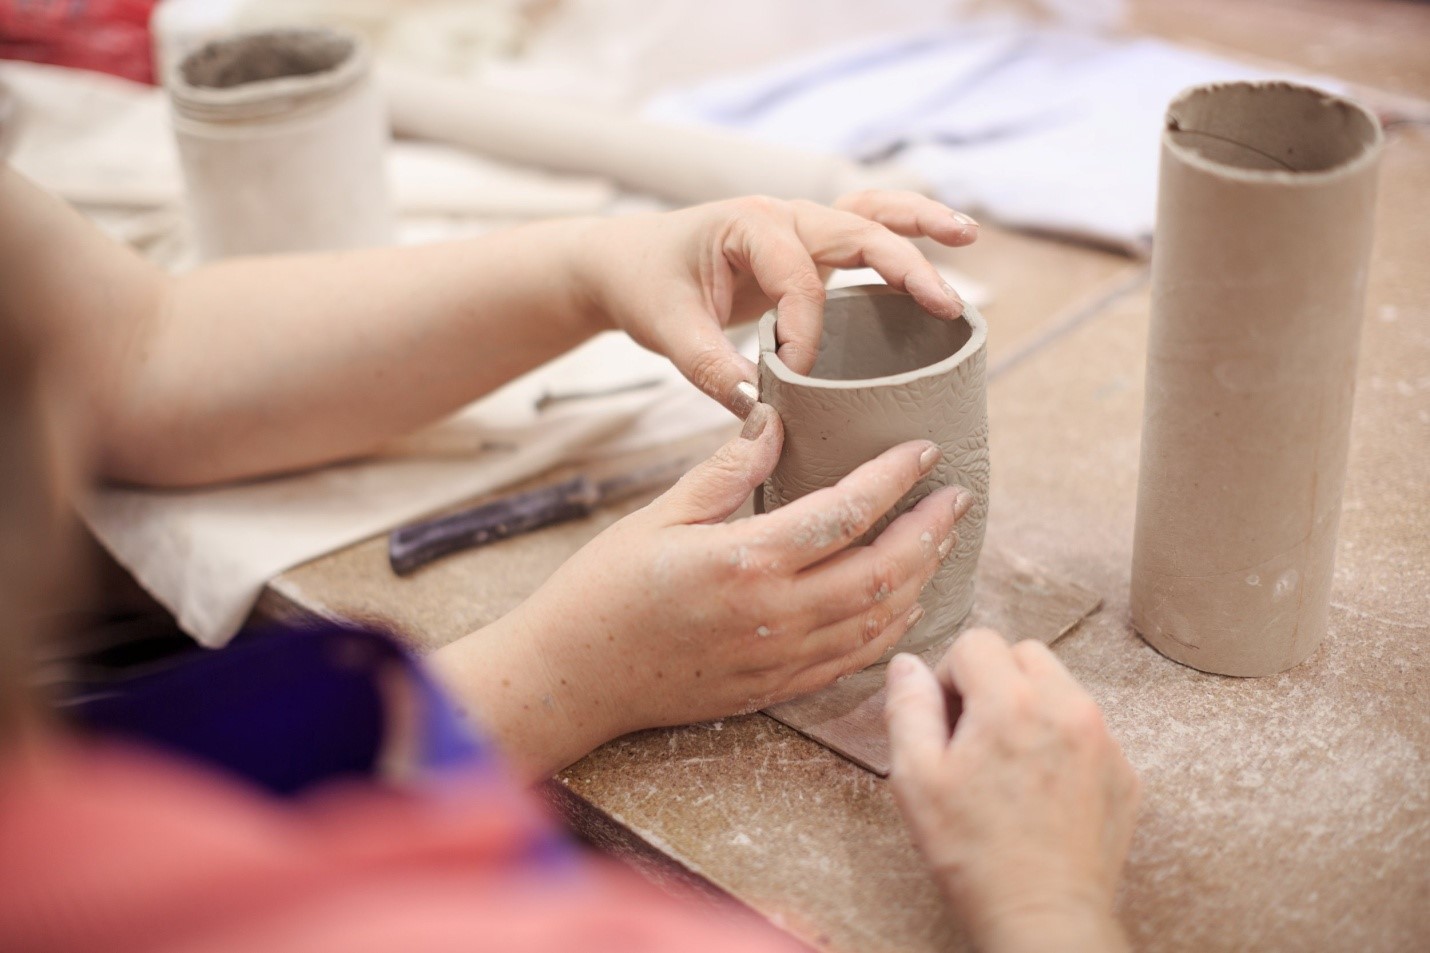
Pinch pottery is similar to coiling but instead of forming shapes with coils, here, you shape and manipulate the clay using your thumbs and fingers. This action looks very similar to pinching something hence the name. Before pottery wheels came into existence, hand-building was the only way to create something new and interesting with clay.
When using the pinch pottery technique, the sky is your limit. Simply start with a lump of clay and with the help of your fingers start creating a hollow shape with squeezing and pinching action. Depending on what you wish to create, the technique for this can vary. However, today, we will provide you with step-by-step instructions on how to implement the pinch pottery technique on clay, especially if you are a beginner.
Creating A Basic Bowl With Pinch Pottery Technique
To create a basic bowl with this technique, follow these steps:
- First, knead the clay properly to ensure it forms a homogenous texture. Now, roll it into a small clay ball shape.
- Next, hold the clay ball in one hand and press on the top of the clay with the help of your other hand’s thumb. Ensure that you have pressed on the clay’s center for even distribution during the pinching process. Additionally, do not push your thumb all the way through or you might have a donut as a result.
- Once you feel you have almost reached the base with an inch or two left, start the pinching process. Here, you will gently pinch the clay wall and lift it upwards throughout the circumference of the bowl. Repeat the process until you achieve the desired thickness for your clay bowl.
Check if there are any uneven sections in the clay bowl’s wall and smooth it out accordingly with the help of your fingers. Once you are happy with the shape, size, and thickness, allow the clay to dry before you add it to the kiln for firing or paint the glaze on it.
Things To Remember
- When pinching the clay, you might occasionally notice that the clay is cracking at certain spots. This is especially true if you are a beginner. Clay tends to crack even when wet if it is stretched out too much. If you do see such cracks appear during the pinching process, use a dab of water and smooth out the section.
- To get rid of the fingerprints, simply get a sponge, and lightly wet it so that it’s damp but not dripping wet. Now, using this damp sponge, smooth out the surface until all the finger marks are gone.
Creating A Vase With Pinch Pottery
The process of creating a vase with the pinch pottery technique it’s a bit tedious as compared to creating a basic bowl. So, here are the steps you need to follow to create a beautiful clay vase:
- After you are done wedging the clay to remove air bubbles, you need to separate the clay into two sections and create two bowls using these sections as described above.
- Ensure that these two bowls have equal circumferences as you are later going to join them together. Once you have created the said shape, score them properly on the edges and join them so they form a hollow ball-like shape.
- Now, using a sharp tool cut out a small circle from the top section of this clay ball and remove the extra clay. This is where you will create the mouth of the vase. To do this, you can use the Jetmore Clay Tool Kit which comprises 6 versatile tools ideal for cutting or carving through clay.
- With the help of the coiling and scoring technique, build the neck of the vase and blend it onto the base with the help of some water and a smoothing tool.
Creating this vase requires a mix of two hand-building techniques which include pinch pottery and coiling. However, depending on what you wish to create, you can implement other hand-building techniques into your project as well.
Things To Remember
- The neck, mouth, and base of the vase should be slightly thicker than the body to ensure the design is stable and doesn’t break away after drying or form cracks.
- Always work from inside out to create a uniform design when pinching the clay to form your desired shape. If you pinch from outside to inside, the design can get wobbly and won’t form your desired shape.
- For added stability, create a foot ring with the help of the coiling technique. Remember to slip and score the area before you attach this ring and blend with the help of some water.
Conclusion
Remember, creating a complete project simply with the pinching technique might not be possible. So, it is always recommended that you opt for a mix of all hand-building techniques such as coiling, slab building, slip-casting, or sgraffito along with the pinch pottery technique. This will give you the best results minus the limitations of sticking to one technique. Given the fact that pinch pottery projects can be uneven in thickness as compared to the ones made in a wheel, make sure you place the artwork inside a cloth cover or plastic. This will create a greenhouse-like effect to slow down the drying process and reduce the possibility of cracking. Remember, pinch pottery is a meditative and rewarding process with is also light on your pockets with no heavy equipment required.


