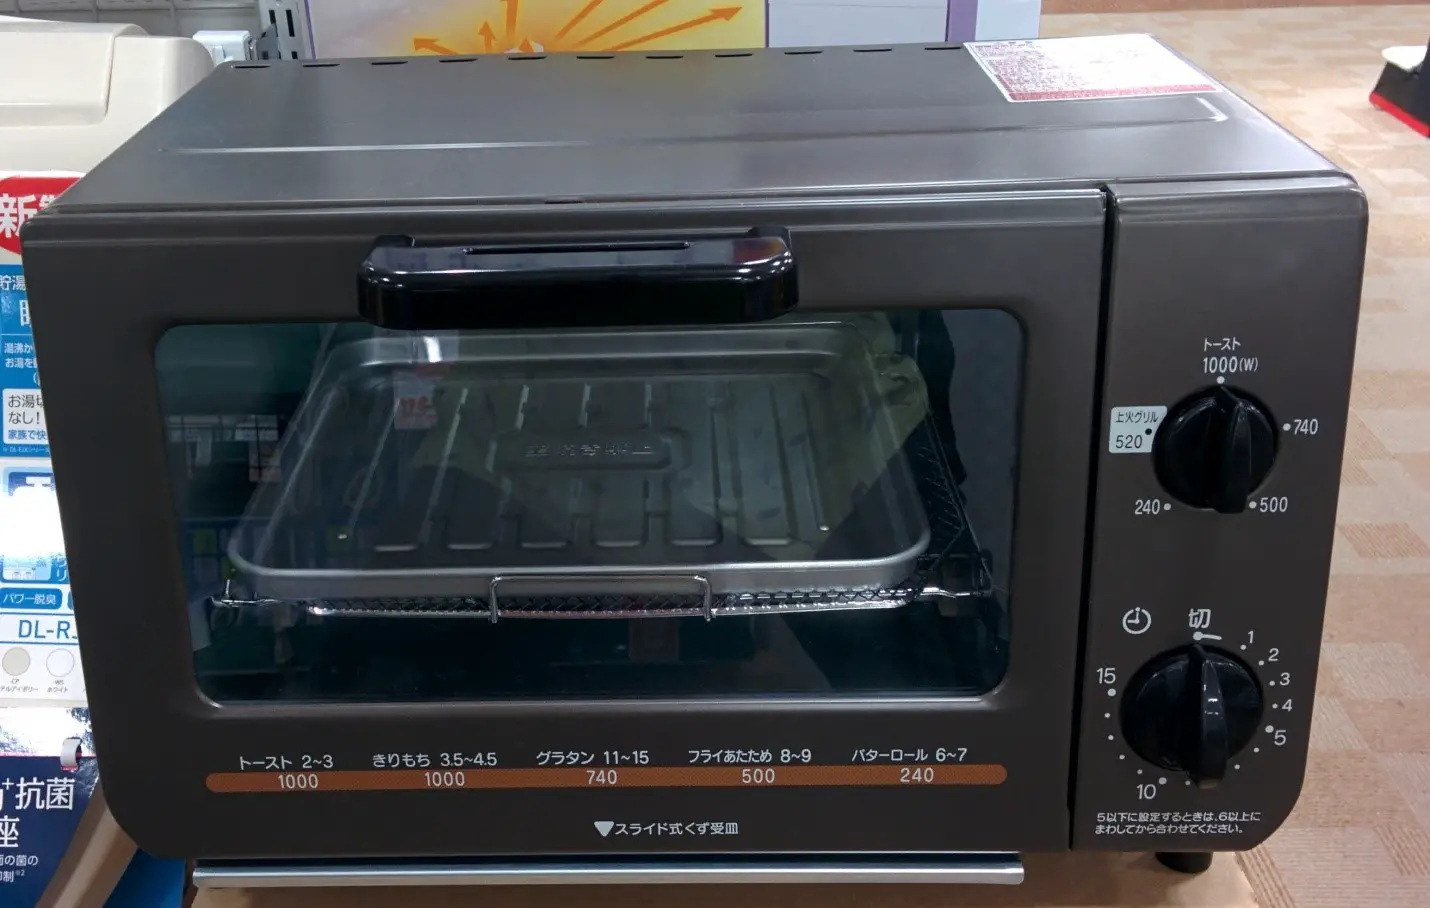
Starting out as a pottery artist doesn’t require you to buy a kiln, as they can be pretty expensive. You can make do with a home oven for your pottery-making escapades. However, you need to remember that clay cannot be fired in a home oven. Rather, it is used to fast-track the drying process. While you would need to fire regular clay-like earthenware, stoneware, or porcelain after drying it out with the help of your home oven, the best clay for pottery making is air-dry clay. Unlike others, it doesn’t need firing. So, if you do opt to cure the clay at home in an oven, there is a process to it. Let us learn about the ways to prepare your home oven for pottery making!
What Pottery Items Can You Make With A Home Oven?
Given that the size of a home oven is far too small compared to a kiln, you can only bake small craft items such as charms, beads, tiny sculptures, etc. Craft items made of air-dry clay are best suited for this process. You can also cure polymer clay that hardens after baking in an oven. But, all-in-all, air-dry clay is ideal, given how easy it is to work with.
So, how would you prepare your home oven for a pottery project? Let us take a look!
Process Of Preparing Your Home Oven For A Pottery Project
First things first, never use the oven to heat up your food after you use it for pottery making. Certain elements in the clay or decorative items tend to have toxic chemicals that might stay inside your oven after baking. So, it is important that you have a separate oven for this purpose specifically.
1. Clean Your Oven Thoroughly:
Start by cleaning your oven thoroughly. If you do not wipe away any remnants, the fumes and ashes can land on your project, leaving black marks or even hampering the integrity of the project. So, this is an important aspect you need to keep in mind. Do not use water to clean the insides of the oven. While this might seem silly, there are several pottery enthusiasts that might make this mistake. Instead, always use dry tissue paper or a sponge to get rid of any dirt or food remnants.
2. Start By Preheating:
When using a home oven, you need to create an environment that is as close as a traditional kiln. Preheating allows any toxic fumes present inside the oven to escape before you place your crafted piece inside. Depending on the clay you are using, the preheating temperature can vary. So, read the instructions to find the right temperature. Generally, the number is somewhere between 275oF to 325oF. Make sure the windows in the room are open when you do this.
3. Get An Oven Kiln Or Make One Yourself:
You can find oven kilns online that are perfect for home oven baking projects. They help concentrate the temperature and help increase the drying speed/curing speed of your pottery ware. A great option is the Love Charm Professional Kiln which mimics the action of a large kiln inside your home oven.

In case you don’t wish to invest in an oven kiln, you can make one at home. Simply get two aluminum pans (rectangular). They should be deep enough to fit your artwork inside. Now, place a ceramic tile inside with parchment paper on top and place your crafted piece above it. Together, they ensure the clay doesn’t stick to the aluminum while balancing the temperature. After you place the project inside, cover it with the second aluminum pan. Place it inside the oven, and you can start the baking process.
- Remember not to remove the baked piece right away. The sudden temperature change can cause the pottery ware to crack.
- Make sure you use gloves throughout the process and work in a well-ventilated room.
Conclusion
Prepping your home oven the right way will ensure your project comes out perfect every time. However, there could be minor issues that can be perfected with test firing in your home oven. Always start with test pieces to understand what temperature and duration work best for the clay you are working with. It is important to have patience and keep practicing to get the perfect results.


