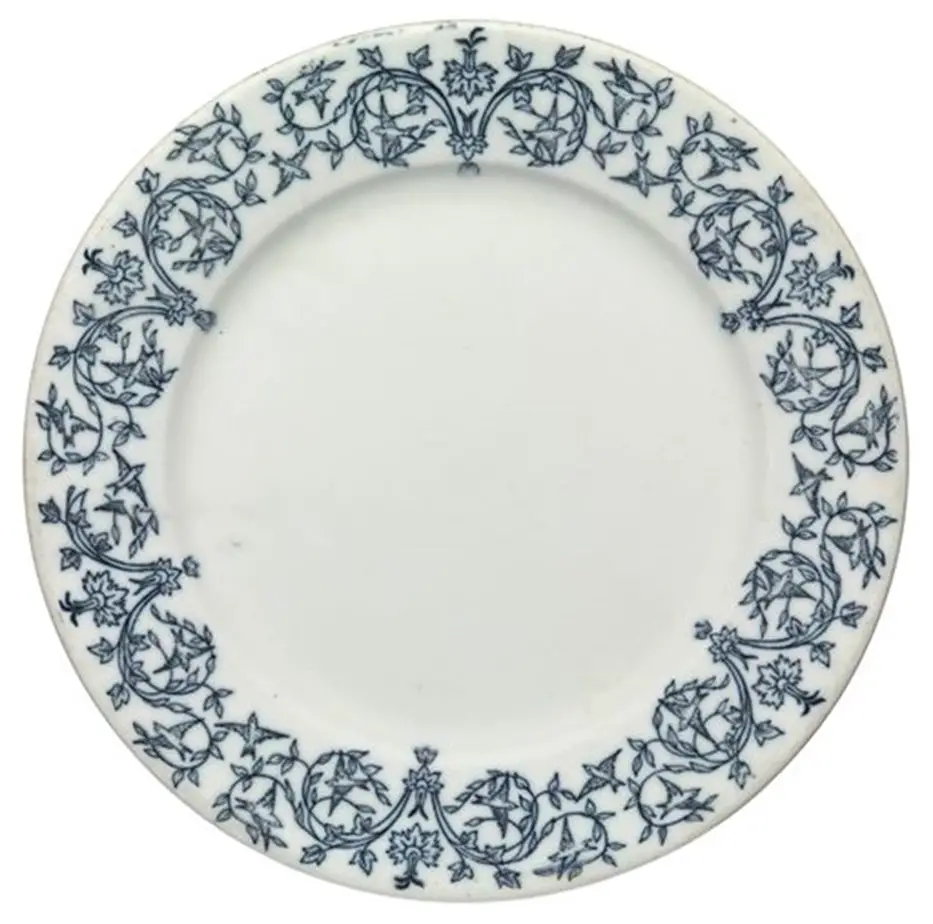
Decorating a clay piece is an individual potter’s choice. You can either paint it as you like or follow the techniques used by experienced potters. One such technique is the use of Japanese Tissue Paper. This decorative technique is an easy and fun way to develop unique textures on the clay. But, there is a proper way to apply this tissue paper to your clay. When done wrong, it could be a messy affair and might also lay your art to waste. You might end up creating your clay piece from scratch.
So, before you learn about the right way to apply Japanese tissue paper on clay, you need to understand what it actually is.
Japanese Tissue Paper: What Is It?
Japanese tissue papers are strong and thin paper that is crafted from high-quality vegetable fibers. Japanese tissue papers can be made from any of the three plants listed below:
-
Kozo Plant (Paper Mulberry Tree or Broussonetia papyrifera)
-
Gampi Tree (Diplomorpha sikokiana)
-
Mitsumata (Edgeworthia chrysantha)
The commonly used plant for Japanese tissue paper is the infamous Kozo plant. The fibers produced by this plant are strong and long, which helps create sturdy and dimensionally stable tissue paper. Papers made from these plants come in a range of colors and thicknesses, which can be used for a range of projects that includes decorating your clay models as well.

Most mending tissues come from the Kozo fibers. Although in some cases, gampi and mitsumata papers can also be used. Japanese tissue papers are ideal for creating airplane or kite models covering.
Let us take a quick look at the type of Japanese tissue paper made with the help of the Kozo plant.
Paper Name |
Description & Usage |
Composition |
Hosokawa ohban |
It is heavier than most Japanese papers. It is used for backing maps and documents. |
100 percent Kozo |
Kizukushi |
It is used for mending purposes. |
100 percent Kozo |
Okawara |
It is used for different conservation processes. |
100 percent Kozo |
Sekishu kozogami mare |
It is used for mending purposes. |
100 percent Kozo |
Udagami |
It is an opaque paper used for mending certain paper artworks. |
100 percent Kozo |
Goyu |
It is used primarily for printing & in mounting paper hinges. |
90 percent Kozo |
Kaji |
It is light in weight and used mostly for a plethora of conservation processes. |
100 percent Kozo |
Misu |
It is also used for various conservation processes. |
100 percent Kozo |
Sekishu Mare & Sekishu Bashi Tsuru |
This type of Japanese paper is used primarily in conservation and printmaking. |
100 percent Kozo |
Sekishu Kozogami Turu |
It is used for different types of mending purposes |
100 percent Kozo |
Now that you know all about Japanese Tissue Papers, let us learn about the best ways to apply this tissue paper to your clay pottery piece. Learning this technique will help you master the art of creating some amazing surface designs.
Best Way To Apply The Japanese Tissue To Clay
Follow these steps to learn the best ways to apply this unique tissue paper to your clay piece:
-
Create the clay piece you wish to lay the tissue paper on. It could be a pot, plate, or anything that comes easily and naturally to you. After it has completely dried out, make sure you smooth out the surface with the help of sanding paper. Make sure you don’t sand the surface too hard, or you might end up creating dents on the clay piece. Once you are done with the sanding process, make sure you wipe off all the dust with the help of a damp cloth. Leave the piece aside to dry thoroughly.
-
Next, bring the Japanese tissue, sponge, water, & scissors to your work table. Cut out the tissue paper as per your pot’s sizing requirements. Place the tissue paper facing downward in your desired location. The sponge should be used on the paper’s backside. Make sure the Japanese tissue is completely wet. Dab the sponge on the paper to make it wet. You need to ensure that the paper isn’t dripping wet. Ensure that all the paper gets wet.
-
Now, leave the paper like this for a couple of minutes. Gently peel off the tissue’s paper backing. Doing this will ensure that the design stays on your clay piece and doesn’t come off with the paper backing.
-
Once the pottery has completely dried off with the design on its surface, the next step is to opt for the kiln firing process. Before the kiln firing process, make sure you apply underglaze to it.
-
Post-kiln firing, allow your piece to cool down thoroughly before you start applying the clear glaze. The key here is to use a clear glaze to help the designs show up properly. Applying a tinted or colored glaze would cause the designs to stay hidden after the final firing process is complete. You can opt for the Duncan Clear Pure Brilliance Glaze. This glaze helps add a sparkling and protective finish to the pottery ware while being non-toxic.
-
Once you have completed the glazing process, initiate the 2nd firing process. Doing this will seal the designs on the pottery piece.
Quick Hints
-
The Japanese Tissue Paper application technique works best on surfaces that are slightly curved or flat. This helps with better implementation of the designs on the surface.
-
Make sure you keep the pottery in a dark and dry area for a better drying process.
-
Practice caution when dabbing in the designs, as they can be fragile and might get smudged easily.
Conclusion
Depending on the clay used, the Japanese tissue can require different levels of moisture dabbing. While some clay variants would require more water for the design to be imprinted, some would require less. Regardless, a bit of testing & trial and error is always expected. So, make sure you have in place a small test batch to narrow down the best methods that work for you.


