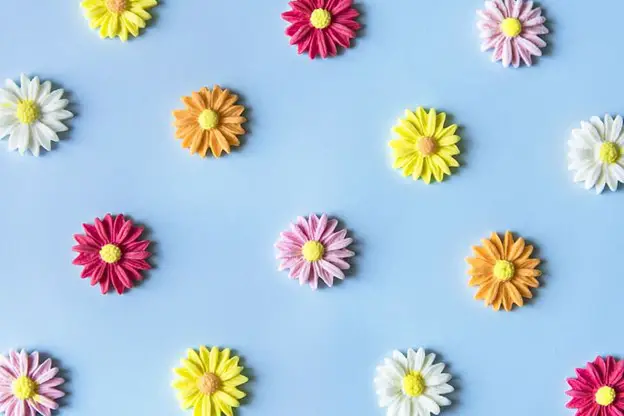
What is the first thing you want to create with air-dry clay? For most artists, the answer would be flowers. They are easy to create and can seamlessly blend with your décor. So, if you love bright floral displays and do not want to invest in real flowers, air-dry clay can be your best friend. But how would you create realistic flowers with air-dry clay that mimics natural flowers? Here are some tips to help you out!
1. Use Natural Flowers As Your Guide:
When trying to create realistic flowers with air-dry clay, you cannot simply come up with something from your mind. Even if you manage to do that, it won’t look as realistic as you would want it to be. Even expert artists love to draw inspiration from real objects. So, if you do have a garden, look for a flower that you would want to replicate, or visit the local flower shop if you have a flower in mind.
Once you have decided on the flower, study each part of the flower and understand the natural flow of patterns. This will help you mimic the patterns on the clay and create realistic flowers in the process.
2. Work Petal By Petal:
When you create complex flower designs with air-dry clay, it can be a tad overwhelming if you don’t know what to create first. Should you create the petioles first or color the clay before starting the molding process? Well, if you are creating flowers from air-dry clay for the very first time, the key is to start with petals. Work on each petal one by one and work your way towards forming the complete flower.
To create petals, you can use a dedicated cutter and shape your petals free-handedly. If you have rhombus-shaped cookie cutters at home, you can cut the initial shape of your petals with this and then shape the petals as you wish. You can also use a dedicated cookie cutter from Zuoyou Cookie Cutter Flower Set. This complete set of 33 pieces comes in various shapes and sizes to make the crafting process easy and fast.
3. Create A Base For Strength:
You cannot simply stick the petals together to form a flower, as it won’t be strong enough. So, the key is to create a dedicated base for added strength. First, form a circle depending on how big the flower is. Then, to start fixing the petals on the circle base, you need to create crosshatch patterns on the petal’s lower back area. This is similar to what pottery artists call scoring. Now, apply some water or use a clay slip to stick the petals on the circular base for added strength.
4 . Make Space For The Center:
Any flower is incomplete without seeds and filaments. So, once you have laid out all your petals on the circular base, gently press on the center and make some space. This hollow area will be used to add seeds and filaments. To do that, create a small ball shape out of your clay that is big enough to fit inside the hollow but not too big that it might shadow the beauty of the petals. Now, you can use any tool, like a toothpick, and create small holes very close to one another to mimic seeds. Of course, if you wish to, you can also add filaments, but it isn’t necessary.
5. Coloring The Air-Dry Clay Flower:
Pick the flower you drew your inspiration from and closely observe the colors. You will realize that the colors in flowers aren’t equally distributed or monotonous. You will find dark shades on the inner sides of the flower, while the outer periphery is lighter in shade. So, if you color the flower without any shades, it would seem monotonous and not realistic.
So, if you are painting a red rose, work with some shades of maroon or dark red as well. It creates some shades to mimic how natural light falls on the flower.
6. Add Some Greens:
No flower is complete without sepals which is the green part that holds it together. So, make sure you add some sepals in the base and color them green. The shape of the sepals can be the same as the petals, so you don’t have to create something new. The only thing you need to keep in mind is that the petals are placed in the upward direction while the sepals face downwards.
Conclusion
Flowers have several layers, so make sure you lay them out on an even surface and let them dry evenly. Make sure you regularly flip them to any possible curling while maximizing airflow. If you wish to keep the flowers white, keep in mind that air-dry clay would dry out off-white. So, if your flower has to be bright white, make sure you paint it white after it dries out completely.


