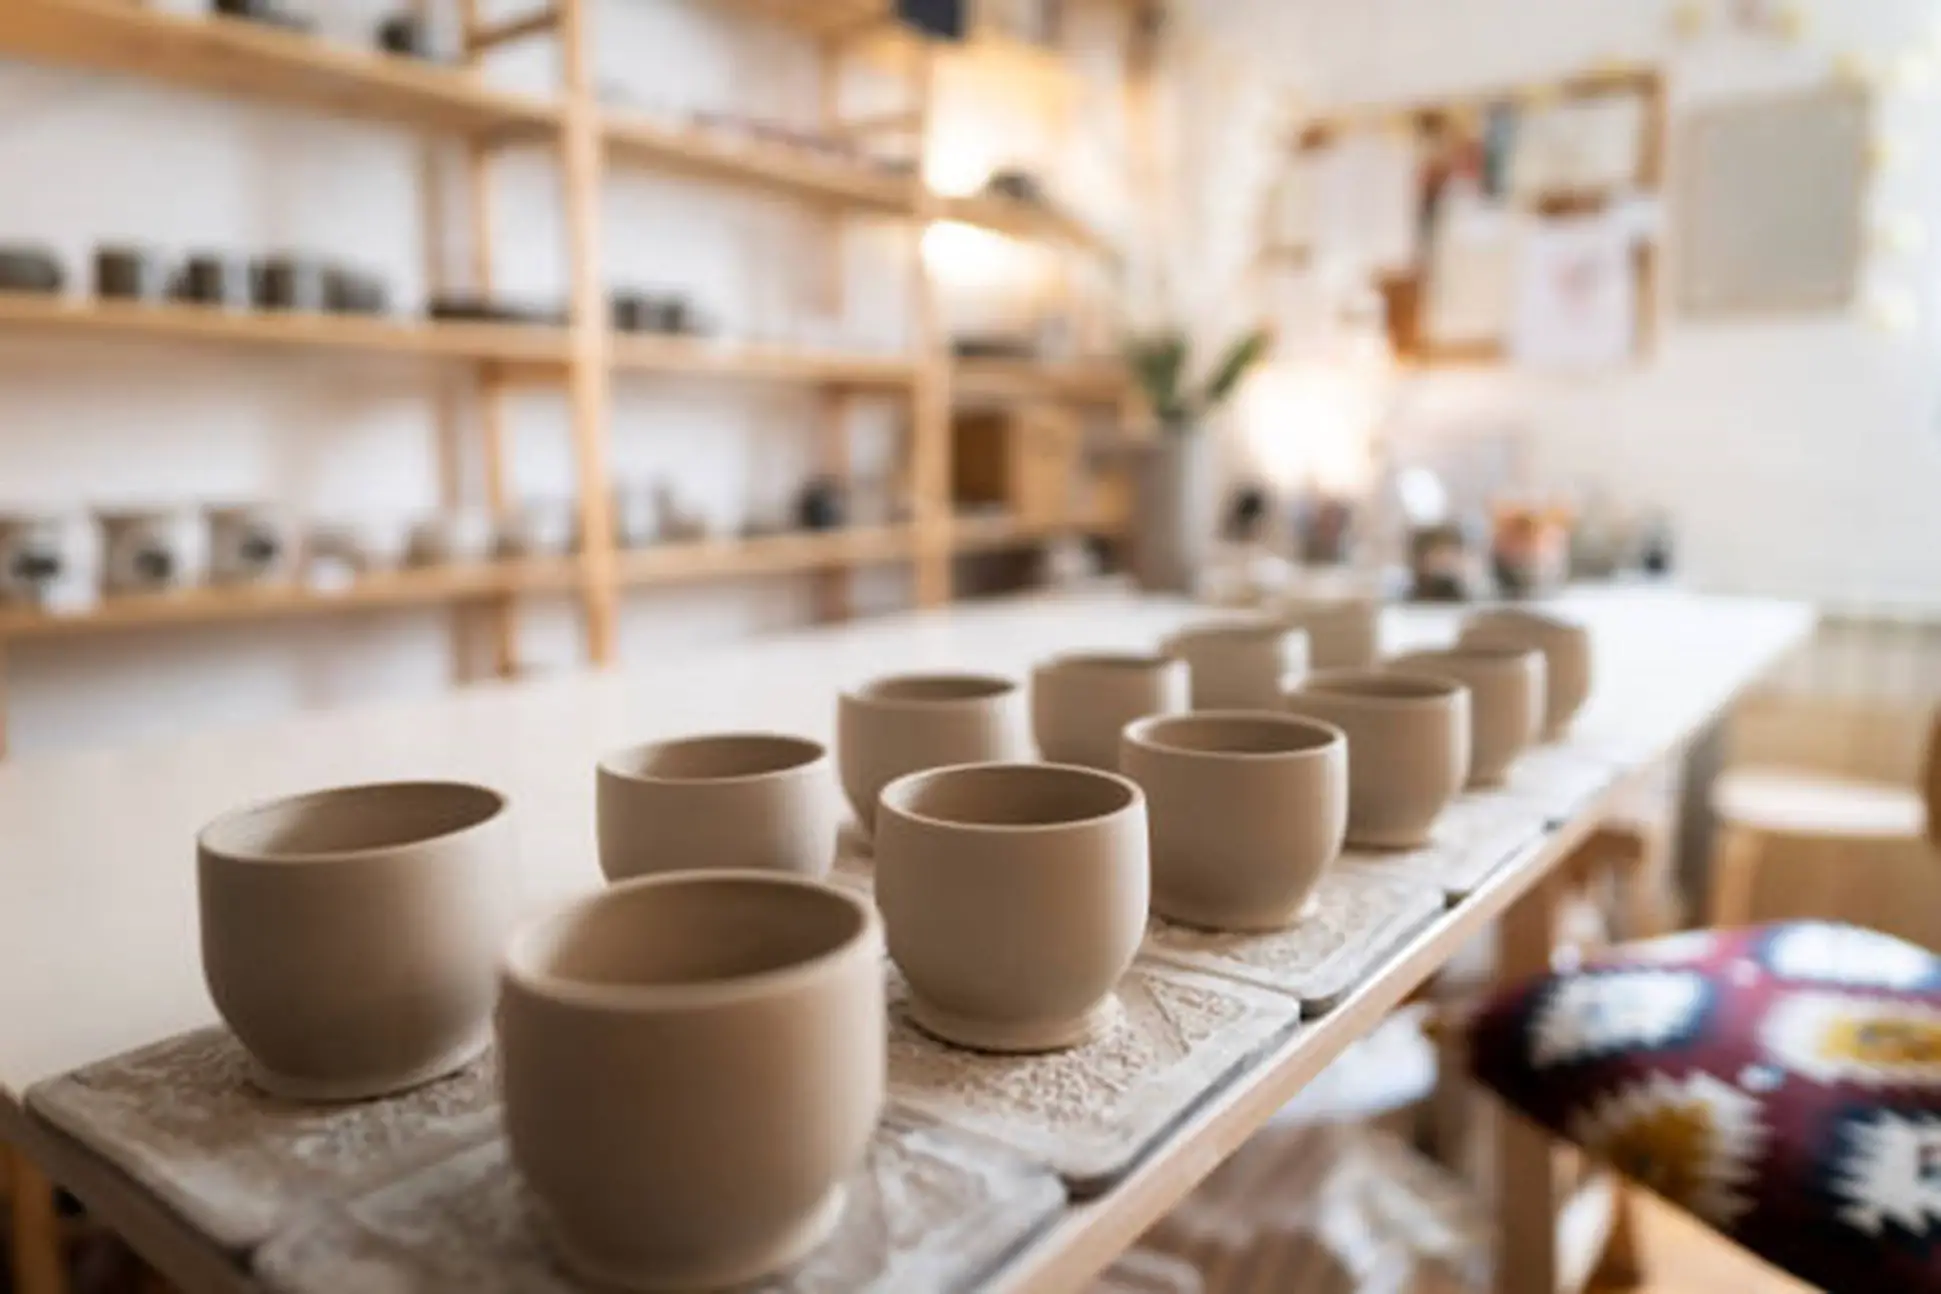
Are you willing to work with Crayola Air Dry Clay? Just as impressive and satisfying as the texture, the results of it come accompanied with are undoubtedly stunning! This air-dry clay usually takes 24 to 48 hours to get dried naturally. But, to induce fast drying of your air-dry clay, check out this article to get the best tips.
How Do You Prepare the Crayola Air Dry Clay for Use?
Are you confused about how to prepare yourself to work with the Crayola Air Dry Clay? Follow these steps to do so.
Step 1: Cover Up the Workspace
Air-dry clay is most likely to create permanent stains on your workstation. Covering up your sculpting space with plastic wraps will help prevent stains.
Step 2: Moisturize Your Hands
Since air-dry clay is sticky to work with, it can get messy. Using a moisturizer or hand oil will prevent it from sticking to your hands.
Step 3: Condition the Air-Dry Clay
Kneading the Crayola Air Dry Clay beforehand will make it smoother and more workable. It will make the clay platelets spread out more evenly.
Step 4: Use a Board
Using a board while working will enhance your flexibility using the air-dry clay. Also, it will prevent clay stains in your workstation.
Step 5: Use an Armature
It will provide extra support to your air-dry clay sculpture. Working without an armature might be utterly difficult, making the sculpture collapse.
Top 4 Tips to Dry Crayola Air Dry Clay Quickly
Though Crayola Air Dry Clay is widely appreciated for its ability to dry up naturally, you can implement specific tips to speed up its drying procedure. Here are the top 4 tips.
1. Resort to Baking
Using the oven can be an incredibly effective tip to make your Crayola Air Dry Clay dry up faster. To follow this tip, preheat your oven for at least 15 to 20 minutes. Place the air-dry clay into it when you feel the oven temperature is adequate. The moisture present in the air-dry clay can slow the process significantly. Hence, drawing out the moisture properly is necessary to induce fast drying. Baking the air-dry clay will help draw out all the moisture content, making it dry faster. However, take special care when you use the oven to bake it. Overbaking can cause it to crack up badly.
2. Use a Dehydrator
A dehydrator is a machine used to draw out moisture from things such as food items, pottery, etc. Using a dehydrator will greatly help all the moisture content in your Crayola Air Dry Clay dry up. So, if you are in a rush and do not have the time to wait long for your clay to dry up naturally, you can readily use a dehydrator. However, do not keep it in the dehydrator for too long. Instead, dry it up in small sessions to prevent cracking.
3. Use a Hairdryer
If you do not have any additional pottery drying tools, you can work with your regular hair dryer to make the Crayola Air Dry Clay dry up faster. A hairdryer on the air-dry clay will absorb all the moisture, significantly speeding up its drying procedure. Hence, using a hairdryer will save you time and deliver stunning, natural-looking results as would have been if it had been dried naturally. However, when using a hairdryer to speed up the drying time, ensure not to place the dryer too close, or else, it might form cracks in the air-dry clay.
4. Work with a Desiccant Chamber
Using a desiccant chamber to speed up the drying time of Crayola Air Dry Clay is one of the most effective and reliable tips you can resort to. Desiccant chambers remove the moisture content from objects, making them dry quickly! You can work with a desiccant chamber to protect your clay from the wrath of humidity. If you do not have a readymade desiccant chamber, you can even make a DIY desiccator at home! Pour a small quantity of desiccant chemicals, such as Calcium chloride, Silica gel Zeolite, etc., into a shallow plate, place another air-tight container on it, and put in your air-dry clay.
Conclusion
Follow the tips above to induce fast drying up of Crayola Air Dry Clay creations! However, be sure to prep up appropriately before you start working and choose the best Polymer Clay Tools Kit to achieve the best results working with the clay.


