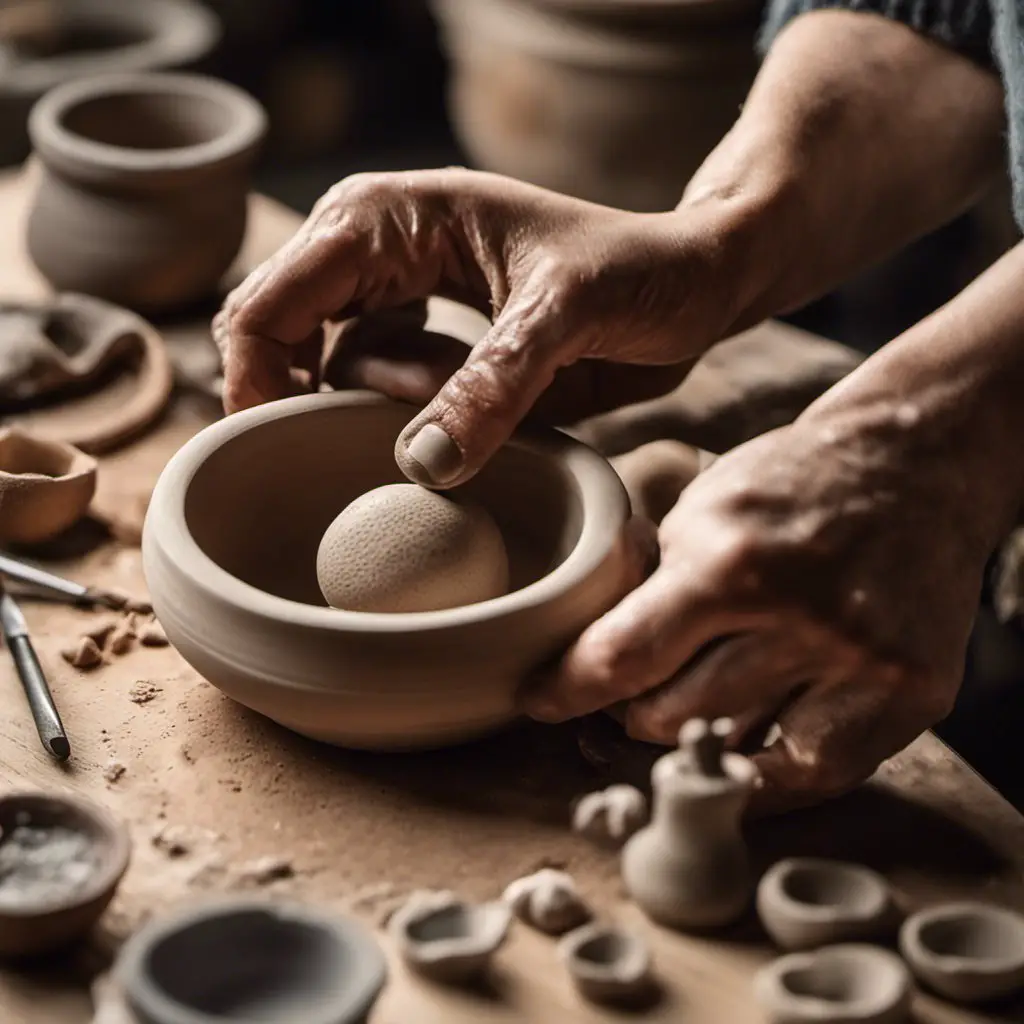
Ask any experienced pottery artist and they would say that hand-building or specifically pinch pottery is one of the basic pottery techniques. While it is basic and easy to master with enough practice, several advanced techniques might require time to master. However, if you have the zeal for it, you can surely craft some iconic pieces using these advanced techniques. So, what are these pinch pot techniques used by expert crafters? Here is a complete guide to help you pick the one that is right for you!
Advanced Pinch Pot Techniques To Experiment With
1. Pinch And Coil Combination:
The simple act of pinching might not get you the best and most detailed results. However, if you pair it up with other hand-building techniques, you can get some exceptional results. Combining pinch pot technique with coil building allows for the creation of a complex and substantial pottery form. Start by forming a base with the pinch pot technique. This would typically be the central or bottom section of the piece. You can then strategically attach clay coils to the pot’s sides or rims to add an extra layer of design making it intricately textured. Additionally, you can experiment with varying coil thicknesses or shapes to get a beautiful form after the final firing.
2. Pinch Pot Slumping:
If you are looking for a fun technique to create something unique, pinch pot slumping is something you should experiment with. This artistic technique is where you would intentionally distort the clay while it is malleable, resulting in beautiful and organic shapes. To apply this technique to your artwork, simply create a pinch pot but ensure it has thin and even walls that can easily be folded into different shapes. Gentle manipulations with the piece can enhance the overall aesthetics of your artwork resulting in unique pieces every time.
However, with this technique, you have to be careful about the thickness of the clay. If your clay is way too thin, it can break apart after drying or during the firing process. So, while this technique works best with thin walls for easier slumping, you have to maintain the thickness to prevent cracking or breaking.
3. Pinch Pot Slip Casting:
The pinch pot slip-casting technique is somewhat similar to the usual slip-casting process. Here the pinch pot serves as a mold for slip casting. This will allow you to create pinch pots of the same shape and size in big batches. To do this, simply create a hollow pinch pot of your desired design. Once the clay reaches the leather-hard stage, you can use it as a mold by pouring in the clay slip. Let this slip sit in the mold until the desired thickness is achieved.
With this technique, you can replicate the intricate details and form you wish to achieve with all your artwork. Furthermore, you can assemble these pieces into rather complex compositions while modifying them before firing.
4. Hollowing:
Pinch pottery is rarely perfect. However, with some additional tweaks, you can create a piece that is close to perfection. With the hollowing technique, you can refine the shape and thickness of the form you wish to create with the pinch pottery technique. The process involves refining the pot’s interior to create a well-refined form with even thickness. So, how do you achieve this perfect with your pinch pots? To do this, simply start by crafting your pinch pots and let them dry to a leather-hard state. This would make it easy to work on the pot’s interior without distorting the details on the outside.
With the help of paddles or pottery ribs, you can smooth out and shape up the interior to a thickness that would ensure structural integrity as it dries or during the firing process. Keep in mind that this method won’t work with pots that have intricate interiors or narrow necks. So, if you are looking for a good-quality pottery rib set to perfect your hollowing technique, the Willbond Pottery Clay Rubber Rib set will work wonders for your project.

5. Translucent Pinch Pots:
Creating translucent pinch pots would require you to work with specific clay variants like porcelain. This clay tends to become semi-transparent depending on the thickness and firing temperature. To achieve this translucent effect, you should create pinch pots that have particularly thin walls as the thicker sections fail to transmit light effectively.
To create perfectly translucent pinch pots, start by wedging your clay to remove air bubbles that contribute to cracking when left unchecked. Keep in mind that porcelain tends to be particularly tough when it comes to shaping. So, shape your pinch pot well and aim for even thickness getting the walls as thin as possible while preventing the chances of it cracking in the future. Pay particular attention to the base and rim of the pot. When applying glaze before the firing process, make sure you apply the clay lightly. Thick glaze coating can affect how translucent your final fired piece is.
6. Layered Pinch Pots:
Ever heard of the marbled clay effect? A similar technique applies to this technique. Here you would wedge clay of different colors in layers stacked on top of each other. The layers are then rolled out as a single piece and shaped with the pinching technique to a desired shape. Once you have created the piece, you can carve the surface to reveal the beautiful colors beneath. Layered pinch pots offer you access to endless creative possibilities that can help you showcase your mastery in terms of color section, texture design, and of course, pinch pottery!
Conclusion
With these advanced pinch pot techniques, you can build some remarkable pottery pieces and even push your boundaries to achieve perfection. However, to master these techniques, make sure you are well-versed with the basic pinch pot techniques. When practicing pinch pottery, consistency is the key. Additionally, make sure that you practice with your spare clay and not your main batch to avoid wastage. Finally, embrace the joy of creating something new with these advanced pinch pottery techniques!


