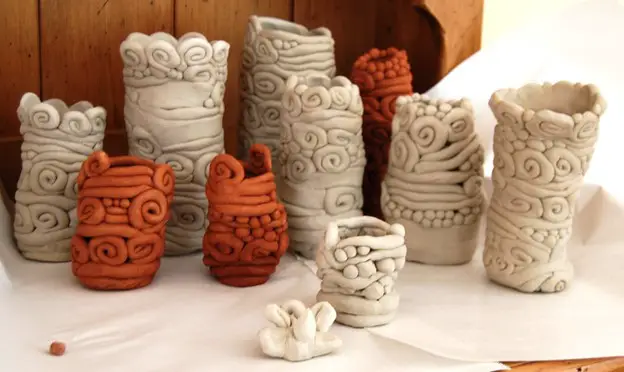
Don’t have a pottery wheel? Don’t worry! You can still make some amazing artwork with some creativity and the coil pottery technique. If you are ever doubtful of your skills or are a beginner in the vast world of pottery making, coil pottery is something you can surely invest your time in. While we have already touched on the topic of coil pottery basics, today, we will dig deep into the tips and tricks that can help novice potters excel. So, what are these essential tips and tricks, let us get into it!
Experiment With Flat Coils
While you would automatically assume that coil is synonymous with a cylindrical shape, it doesn’t have to be. For better workability, you can opt for flat coils that aid in building shapes that are taller in a short period as compared to cylindrical coils. If you are wondering how to make flat coils, here is the process:
- Start with a long round coil and lay it out length-wise on the table you work on.
- Now, slowly flatten it using a rolling pin or a paddle. Make sure you do not apply too much pressure or the coils won’t be able to take the weight of the structure.
- Make sure the thickness of the coils is at least half an inch or more. However, make sure they aren’t too thick or there could be cracking when the artwork starts to dry.
Flat coils work perfectly for horizontal curves. However, if your artwork requires vertical curves, you should opt for normal clay coils. Moreover, flat coils can be used to create precise forms if you wish to avoid surface textures. Also, if you wish to later add designs to the artwork, flat coils work best.
Create Strong Structures With Triangle Coils
If you have an interest in physics, you would surely know that a triangle is the best and strongest shape to exist. Similarly, in hand building, this shape comes in handy. Triangle coils are fairly easy to make. Simply start with round, cylindrical coils and use your fingers to taper the top side of the coils.
But, how do triangle coils aid in stronger structures?
- Triangle coils, when stacked together, can easily be squished in a row as opposed to flat or cylindrical coils.
- Stress points are distributed equally between the drier and wetter layers which reduce any potential for the development of cracks.
- Smaller triangle coils can be used to fill any gaps or reinforce the corners for better structural strength.
When you build a structure that has a steep angle towards the exterior side, you can add triangular coils towards its thinner ends to give it more strength and stability.
Always Score The Base
Whenever you are working with coils, it is important to have a stable base that is properly scored. This allows the clay to attach better and the structure doesn’t fall apart after drying. Use a good-quality tool for this task like the Xiem Retractable Pottery Scoring Tool. Its sharp needles allow for a precision scoring action and retract into the sheath to ensure safety after use.
Additionally, it is also important that you also score the base coil to ensure the parts attach better. If possible, you can keep scoring the entire length of the coils being used for the project. However, you can also skip it. This won’t affect the strength much. Yet, the base and the coil being attached to the base must be properly scored.
Leave Drying Time Between Layers
After adding a few coils to your structure, it is important to wait a few minutes for the coils to dry a bit and hold the structure. This will prevent any sagging or drooping that might happen due to the clay’s load.
Conclusion
With these tips and tricks to help you, coil pottery can be an easy feat. Make sure you start with smaller structures and gradually size up as you learn the art form. Do not worry about errors as it is a part of the learning process. You can also use molds like a bowl to serve as the base for your coil pottery and build on it to create a uniform structure. For larger structures, you can count on flat coils and work with dramatic angles or shapes without compromising the structural integrity.


