Sculpting is truly an enjoyable activity, but sculpting using Crayola’s air-dry clay can be a therapeutic mini-adventure you will find quite rewarding. The clay brand is known across various countries as the primary choice for crafts, and it has been widely used in sculpting because of its impressive properties. This comprehensive guide will help you delve into the multi-faceted nature of Crayola’s air-dry clay, how to use it, and what you can try out!
Understanding the Properties of Crayola Air-Dry Clay
Unlike usual clay, Crayola is different. It is a crafty clay, now available in an air-dry type, which can steer your sculpting projects toward perfection. If you are new to using this clay, here are the properties you should know about.
- Compositions and Characteristics
Crayola’s air-dry clay has become popular among sculptors across all skill levels because its composition is user-friendly. The ingredients are natural minerals, which give the clay a smooth texture you can mold into various shapes and structures. Detailing is also much easier because of the clay’s softness. Because the clay is significantly lighter, you can make anything from miniature figurines to complex sculptures.
- Drying Time and Shrinkage
Another thing to learn about this clay is its drying time. Unlike traditional clay that necessitates firing in a kiln, this air-dry clay sets and hardens gradually when exposed to the air. Make sure to understand the shrinkage of air-dried clay and sculpt accordingly.
Exploring the Ways to Use Crayola’s Air-Dry Clay
Working with this air-dry clay is an exciting process, but before you do, there are some key techniques to elevate your experience. Here are some steps to follow so you have a seamless experience:
1. Preparation
Before starting, ensure your hands and your working surface are clean. Crayola’s air-dry clay will likely collect debris, which can ruin your work.
2. Texture and Detailing
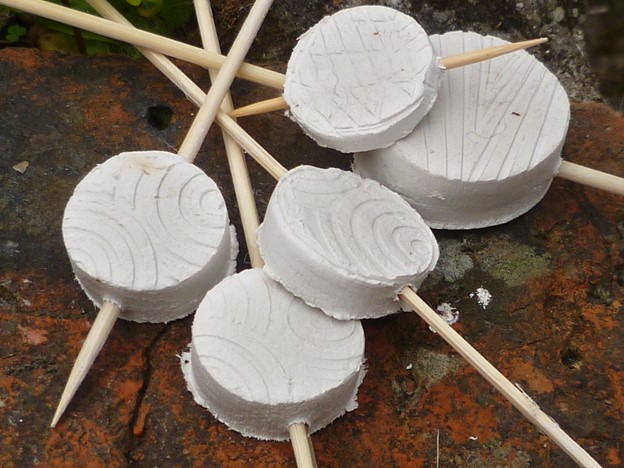
Detailing and texturing are easy with this clay from Crayola. You can use professional tools for household items like knives, stamps, and more to give effects.
3. Layering
Building your sculpture in layers is fundamental for a more stable structure. Gradually add clay, ensuring each layer is adequately secured before moving on to the next.
4. Support
While Crayola is a stable clay, you should still use support like wire or armature for larger sculptures to ensure the integrity is not compromised.
Pottery Techniques You Can Try on Crayola Air-Dry Clay
Here are some well-known techniques that will go well with your Crayola’s air-dry clay once you have learned how to work with it.
| Techniques | Procedure |
| Pinch Pot | Create a hollow form by pinching, then shape the Crayola’s air-dry clay with your fingers. It can be used as a base for various designs. |
| Coil Building | Construct a piece by rolling out coils or snake-like shapes from the clay and layer or stack them to create the desired structure. |
| Slab Construction | Utilize flattened slabs of Crayola’s air-dry clay to cut and assemble into various shapes to provide a versatile approach to different projects. |
Ideas to Incorporate in Your Clay Sculptures

Once you have realized your potential to use Crayola’s air-dry clay, you can explore many creative possibilities. Here are some ideas to ignite your imagination and be a starting point for your sculpting projects.
1. Nature-Inspired Creations
The malleability of the clay will allow you to explore the sculpting of flowers, leaves, and even miniature landscapes for achieving botanically detailed sculptures.
2. Character Sculptures
Crayola’s air-dry clay is also perfect for bringing your favorite characters to life. Make three-dimensional figurines of cartoon and movie characters with this clay with perfect textural consistency, allowing you to detail your figurines.
3. Functional Art
With this air-dry clay from Crayola, you can create functional art like bowls, coasters, or wearable jewelry. It will allow you to mix aestheticism with utility.
4. Abstract Forms
Last but not least, this air-dry clay is more than perfect for creating abstract pieces of art that evoke emotion and curiosity. The soft nature of Crayola’s air-dry clay allows it to be fluid with the designs you can make.
Finishing and Sealing Process for Clay Sculpting
When your Crayola air-dry clay sculpture has thoroughly dried, finishing and sealing it properly is essential. Here is how you can do it.
1. Sandpaper Smoothing
Use fine-grit sandpaper to smooth rough edges or surfaces, creating a polished finish. This step is crucial for giving your sculpture a professional look and feel.
2. Sealing
Apply a clear sealant over the entire surface of your sculpture. It serves a dual purpose of protecting the clay from moisture and environmental factors while enhancing the color vibrancy.
3. Painting
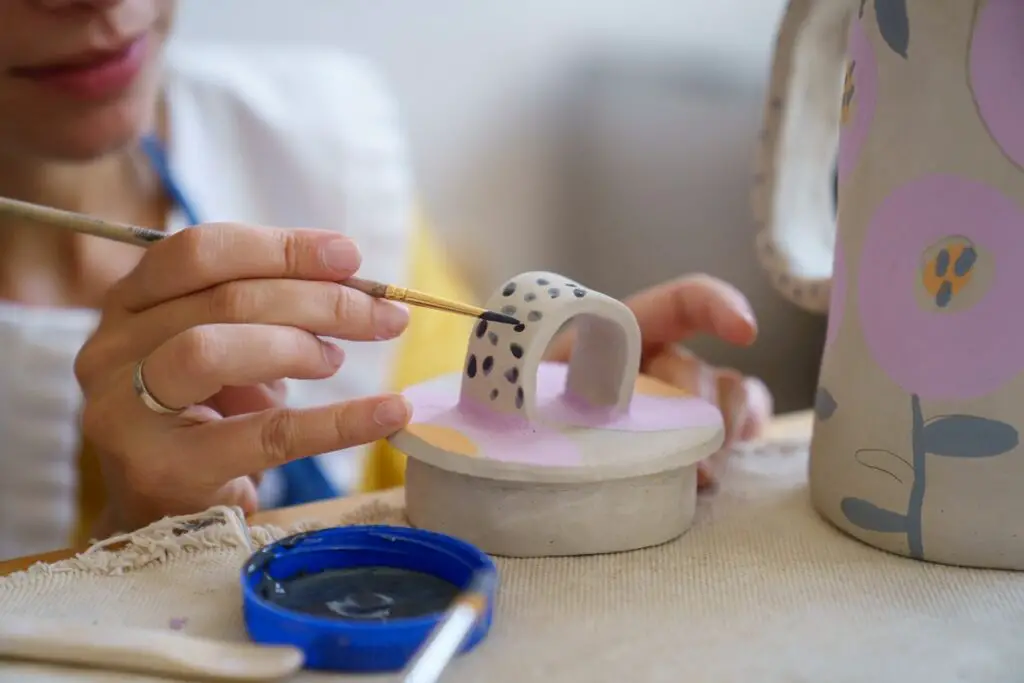
If you opted for neutral-colored clay or want additional detailing, use acrylic paints to bring your vision to life. Ensure the paint is fully dry before proceeding to the next step.
4. Final Sealant Coat
For an added layer of protection, apply a final coat of clear sealant over the painted areas. It not only secures the paint but also contributes to the overall durability of your sculpture.
Tips for Looking After Your Clay Sculptures Made of Crayola’s Air-Dry Clay
After your sculptures have been made, follow the given tips to ensure the negativity of your creations.
1. Display Indoors
While air-dry clay from Crayola is durable, keeping it indoors in a cool environment to avoid exposure to extreme and fluctuating weather conditions is best.
2. Avoid Water Exposure
Water is one of the most damaging elements for Crayola’s air-dry clay, which is water soluble by nature. Keep the sculptures in a dry place without humidity.
3. Regular Dusting
Dust your sculptures regularly with a soft brush or cloth to prevent the accumulation of dirt and maintain their aesthetic appeal. This simple maintenance routine goes a long way in preserving the visual appeal of your creations.
4. Repairing Damages
If your sculptures meet with any damage, you need not worry; the clay is versatile enough to allow for repairs. Use additional clay to mend imperfections and cracks and let it dry completely to repair.
Conclusion
Crayola’s air-dry clay is one of the most exciting clay variants. Whether you are new to the process or experienced with various types of clays, it will help you go on a creative spree. Not only do you get to sculpt smoothly, but you also save a lot of time drying up!
Click here to order your Crayola’s white air-dry clay now!


