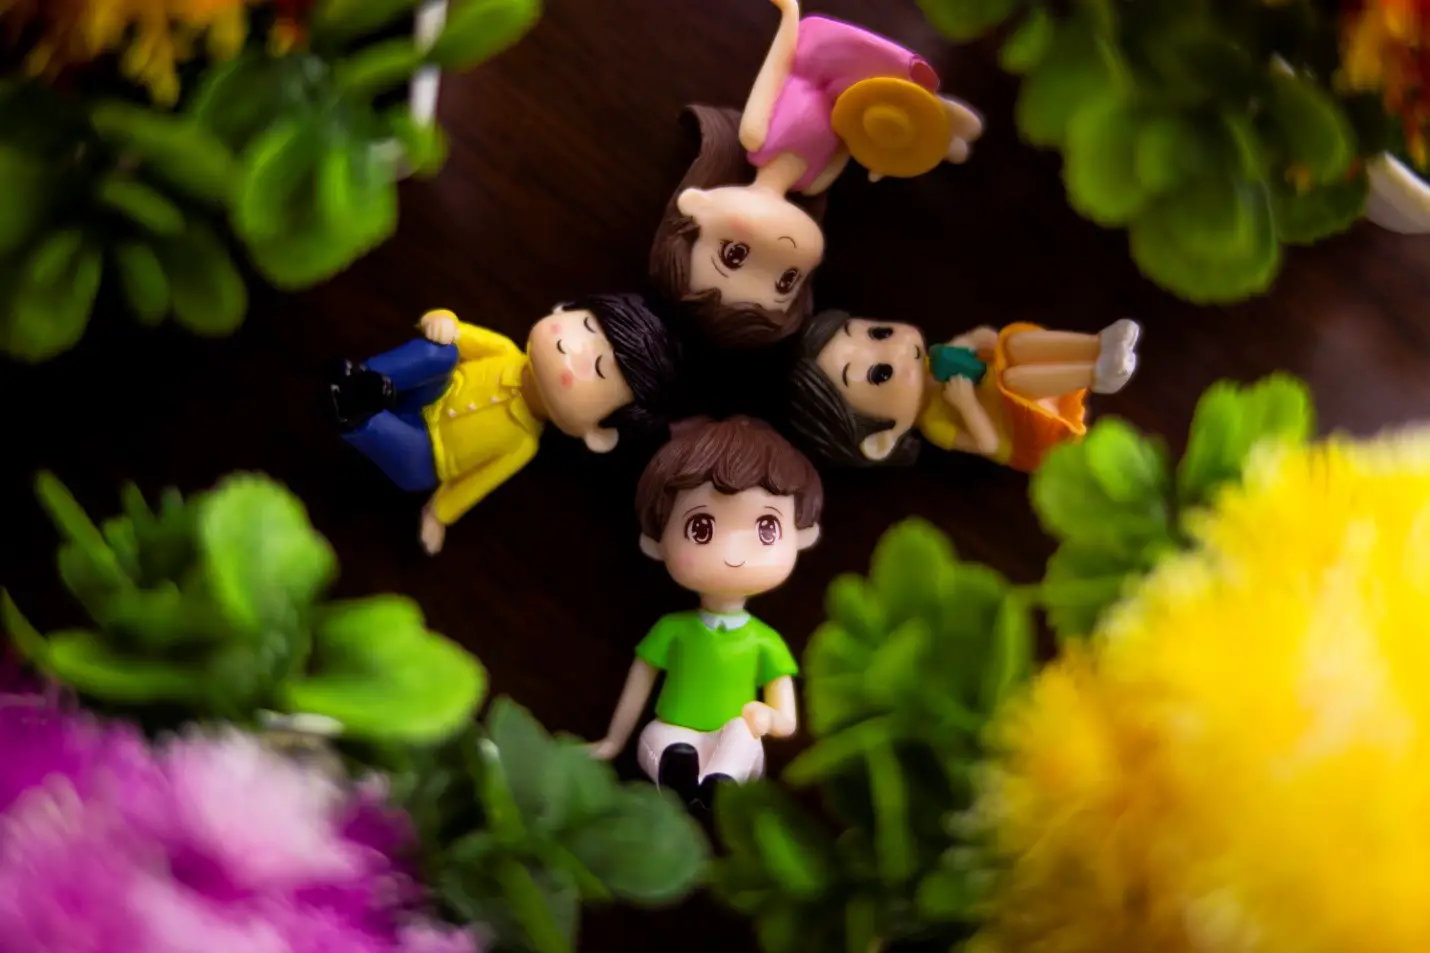
Air-dry clay is an easily available crafting option for beginner artists who are on a budget. You don’t require a kiln to harden this clay, but what to do once the clay hardens? How would you give it a smooth and beautiful finish? If you are working on your next air-dry clay project, make sure you go through our tips and techniques to understand the best ways to achieve a beautiful finish. So, without any delay, let us decode these tips!
Start With Thorough Clay Wedging
If you are trying to achieve perfection with air-dry clay, the process starts way before the clay has completely hardened. Any artist would be aware of the fact that sculpting your clay straight out of the packet can result in a hard and powdery texture. Moreover, the shapes and texture won’t be as refined. So, the key is to wedge your clay for a minimum of 5 minutes to ensure that the clay is stretchy and malleable enough.
The elasticity will also impart a smooth texture to the sculpture once it has dried out completely.
Pick The Right Brand
The air-dry clay brand you choose can also affect how smooth and finished your final project is. Some brands do have a higher amount of fiber content in their clay, which might cause the clay to feel grainy after it has dried out. So, before you commit to one brand, get small packages of the top brands and experiment with what works for you.
Understand The Need For Sanding
Regardless of how smooth your wet air-dry clay is, sanding is mandatory. If you love the gritty texture of your project, that is perfectly fine. However, if you are looking for a smooth surface, sanding is required. However, you cannot simply pick any sandpaper and start rubbing it on your clay sculpture. The key is to understand what your project needs. Sandpapers are available in numbers between 60-grit to 200-grit and beyond. The numbers can vary depending on which country you live in. Regardless, higher grit numbers directly correspond to finer sanding. So, if you have larger clay bumps, using sandpapers with lower grit is advised. For polishing the clay to a smoother texture, move to a higher grit, like 400 or 800.
Remember to wipe off any dust from the surface after you sand to ensure it doesn’t get caught in the paint during the coloring process.
Use A Soft Brush To Glue Back Remaining Fibers
Once you have thoroughly sanded your air-dry clay sculpture, use a soft brush and some water to glue back the fibers visible on the surface. Apply the water in the direction of the fiber, and once you see that no fibrous texture is visible on the surface, let it dry completely. Also, you can opt for the Aroic Paint Brush Set of 200 pieces. The brushes feature nylon hairs that do not shed easily.
Avoid Painting With A Hard Brush
If you paint your air-dry clay with a hard brush, you might end up with brush marks. The key is to select very soft brushes to ensure the surface is smooth. In case the acrylic paint is way too thick, it might again leave a gritty texture once it dries out. So, make sure you thin out the paint a bit with water. It is advised to build the color in layers rather than one swipe of thick paint.
Alternatively, you can try to spray paint to avoid possible brush marks on your air-dry clay sculpture.
Use A Sealant
Once you are happy with the final result after you have painted your air-dry clay sculpture, sealing it doesn’t just impart strength and make it waterproof but also gives it a shiny surface. Keep in mind that the air-dry clay should be completely dry before you apply the sealant. Using spray sealant is preferred as opposed to brushing it on to avoid brush marks. However, you can use natural soft brushes to get a smooth coating all around.
Conclusion
Achieving a smooth finish with air-dry clay requires a lot of attention and patience. Follow these tips and techniques mentioned above, and you will surely get a polished finish for your next project. Sanding, using water in the correct ratio, and working in layers can help create a beautiful finish for your air-dry clay model. Do not forget to practice with test samples before you use these techniques on your main batch of air-dry clay figurines.


