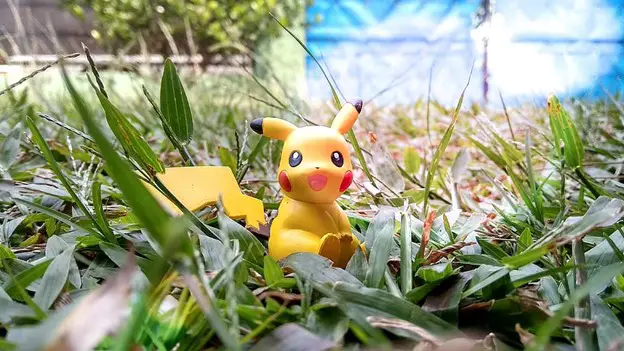
Do you feel creative but want to go tiny with your artwork? What clay type should you choose to implement those intricate details with ease? The best choice in any case to create miniatures is with air-dry clay. Whether you love to make tiny houses or wish to create miniature fairies for your home garden, air-dry clay is no doubt a great bet. But, creating these miniatures requires one to follow certain tips and tricks to achieve perfection. So, let us learn about the best ways to create miniatures with air-dry clay!
Look For Inspiration
Miniatures require intricate detailing, which is almost impossible to achieve without any inspiration to draw ideas from, especially if you are a beginner at crafting. You can look for ideas online or derive inspiration from objects in your home or nature itself. First, start by sketching out the basic outline and all the details of the miniature on a piece of paper before you start replicating it on air-dry clay. This will give you a good understanding of where you wish to start.
Get The Tools Ready
When creating miniatures with air-dry clay, you need sturdy yet small tools that can help you add fine details to the sculpture. If you are just starting and don’t have any tools with you to sculpt, you can try out the Rustark Pottery Tool Set, which comprises dotting pens, a ball stylus, silicone tips, and all essential tools that aid your miniature crafting process.
Make An Armature
While you might think that armatures are only required for crafting big projects with air-dry clay, that is far from the truth. Even for miniature artwork, you would need to invest your time in creating an armature. So, why do you need to create an armature for your air-dry clay miniature? Firstly, it makes the model solid and helps you add details easily. Second, it ensures that the anatomical properties are correct, especially when you are creating human beings or animals.
Cement Your Armature
Once you have created a basic shape with your armature, decide its pose. For example, if your miniature is standing or sitting, you need to bend the armature in the same manner. Now, start applying the air-dry clay on your armature and start developing a shape. This is where your tools will come in handy. Here, working in layers is the key. If you feel your shape has become too thick, you can always remove the extra clay and mold it to your desired shape.
Add Details Before The Clay Dries Out
After you have finalized the basic shape of the miniature, start adding details. This is an intricate process and might require some patience and time as well. So, if this is your first time working with air-dry clay miniature art, keep a damp towel or sponge nearby to keep the clay workable and slow down the drying process.
Join Additional Parts With The Scoring Process
While most of your miniature sculpture’s parts will be covered with the help of the armature, you might have to add some additional parts. To do so, you need to score the area where you want to add these parts. Then, whether it is a hat or armor, score both the parts and add some water or slip to join these parts together.
Opt For Undercoating
Using a soft brush, apply some primer to the sculpture. This will help highlight the minor details of your miniature sculpture before you start the painting process. It will also help add strength to the structure.
Paint The Miniature With Acrylic
Once the undercoating has dried off completely, you can start painting. Make sure you use soft and fine brushes to avoid any brush marks. When the colors take over the miniature, it would also fill in any small holes that had gone unnoticed during the crafting process.
Now, all you need to do is leave the miniature to dry and apply a final coat of primer after the colors have dried off completely. Doing this will seal the colors on the clay.
Conclusion
Creating miniature figurines with air-dry clay requires patience. It is a fun and rewarding experience that can also be a part of your home décor or personal collection. However, it does require some practice to achieve perfection. Remember not to push yourself and enjoy the process.


