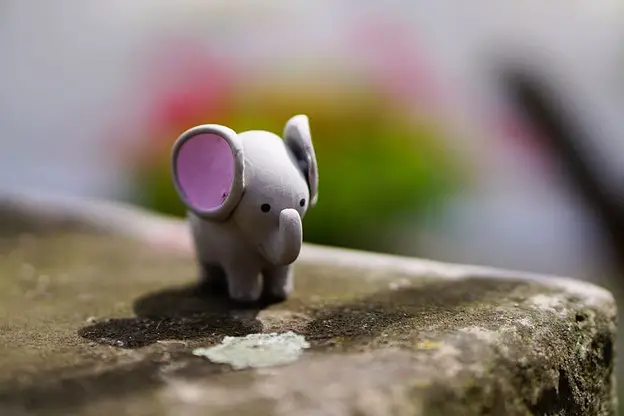
Air-dry clay is the easiest clay to work with given the fact that it doesn’t require firing to harden. As is obvious from its name, the clay starts drying slowly once it is exposed to air. This happens within a time frame of 24 to 48 hours depending on the size of the project. However, many pottery artists wonder if it is possible to dry air-dry clay in the oven. Well, the answer is yes, but there is a trick to it. You simply cannot place the air-dry clay into the oven and expect it to dry within seconds. The key is to switch it off. Yes, you heard that right. You can dry air-dry clay in an oven by switching it off. But, how is that possible? In this blog, we will narrow down the process that can help you dry your air-dry clay project faster in an oven!
How To Dry Air-Dry Clay In An Oven?
If you think the trick is to simply place your air-dry clay inside the oven and set the temperature to dry the artwork faster, you might end up with a burned and wonky piece and toxic fumes all around. This is especially true if you have a habit of using Crayola Air-Dry Clay. If you carefully read the manufacturer’s instructions, it clearly states that air-dry clay shouldn’t be placed inside an oven as it is highly flammable. While the same might not be true for all air-dry clay brands, unless the manufacturer’s instructions specifically allow you to do that, try not to experiment with your hard work.
So, is there a loophole to this problem? Well, yes!
The technique here is pretty easy. All you need to do is simply pre-heat your oven and switch it off before placing your artwork inside for drying. So, how does this work? Here are the steps involved:
- Pre-Heat Your Oven:
Start by pre-heating your oven to a temperature less than 200 degrees Fahrenheit. Remember not to exceed this temperature limit to ensure your air-dry clay dries properly without any warping or burning.
- Look For An Oven-Safe Container:
While your oven is pre-heating, start by looking for an oven-safe container or at least a baking dish on which you can place your clay artwork. This will help channel the heat evenly on all sides while maintaining the temperature for a long time. Doing this also helps maintain the artwork’s shape during the drying process. The Boxiki Non-Stick Steel Baking Pan is a preferred choice for most artists. Its steel ensures durability along with proper depth to help you place projects of bigger sizes with ease.
- Switch Off The Oven:
Now, this is the key step to dry your air-dry clay artwork in an oven. You need to switch it off. In a switched-off state, there is no chance for an increase in temperature inside the oven which significantly reduces the risks related to burning or warping. While it might not be as fast as drying in a switched-on state, it is safer.
- Place The Artwork Inside:
Now, place the air-dry clay artwork in your oven-safe container inside the oven. And while you do so, keep the oven’s door slightly open. This will help prevent heat accumulation and regulate the temperature while preventing any excessive drying.
While your air-dry clay is drying inside the oven, do not forget to rotate the piece occasionally to ensure the clay dries evenly from all sides. The drying process may take several hours, so resist the temptation to switch on the clay and rush through the process.
Benefits Of Drying Air-Dry Clay In A Pre-Heated Switched-Off Oven
- Gradual And Controlled Drying:
A preheated oven that is switched off later gives your artwork an initial burst of warmth that helps create a controlled and gentle drying environment. Placing your newly crafted piece inside this warm atmosphere ensures that the moisture inside can evaporate slowly while preventing any rapid drying to avoid warping or cracking.
- No Direct Heat Exposure:
A major concern with using the oven for air-dry clay drying is the risk of it being exposed to direct heat that can cause the clay to burn, warp, or even release some toxic fumes depending on the clay’s composition. When you turn off the oven and rely on the residual heat, you can eliminate the risks related to overheating or other adverse effects.
- Oven Serves As A Controlled Chamber:
In this trick, the oven essentially serves as a controlled chamber creating a microclimate that helps the air-dry clay lose moisture gradually which is a bit faster than letting it air-dry. The warmth retained from the pre-heating helps keep the temperature inside mild and conducive.
- Regulate Humidity Inside The Oven:
The trick of keeping the oven door slightly open is crucial in this air-dry clay-drying process. It helps regulate the temperature and humidity inside the oven while preventing abrupt accumulation of heat while balancing the humidity quotient inside the oven.
- Effective For All Air-Dry Clay Brands:
Depending on the air-dry clay brand, the make, and composition can vary. While some brands won’t be affected even when kept inside a running oven, some can burn and warp. However, with this technique, regardless of the air-dry clay brand you use, you can stay safe and prevent any chances of burning or exposing yourself to toxic fumes.
Conclusion
The pre-heated switched-off oven drying technique for air-dry clay capitalizes on the controlled warmth aspect to ensure an even and faster drying of your masterpiece. However, ensure that you don’t place the air-dry clay directly inside the oven and use an oven-safe container to protect your artwork from direct heat. Although air-dry clay is meant to dry naturally, this technique can surely help. All you need to do is remember to switch off your oven and you are good to go.


