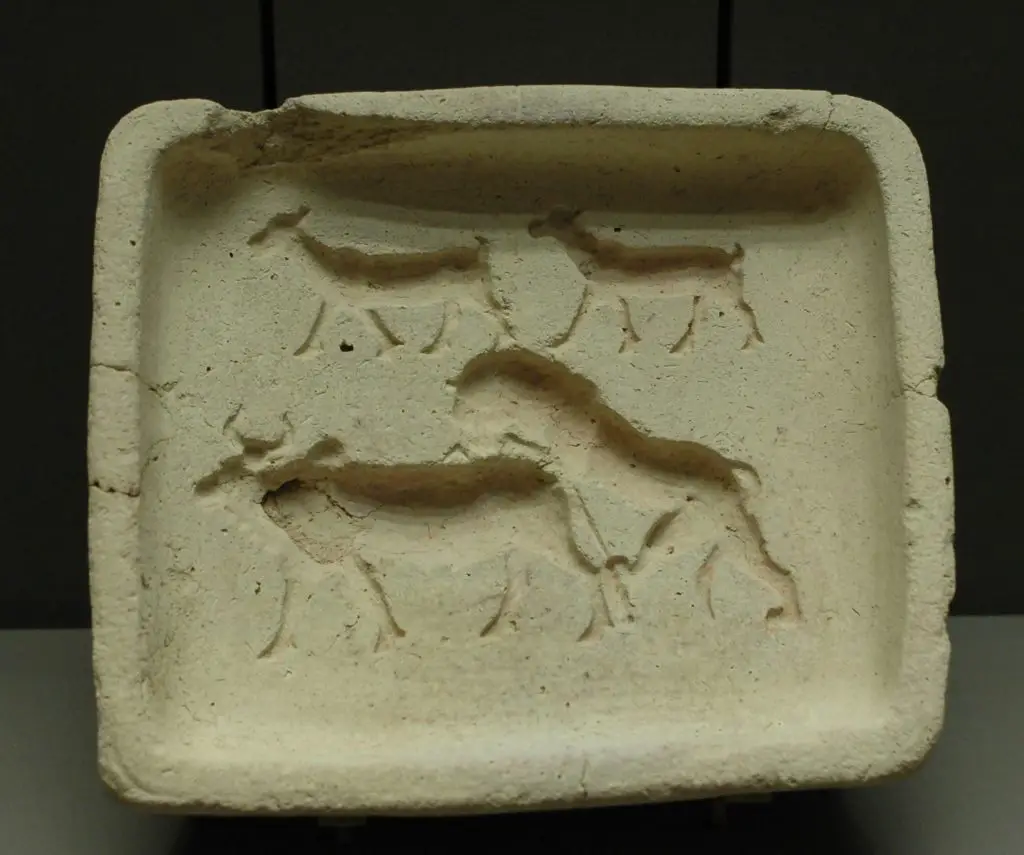
While some people prefer to use pottery wheels or hand building for their pottery, molds are a valuable tool to create some beautiful structures and pottery that you’ll love. Why is that though?
Here, we’ll dive into why you should consider using molds for pottery, along with some of the best ways to make ceramics using molds.
By the end of this, you’ll know how to make ceramics using molds, and some of the efficient ways to produce wonderful pieces that you’ll be quite happy with.

Why Molds?
When you think of molds, chances are you might think it’s cheating. It’s really not though, and there are a lot of benefits to using these.
Some benefits of using molds for your pottery include the following:
-
It allows for a nicely shaped object
-
You get more freedom with this, allowing you to try different ideas
-
Despite being seemingly easy, once you get into multi-part molds it gets complex
-
It can still be super creative, even if it isn’t thrown on a wheel
-
It allows you to use details you might not get otherwise
These are often the reasons why people like to use molds, but here, we’ll also explore not just the mold materials, but also how you can use these to your advantage
The Mold Materials

Molds can be made from nearly anything, and some of the more popular types include the following:
-
Plaster
-
Wood
-
Foam board
-
Bisqued clay
-
Upholstery foam
-
Other substances that are similar
The reason why this work is because usually, they fit well over the clay. However, there are a few limitations to this.
Some elements you should consider are the following:
-
The clay won’t be the size of that mold since it shrinks when it dries due to the water leaving the body
-
Slump molds have fewer constraints since the clay shrinks away from the mold
-
You should also use non-porous materials to sandwich the clay between the mold itself
-
Hump molds must be elastic so that the clay can contract
Now that you know about the materials, let’s walk through the process of how you do this.
Using a Press Mold
This is actually one of the most popular types of molds because it tends to be quite easy. How you do this is the following:
-
First, create a mold, or buy a mold that works for this
-
The clay is then pressed into the mold, and the plaster evenly takes the moisture without cracking and sticks
-
Once the clay has dried to the leather hard stage, the design is removed to dry or attach to other objects
When using this, you’ll notice that this works well for two activities, and they are the following:
-
Slip casting
-
Working with clay that’s the most
Also, depending on the purpose of this, you can get super detailed with this, and the edges might be smoother or more detailed, and The nice part is that these can be shallow or deep.
This is a great one to start with, and while it might seem simple, it creates wonderful designs!
Slump molding
Then there is slump molding, which is good for shallow forms. What you do with this is the following:
-
Take something with a pattern that works for the clay, such as a bowl, plate, or pattern
-
If you’re using a deeper bowl, the slab will then be cut to get rid of the excess clay to form over the mold
-
You may also put several slabs over one another and the joints will need to be welded
-
Let this firm, and it will literally slump into the mold itself
Some people may also use an open-center mold in order to let the natural curve form, and ones that are made with plywood and foam, typically have a hole in the center, allowing for the clay to settle over this.
These are good molds, especially if you want clay molding that is simple and has fewer constraints.
Hump Molding
On the other hand, hump molds or drape molds are typically convex in their ceramic forms. This one has other advantages that slump molding doesn’t have, and they are as follows:
-
You can add feet or handles to the piece
-
Allows for more details to be rendered
So how do you do this? Well, you essentially start with the following:
-
Take the clay and the mold and use the mold to compress within the clay
-
You can do this with any mold, including wadded cloth or newspaper put together
-
remove the clay from the mold before it’s the leather hard stage
-
You can’t add any feet or anything in this step since the main pot would collapse
-
Let this fire, and notice the shrinkage from this
If you’re able to compress this around the clay, you can do a whole lot more with this, but once you start to fire the clay, it’s limited in what you can do.
This type of mold has the advantage of you can add more decorative features to this, but the one downside to this is the fact that typically it’s harder to create larger pieces with this since the clay will shrink due to the porous nature of this.
Also, if you have more flexible material, you’ll like this one a lot more too.
Mold away!
Potter molds aren’t cheating, but rather they are a way to provide intricate details that you might not be able to do otherwise. Plus, these can get complicated once you start looking at the big plaster molds that involve you putting the clay in them in order to have it shape over them.
If you’re looking for a unique way to create the best pottery you can, and need something new and innovative, definitely consider using pottery molds for your pottery endeavors.


