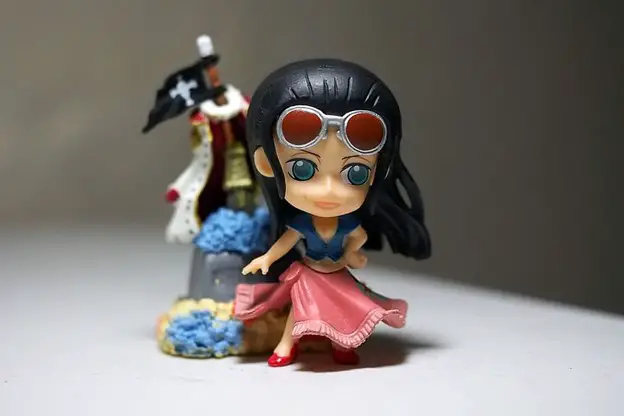
Air-dry clay has almost always been termed beginner-friendly clay for those that have just entered the pottery world. However, it could be just as brilliant a medium as any when it comes to creating beautiful sculptures. Working with air-dry clay can be a magical journey and you need to know what works and what doesn’t. So, how would you go about creating beautiful sculptures with air-dry clay? Is there a particular process to it or are there any tips you can follow? Let us find out here!
Condition/Knead Your Air-Dry Clay
Just like any other clay variant, air-dry clay too has to be thoroughly conditioned. This makes it highly malleable and ensures easy sculpting, especially if your piece has minor details. The general rule is to knead the clay for a minimum of one to two minutes to make it soft enough.
Prepare The Work Surface
Unlike earthenware clay, porcelain, or stoneware clay, air-dry clay tends to be very sticky. So, it is advised that you prepare your work surface to ensure it doesn’t stick to the table or even your fingers. Wax papers are a great option for your surface and you can use body lotion on your hands to reduce the stickiness.
Work In Layers When Sculpting With Air-Dry Clay
When working with air-dry clay, layering is an amazing move. It is very easy to shape, control, or spread out the clay when sculpting happens on thin layers of air-dry clay. However, you need to ensure that the clay is moist while you are working with it in layers. To do so, keep a small bowl of water close by and also a sponge. The sponge will help dab in the water ever so gently without making the clay too mushy.
Also, you need to wait for each layer to completely dry before you lay down the next layer. This comes in especially handy when you sculpt in smaller details.
Sanding Is The Key
Regardless of how smooth your air-dry clay sculpture is, the moment it dries away completely, you will see some rough texture on the surface. If you need your sculpture to have some texture, that’s perfect. However, if you wish for it to stay smooth, the key is to sand it down to your desired texture. Usually, air-dry clay artists start by using 60 to 80-grit sandpaper to remove uneven surfaces or larger bumps.
The 400 to 800-grit sandpaper can then be used to remove finer bumps leading to a satin-smooth surface. Make sure you wear a mask while sanding the air-dry clay sculpture. This will avoid the dust from entering your mouth or nose.
Strengthen Delicate Parts With A Special Mixture
While you will surely have to score the surface before joining parts in an air-dry clay sculpture, there is another thing you need to remember. Most pottery artists use slip or water to join the parts together, you can use a special mixture for the purpose to add durability and strength to delicate parts.
Instead of clear water, you can prepare a mixture of water and Elmer’s Glue/white glue to impart strength to the joints. The glue mixture helps hold together the tiny fibers on the clay which makes it less possible to break.

Additionally, you need to use wires to connect parts. Or base your sculpture on a wire-based model. Even if it is a thin wire, it imparts strength and shape to the sculpture. So, even if there is a crack or breakage, the repairing process is fairly easy.
Sealing Is Important With Sculptures And Figurines
Air-dry clay isn’t water-proof or water-resistant. Even after drying, it can absorb moisture affecting the durability and strength of the sculpture. While it won’t turn into its original state, it can surely start breaking down or crumbling. So, to make your sculptures last longer, the key is to use varnish or clear sealant. Apart from adding a shiny finish to the sculpture, it also protects the artwork from fingerprints and dirt.
Conclusion
Most expert pottery artists prefer not to use air-dry clay for sculpting due to its tendency to dry out fast, with careful planning, it is achievable. Sculpting is an art that can only be perfected with time and patience. So, if you wish to keep your creativity alive, the key is to keep working and experimenting.


