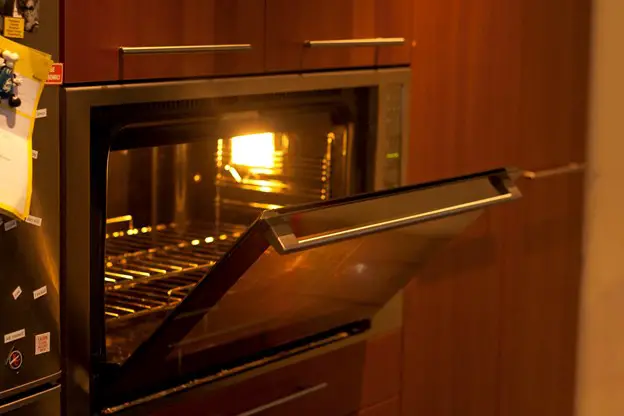
Just like there is a pottery firing schedule for kiln firing, there is one for home oven firing as well. When not fired the right way, the final output won’t be as durable and strong as you would want it to be. Moreover, the pottery firing schedule for your home oven would also differ depending on whether your oven is brand new or old. So, let us understand more about the pottery firing schedule for your home oven!
Decide Your Project Size
Before you ascertain your pottery firing schedule for your home oven, you first have to decide on the project size. If this is your first time firing pottery in a home oven, start with a small batch. When working with a home oven, slow and small is the way to start.
For starters, you can fire two to three batches of pottery ware in your home oven, depending on the size of the clay pieces. If your clay piece is large, it might take longer to be fired in a home oven.
Determine The Holding Temperature
To start firing your clay pieces in your home oven, you first have to decide on the holding temperature and set it to the same for a minimum of 10 to 15 minutes. But why is this done? Pre-heating your home oven for a set duration ensures that the temperature inside is evenly spread. This brings down the chances of any imperfections like cracking or breaking in the pottery ware due to temperature fluctuations.
In case you are doubtful that the temperature inside the home oven isn’t evenly spread, you can use ceramic tile. It can be placed inside the home oven, which serves as a heat sink. This absorbs the heat inside the oven and spreads it evenly throughout the oven. For this purpose, one can use the American Olean White Ceramic Tile as a heat sink. This set of 12 can be used in your home oven and can easily sustain multiple oven-firing sessions.
Load Your Home Oven With A Small Batch
After the holding period is over, you can start loading your home oven with a small batch. Do not go big in the first firing schedule. This will help confirm whether your home oven can fire in big batches.
Now, depending on the size, number, and thickness of your pottery pieces, the oven firing schedule can vary. In most cases, it is advised that you keep the thickness of the project to 1/4th of an inch to avoid uneven firing. Additionally, maintain proper space clearance between two pottery pieces. The minimum recommended space between two pieces must be 1 to 2 inches. Also, keep a 2-inch distance between the oven’s wall and the pottery ware.
For example, a polymer clay piece of 1/4th inch of thickness should be fired for 15 to 30 minutes between the temperature range of 275oF and 300oF. Of course, you can go for a lower temperature with air-dry clay, but the drying time needs to be longer, at least 3 to 4 hours.
Do Not Open The Oven Right Away After Firing
When firing multiple batches, you must allow your oven some resting time, especially if yours is an old oven. Once you are done firing, do not open the oven door right away. Doing so can lead to a faster drop in temperature. This can affect the oven’s heating coils and even cause your clayware to crack due to sudden temperature changes.
Allow the temperature inside the oven to cool down before you remove the potteryware completely. This also allows the oven some time to rest before the next firing session starts.
Safety Precautions To Keep In Mind
- Always get your oven’s wiring checked regularly by a reliable maintenance service provider. This will ensure that the oven doesn’t break down during the firing process or cause electric accidents.
- Ensure that you use an insulation glove when handling hot items and work in a well-ventilated space to avoid inhaling any toxic fumes that are released during the firing process.
Conclusion
When deciding your home oven firing schedule, it is important not to hurry. Your home oven cannot replace a kiln, and trying to overload it or overfire can cause damage to the project or the oven itself. So, try using a dedicated oven for pottery firing, and do not use it for home cooking.


