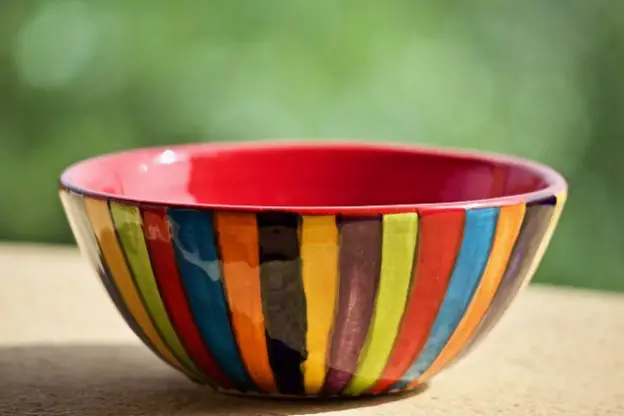
If you want to make beautiful ceramics but do not want to use colorful glazes, agateware is an excellent material to use as a substitute for the glazes. In its most basic form, agateware is produced by fusing two separate clay bodies of varying hues. This gives the finished product the impression of marble.
Later on, in the 18th century, agateware became popular among Britain’s famed Stoke-on-Trent potters. Josiah Wedgewood, a well-known potter, was especially fond of the material. Agateware was also popular in the United States. Agateware is said to have gotten its name from the fact that it resembles agate stone, which is how the mythology goes. When the clay used to make agateware is mixed, it takes on the appearance of the semiprecious stone known as agate, which, when cut open, reveals numerous layers of varying colors swirling together. The process of creating ceramics is known by a variety of various names around the globe. One of these names is “scroddled ware,” and its definition is “mottled pottery formed from scraps of varying colored clays.” This technique is employed in many different locations of the world. In Japan, this technique is referred to as neriage or nerikomi, where neriage describes agateware that has been thrown on a wheel and nerikomi describes agateware that has been hand-built.
Clay Preparation for Agateware
Agateware has been undergoing something of a resurgence in recent years, with potters making a wide range of works that are not only interesting but also distinctively their own. To get started making agateware, you are going to need a wide variety of colorful clays (the number of different clays is completely up to you, dependent on the effect you want to go for, but two different clays are usually sufficient). White clay and darker clay have always been used interchangeably in the past (to give the marbling a real contrast). Keep in mind that it is essential to use clays that have the same temperatures throughout the firing process. Once all of the clays have been wedged and prepped, slice the types of clay you want to use into blocks and stack them in layers. To create a truly effective mix and to guarantee that the colors do not seem to be too lethargic, you should strive to make the white block of clay about two or three times heavier than the darker block of clay. Continue adding layers of clay until you are ready to gently roll it out on a flat surface.
How to Use Agateware in Molds
You have the option of making the pattern more intricate, or you can just roll out the clay and press it into the mold that you have. After you have the clay in the desired shape, cut it into horizontal strips of uniform width and size. The width of the strips may be whatever you choose. The next step is to take each slice and rotate the strips so that the resulting picture has a more abstract appearance. This is done by taking each slice in turn.
Continue to build up your clay in layers as before, but this time wrap it into a tube and cut circles out of it to create a more circular pattern. Be careful not to overmix the colors as you spread them out so that they do not wind up looking muddy. This will happen if you do not exercise enough caution. After making sure that you have a large enough piece of the marbled clay, press the clay into the press mold. If you do not have a large enough piece, you may connect the smaller pieces in a patchwork pattern of squares, making sure that the design is sewn together smoothly.
How to Create Wheel Thrown Agateware
When throwing on the wheel, it may be more difficult to keep the marble appearance, therefore it is vital to work as fast as you can while immediately centering the clay and avoiding continually lifting it. This will help you retain the marble impression. While you are turning the wheel as gently as possible, you should make an effort not to handle the clay too much. You may prepare agateware clay for the wheel by first rolling two medium-sized balls of clay, one of which should be white and the other should be darker. A wire was used to cut the balls into quarters, and then those quarters were exchanged with one another so that each ball would have two quarters made of white clay and two quarters made of black clay (the result will be something that resembles juggling balls). When the balls are tossed, they will have the appearance of marbles in a magnificent pattern.
How to Add a Finish to Agateware
You may buff your ceramic object to get a high gloss natural finish once you have created it or wheel-thrown it and it has attained the same level of hardness as leather. The patterns that are produced are often spectacular enough on their own, without the addition of any glaze (a dark color glaze would run the risk of covering your pattern completely). However, using a transparent glaze as an alternative to buffing might be a good approach for obtaining a high gloss. If you just polish the thing without sealing it, then the change will be purely aesthetic. By putting a transparent or very thin layer of glaze on the pottery, your work will be rendered safe for use with food.


