Glazes are liquid suspensions made of fine minerals and are applied onto the surface of the ceramic ware through dipping, pouring, or brushing. Among all other glazes, the snow glaze has become the potter’s favorite today.
Hence, in this comprehensive guide about snow glaze, we will explain every detail of snow glaze, its application, and various underlying techniques. So let us get into it.
What Is Snow Glaze?
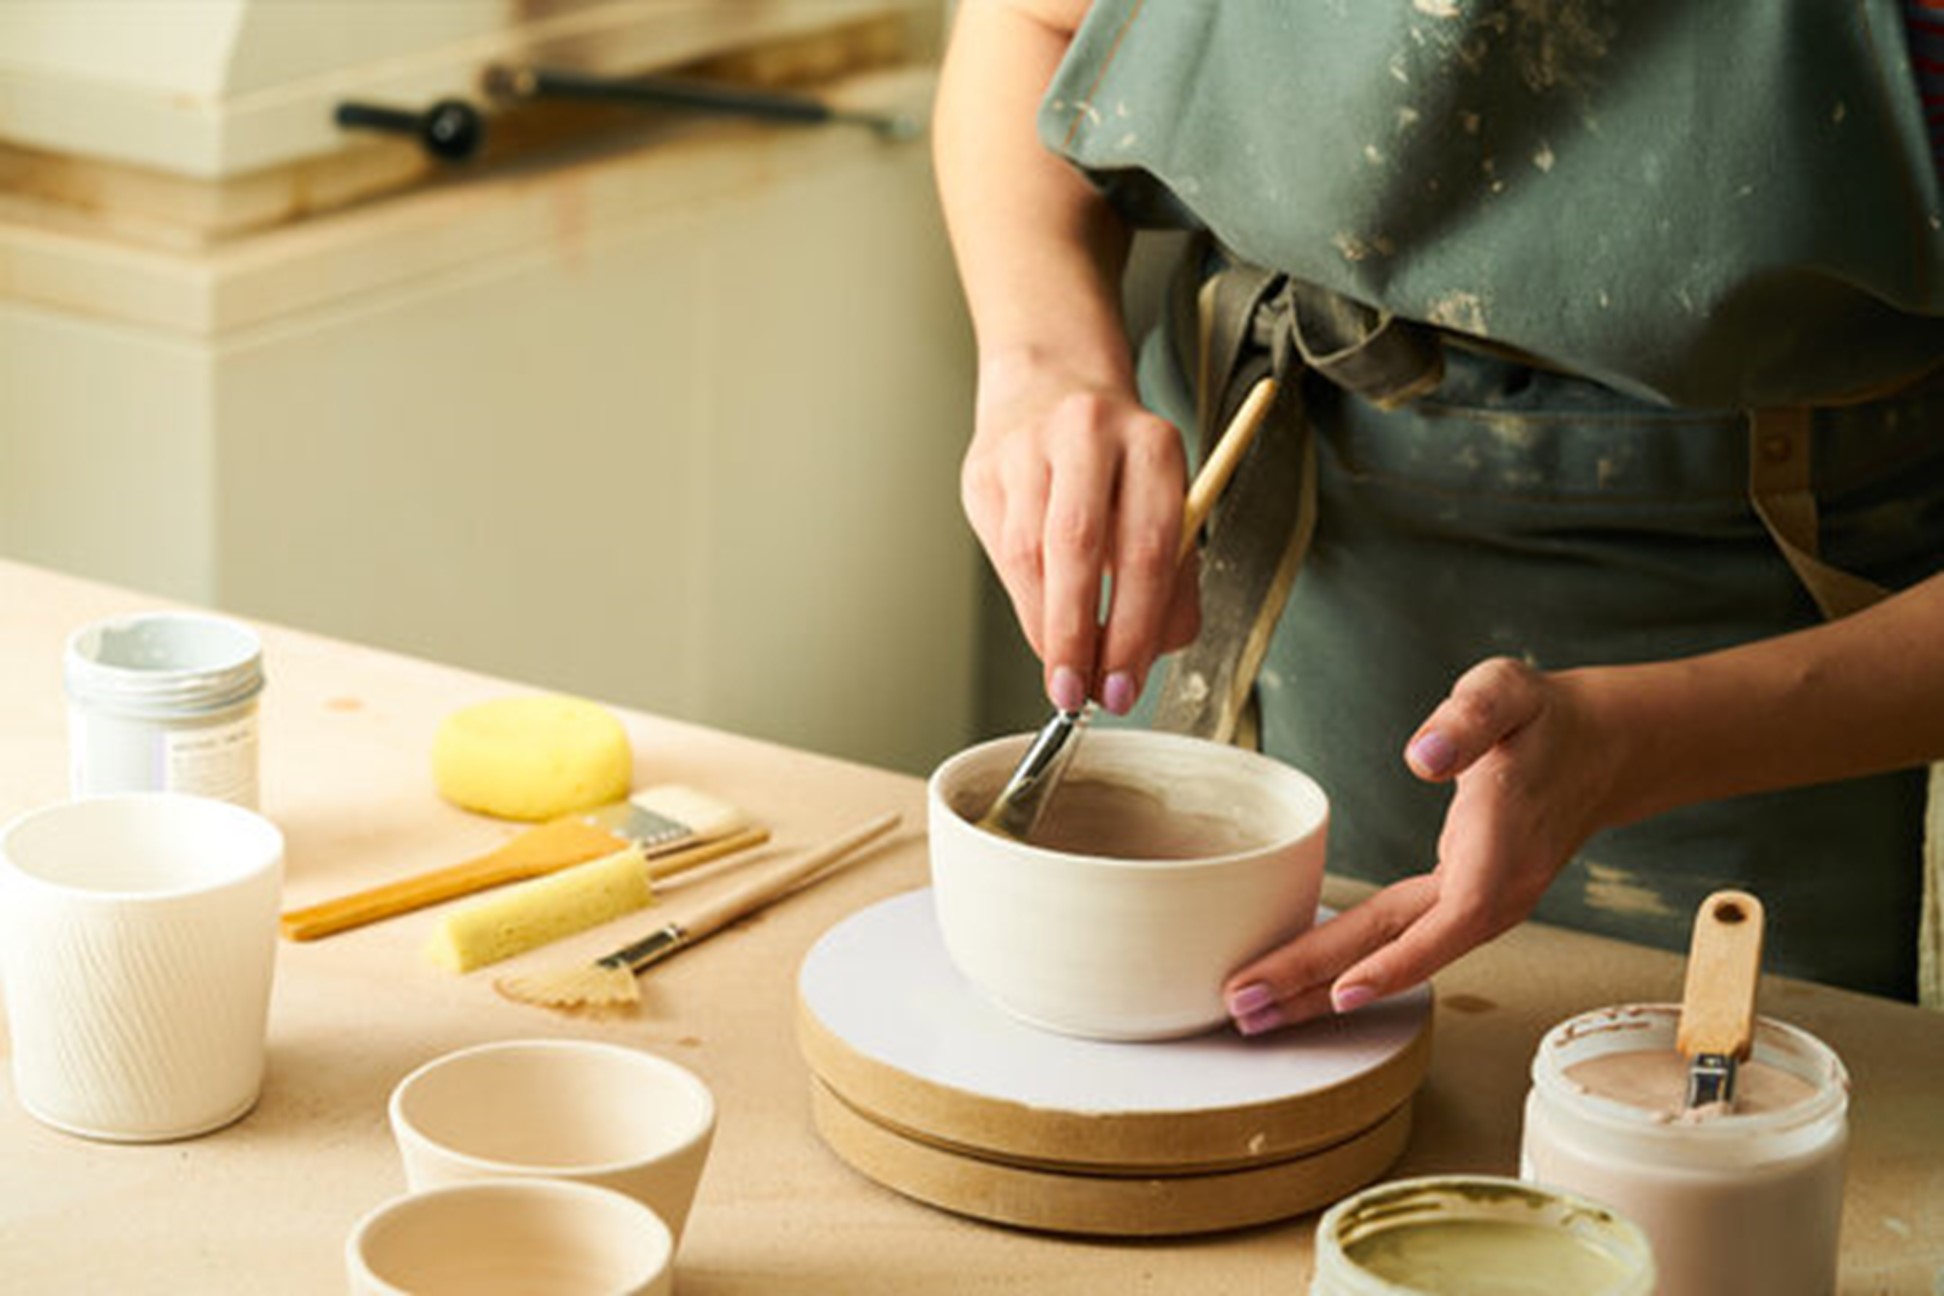
Snow glaze is a dimensional glaze applied to create a textured white surface. It is a non-moving glaze and can be used with the help of brushing, a detailer bottler, and a slip trailer.
General Finishes Water Based Glaze Effects is one of the best snow glazes on the market. It is an easy-to-use snow glaze that dries quickly and gives you the perfect finish you want.

How To Use The Snow Glaze?
The following are some of the steps to use the snow glaze.
-
Mix the snow glaze properly.
-
Apply two or more coats over the unfired glazes. You can also use it on greenware and clay.
-
Apply the second coat till the first coat is damp. Do not allow the cobblestone to dry in between the coats.
-
Create the pattern with the help of the writer’s tip. The design breaks up and is determined with the help of the brush stroke.
What Are The Types Of Snow Glazes?
Know which fire will suit your glaze. Otherwise, it would break the piece. There are three types of glazes, as given below.
-
Low Fire Glazes: They are fired at 1845 degrees Fahrenheit and are great with specific designs. With a soft fire glaze, the colors can be bright and predictable.
-
Mid Fire Glazes: These are fired at 2192 degrees Fahrenheit and tend to melt together, creating beautiful visual effects.
-
High Fire Glazes: They are fired at 2305 degrees Fahrenheit and create a robust textured ceramic.
Generally, snow glazes require high fire settings. Hence, ensure the settings are accurate when you burn them.
What Are The Things To Keep In Mind While Working With Snow Glaze?
The following are certain things you should keep in mind while using snow glaze.
-
Try to paint the entire piece that is the front, back, insides, and underneath with at least three coats of snow glaze.
-
Applying the snow glaze with a damp fan is vital to create the best coverage.
-
After using snow glaze on the ceramic surface, apply a clear overglaze over it, and then fire in the kilns to make the glaze permanent and functional.
-
It would be best for you not to combine acrylic paints, sharpies, other paints, and glues with fired snow glazes, as they can damage your pottery.
How To Layer With Snow Glaze?
Layering involves combining one or more glazes over one another to enhance the textured look of your pot. Typically, three coats of glaze are applied. Each coat dries as it hardens, leaving a stable base for the next layer. It can produce some stunning effects in the colors and texture.
The following are some layering combinations you can try with snow glaze.
Layering Combination |
Glaze Results |
Turquoise with Snow Glaze |
It is a subtle turquoise snow glaze. It is a bit difficult to layer on surfaces but looks nice. |
Albany Slip Brown with Snow Glaze |
It is a fluid and butter-colored glaze that, when mixed with snow glaze, gives your ceramic a beautiful look. |
Midnight Blue with Snow Glaze |
It is a glossy black glaze that breaks into thick blue highlights. The glaze is suitable for textured work and goes well with snow glaze. |
Seaweed Green with Snow Glaze |
It is a fluid deep green glaze. When paired up with a snow glaze, it gives a nice textured look. However, consider the application thickness, so the glaze does not flow to the kiln shelves during burning. |
Lustrous Jade with Snow Glaze |
It is an opaque glaze that gives a soft, even finish, just like the gemstone jade. Layering with snow glaze creates a textured and artistic look on the ceramic piece. |
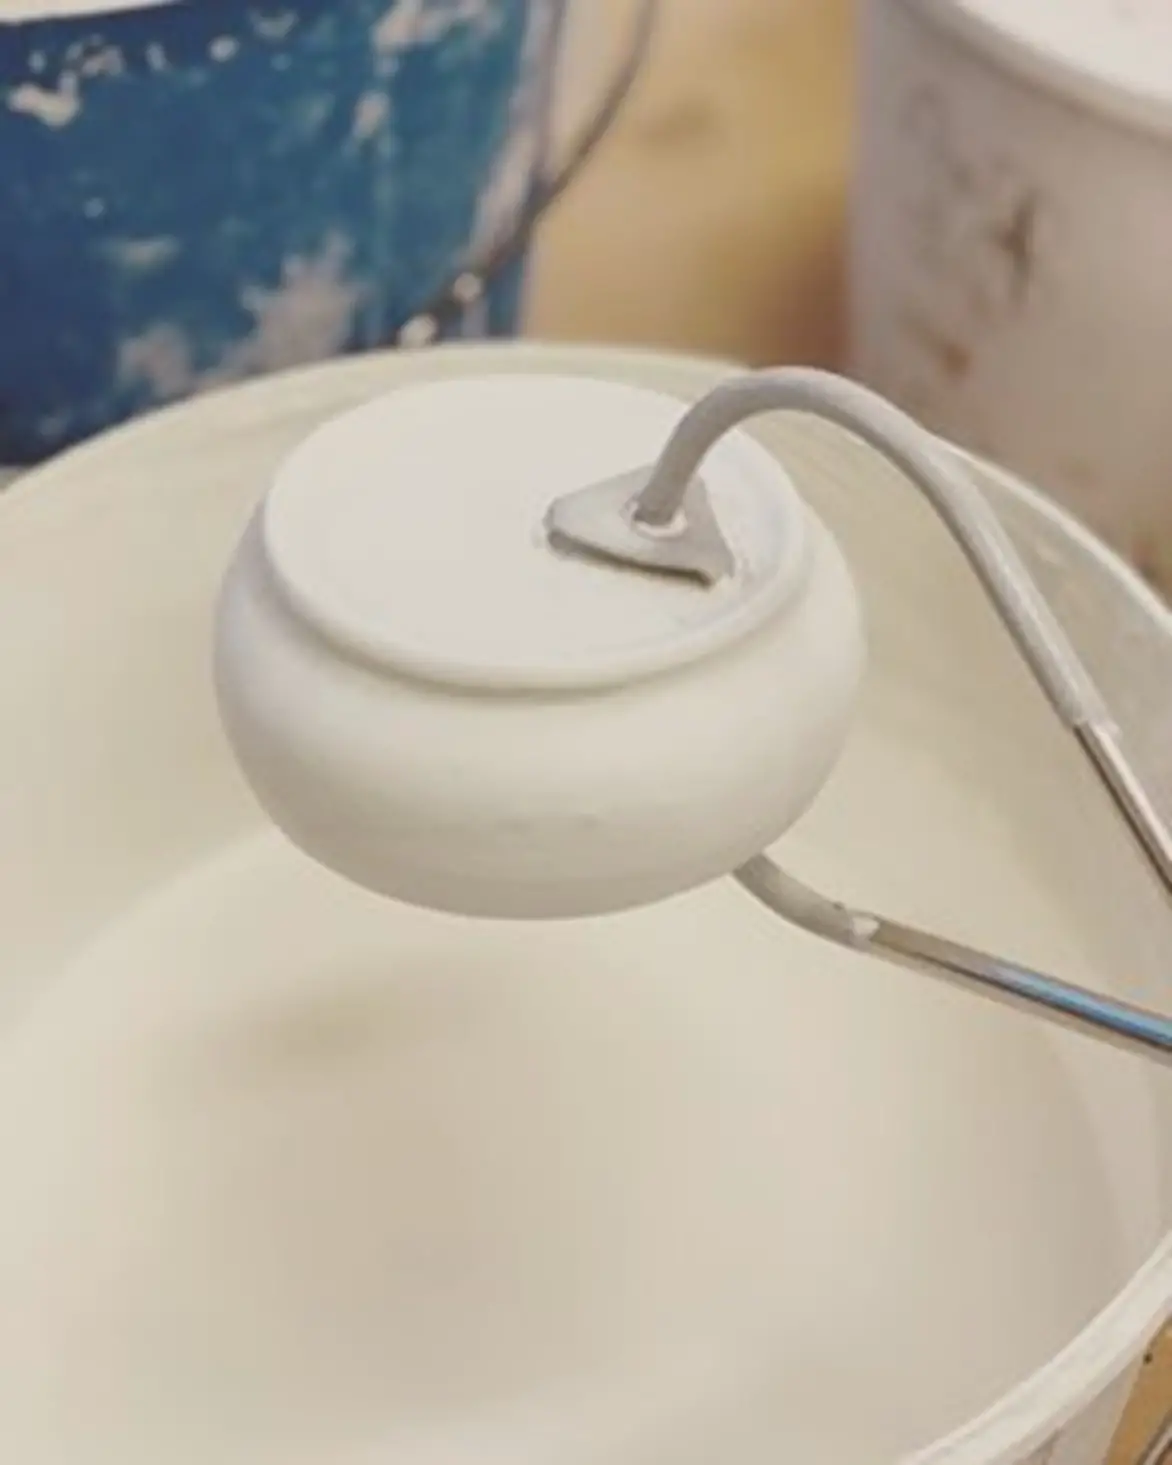
How To Fire Your Snow Glaze With A Kiln?
After snow-glazing your ceramic, you have to kiln your pottery to melt the silica and the glaze to fuse into the ceramic.
The various ways you can fire your snow glaze are given below.
-
Pit Fires
You can create this in your yard or garden by digging at least one foot deep and building a fire. The temperature in the pits can reach up to 2000 degrees Fahrenheit. Try to fire your ceramic for at least 6 hours in pit firing.
-
Brick Kilns
It is similar to pit firing. It is recommended that you use fire bricks rather than building bricks so that it does not crack. To maintain your kilns, once they have cooled after twelve hours, make sure to unload them.
-
Barrel Kilns
Another way you can fire your snow-glazed pottery is through barrel kilns. In this case, the barrel holds fire and the pottery. You can sprinkle metal oxides and salts in the barrel kilns to add a tint to your snow-glazed pottery.
-
Raku Kilns
You can build a raku kiln with the help of a small steel trash can. Generally, to burn your snow-glazed pottery in a raku kiln, you must load the pottery inside it and turn on the gas reaching 1800 degrees.
Once it reaches 1800 degrees Fahrenheit, hold your pottery at this temperature and carefully remove the lid with the tongs. Move your red-hot pottery into a small can with combustible materials and allow it to cool.
Among all kilns, it is better to go for pit firing or brick kilns for your snow-glazed pottery.
Conclusion
Snow glazes add a beautiful touch to your pottery and can be layered with other glazes to create a beautiful finish. It would help to keep note of the directions while working with snow glaze. Thus, keep exploring and make your favorite pottery pieces with a good quality snow glaze.


