Pottery throwing is integral to learning how to prepare your clay for complex projects. To master this aspect is to become a more seasoned pottery whose work can stand the test of time. Whether you are a pottery beginner or a seasoned potter looking to improve your skill, this article will provide a comprehensive list of essential tools, techniques, and troubleshooting tips to create stunning pieces. From preparing the clay to cutting it off the bat, all methods used in pottery throwing will be explored. So, let us dive in immediately.
Essential Tools for Pottery Throwing
Here’s a list of essential tools required for pottery throwing-
1. Cut Off Wire
A cut-off wire is a heat-resistant wire made from an alloy. These wires cut the clay into smaller pieces or evenly from the bat.
2. Sponge
Sponges are required to lubricate the bat before throwing the clay. YoleShy Artist Sponge is an incredible sponge that soaks a lot of water and is convenient to hold.
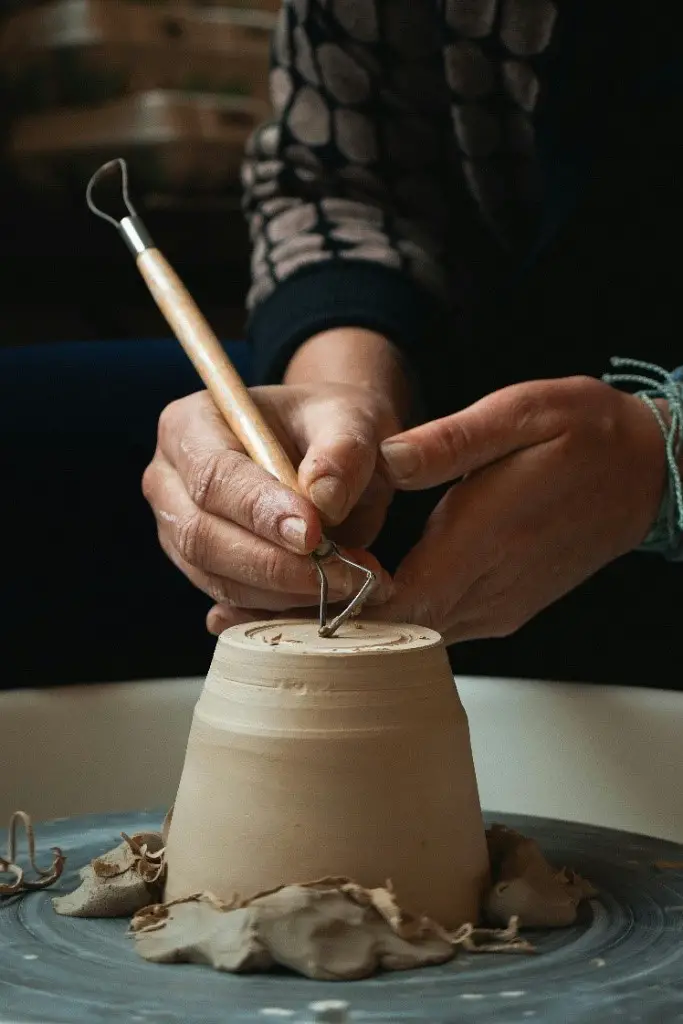
3. Pin Tool
A pin tool is used to pop air bubbles from the clay and as a designing tool. They are also used to cut the tops off curvy pots.
4. Wooden Rib
A wooden rib is an essential pottery-throwing tool. It adds definition and smoothens the exterior and interior of pots.
5. Bat
Bats are flat discs attached to the top of the potter’s wheel. They are usually made from water-absorbent wood or plaster.
Best Technique for Pottery Throwing
Now it is time to know how exactly one must do pottery throwing. The best technique for pottery throwing involves various steps you must follow-
1. Prepping the Bat
The bat is a flat, removable disc attached to the top of the wheel. To prepare it, you must use a metal scraper or a wooden rib to remove chunks of dried clay from your previous try. Washing is not always advised, as the bat is highly water-absorbent. Place the bat back on the wheel once the clay pieces have been removed. Start spinning the wheel and dampen the bat’s center with a sponge.
2. Clay Preparation
Wedging the clay refers to kneading the clay to remove air bubbles and enhance the consistency of the clay. Therefore, to prepare the clay, wedge the clay until the clay looks uniform. You can also add some water if the clay seems dry. Wedging must be done for a few minutes to ensure no inconsistent parts in the clay.
3. Centering
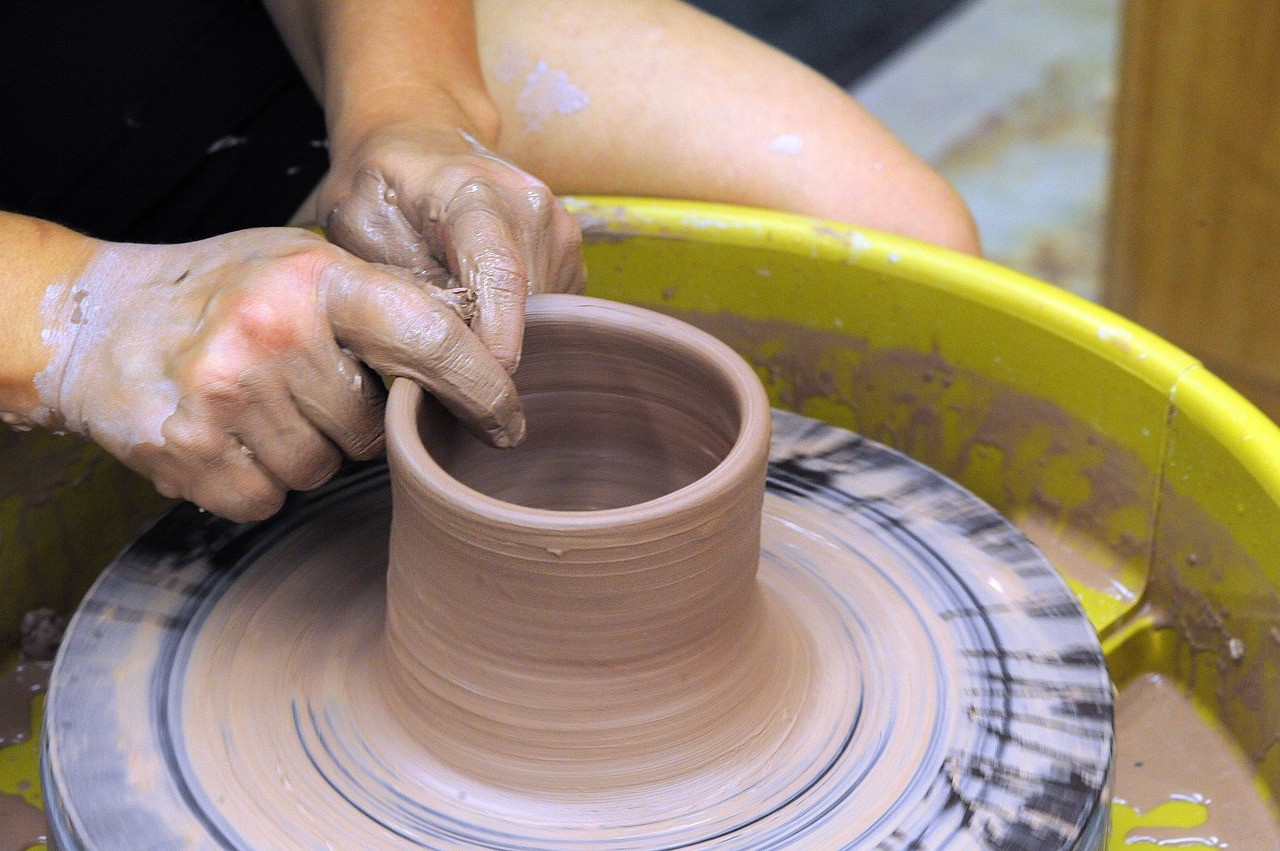
To center is to throw your clay to the center of the pottery wheel. To properly center the clay, form the clay into a ball. Start spinning the wheel and then slam it to the bat’s center. The force with which you throw the clay should make it stick to the bat. Now, use both your hands to adjust the center.
4. Opening
Place your thumb on top of the clay mound to open the clay. Add pressure to the center of the clay mound to create a depression. Once the initial opening is formed, insert your fingers inside the depression. Put one hand over another and start to pull the clay upwards.
5. Pulling and Bending
While pulling the clay, make sure the walls of your vessel are even under pressure. Do not pull downwards; maintain the exact distance between your fingers to create an even wall. Once the desired height is achieved, you can start bending the ridge of the top of the ceramic walls. Bending allows for more experimentation as you can manipulate into different shapes.
6. Shaping
Use pottery tools, like a wooden rib, to refine the shape of the ceramic vessel from the outside. During this step, the focus is on cleaning the rough edges and adding curves and contours as one desires. By collaring, you can add other elegant details to your piece at this stage. Collaring refers to bending the clay to form a curved lip. Potters use this technique to add details to the neck of their vessels.
7. Cut off the Bat
When you are happy with your creation, use a cut-off wire to separate the vessel from the bat. Place the wire where the clay meets the bat and drag it along until it’s completely off. Then, let the vessel dry before applying a glaze and baking it in the oven at the desired temperature.
Troubleshooting Common Pottery Throwing Issues
Clay is a beautiful medium to use because you can mend your mistakes. The following is a list of 5 common mistakes/faults new potters make and their corresponding remedies. Let us check them out:
| Mistakes Commonly Made | Remedies |
| Body Positioning and Arm Placement | Body positioning and arm placement play a massive role in working with the clay in pottery. When working with clay, position your legs close to the splash pan. Keep your back straight and anchor your arms either on the side of your body or thighs. While working, move your upper body along with your hands and arms. |
| Too Dry or Too Wet Clay | When the clay is too dry, take the clay off the wheel and add more water to it. Add more water and wedge the clay until the desired consistency is achieved. On the other hand, when the clay is too wet, place it on an absorbent surface or lay it on a drying board. |
| Wall Collapses | If your wall constantly collapses, use less water while throwing the clay. Move your hand only upwards, never downwards. Also, try pulling the clay as few times as possible to get the desired height. |
| Uneven Wall Thickness | When the thickness of your ceramic wall is uneven throughout, make sure that the fingers placed inside and outside to mold the clay are placed uniformly. |
| Cracking | Check for air bubbles while wedging the clay to avoid cracking the ceramic pot. |
Conclusion
In conclusion, this article must have helped you buy the necessary equipment for pottery throwing. With the techniques and troubleshooting insights mentioned above, you can start the process of pottery throwing immediately. Let your creativity shine through the ceramic medium using the abovementioned tools and techniques.


