Although the clay products you get from the market tend to come with a long shelf life, once you open them up, they start to decay and lose their original value. One thing that is sure for clay, even if it is packed in with preservatives, is the fact that it will rot away someday.
Apart from losing your precious clay collection, you might also be allergic to the same. You might have heard about several DIY enthusiasts who deal with clay regularly and complain of mold in their clay. They could also have long-lasting allergic side effects.
Usually, to affect you, the mold has to be visible in the clay. This is something you will find in a bag packed with moist clay that has been around for quite some time. As the mold starts to grow within the clay mold, you will notice that the air around is a tad bit suffocating if you are allergic to the same.
Signs of mold development in old clay
So, how will you be sure that there is mold development in your clay? To ensure that you do not have any allergic reactions to the same, you need to identify whether your clay is molded. Here are a few signs that you need to take a quick look at.
Signs of Mold Growth on the Clay:
- White/Black/Green/Colored Formation
- The earthy smell coming from the clay
- Allergic reactions when being close to the infected clay
Symptoms of Mold Toxicity are:
- Memory problems
- Muscle ache
- Gut issues
- Nasal allergies
- Breathing issues
- Itchy eyes
- Runny nose
- Sinus congestion
- Skin rashes
- Irritation

But, how do you know which mold has infected your clay? Here is a quick chart that explains more about the types and their effects you need to know about.
Mold Types | Side Effects | Color |
| Cladosporium | Olive Green, Black, and brown | Gray or Blue Green on the Surface White/Tan Underneath |
| Penicillium | Although important in the medical world, the spores can work as allergens causing asthma episodes in the sensitive population | Initially white but turn bluish-green, olive-gray, gray-green, pinkish, or yellow with time |
| Aspergillus | Can cause Aspergillosis, Paranasal Sinus Infection, Chest Pain, Cough, Fever | Although important in the medical world, the spores can work as allergens causing asthma episodes in the sensitive population |
| Alternaria | Respiratory Allergies (Mainly known to destroy crops or vegetables) | Black, Green, or Gray |
| Trichoderma | Skin irritation, lung inflammation, suppression of the immune system | Transparent at first, turn white later |
Cutting Down the Mold Growth Development in Clay
The first step to cut down the mold growth development in clay and probably the best one is to use bleach. As you notice the growth of mold within the clay bucket or bag, you need to spray its outer surface with a perfect mix of 1:9 ratios of beach and water. Here, the bleach needs to be 1 part in 9 parts of water.
Spray this solution and wait to see the results. This will help kill the mold on the surface. However, this works only when the mold hasn’t rooted deep inside the clay. So, take a quick look at the mold growth and plan the method accordingly.
In case the mold growth isn’t deep, you need to clean the bucket with bleach as well to ensure no future growth if you want to preserve the clay for long. If you are someone who loves to make clay, practicing cleaning the mixing bowl with the same bleach-water mix will ensure that your clay remains mold-free for a long time
In case you are worried whether the bleach would affect the quality of the mold, it won’t! This is because chlorine will volatilize out & hence doesn’t affect the formation or the firing results. This same technique is also applicable to someone looking forward to reclaiming the dried scraps of clay.
Alternatives to Bleach Mold Removal for Your Old Clay
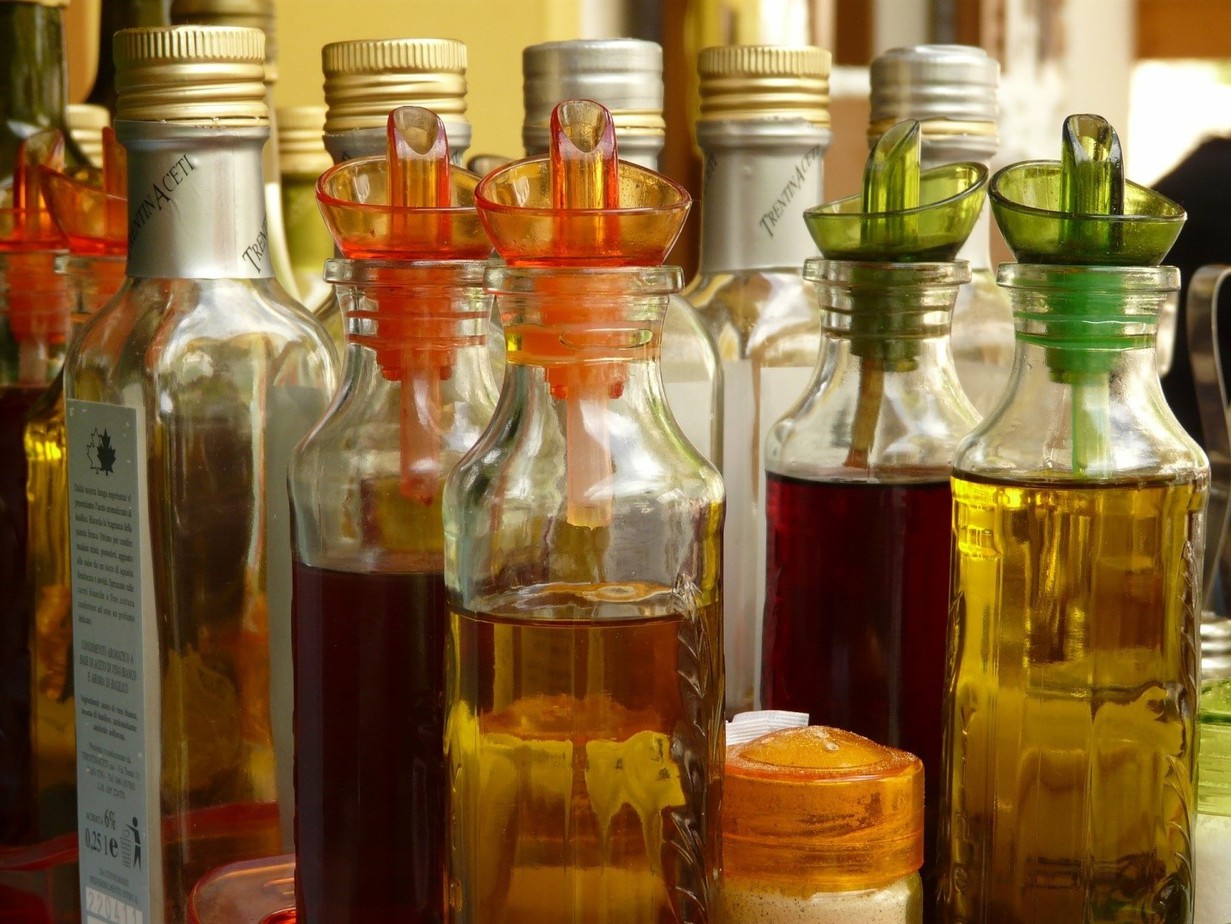
If you do not like the process of using bleach given the fact that it is way too harsh & abrasive, several potters have come up with unique solutions that are safe to use. For old moldy clay, you can use a couple of vinegar drops to get rid of the mold development. However, this might cause that citrusy smell to come out of the same.
However, the amount required to keep the mold away isn’t too much to cause extensive smell issues. Another popular way to keep the mold away from your old clay scraps or clay collection is to add Epsom salts. These salts attract the clay platelets when it is in their moist state. This causes your clay to get flocculated. Make sure the salt is diluted before use, as it might lead to clay blistering.
But, we haven’t yet answered why exactly there is mold growth on your clay!
Why exactly does mold growth occur on your old clay?
It is fairly common for mold to take charge of your precious clay. Different variants of molds might grow on your clay & this will determine how severe or mild the negative reaction to the same would be. Elements such as heat & moisture are among the two major factors that contribute to mold growth. Apart from this, the time for which your clay is left out can contribute to the mold growth factor.
The two common variants of mold that are found in your clay include green mold and black mold. While the green mold might be a good addition to your clay as it adds elasticity and moisture to your item, the black one can be a bit tricky. Porcelain often tends to attract the darker molds; this is why you should always wedge the clay before making use of the same.
When receiving the heat from the kiln, the mold can burn, and all you would have is a beautiful white clay product. It is without a doubt that clay being an organic item will surely develop mold of some kind after a certain amount of time.
How to prevent mold growth in the old clay?
The best way to prevent the development of mold in the clay is to use it as soon as possible. Plus, make sure you do not leave it wet for a long time. However, this might not be possible for everyone every time.
If you are left with a lot of clay, make sure you dry it out completely before storing it. After you are done doing that, whenever you want to use the same, add the amount of water needed and get started with your project.
Now, you surely wouldn’t want to dump your clay in case you see molding. So, what can you do?
The first thing you need to do is look for the invasion of mold. Check how deep the mold growth has penetrated. If the mold has just covered the top surface, the ideal move would be to scrape off the infected area. However, in case you aren’t sure of how deep this infection has rooted in, there are several ways to salvage your old clay.
In case you need a quick solution, and this is too much work for you, the Moldex Biodegradable Mold and Mildew Stain Remover is your best bet.
Hydrogen Peroxide for Mold Removal
You will need these supplies to remove mold with hydrogen peroxide:
- Scrub Brush
- Hydrogen Peroxide
- Spray Bottle
- Rubber Gloves
Hydrogen peroxide tends to be anti-fungal & anti-bacterial. It can efficiently kill the mold that has been taking over your precious clay. This infection can come from any place inside your home, especially if you have kept your clay in a location with high humidity. Plus, in case you forgot to dry the clay, the water already present inside the same can be a budding zone for mold.
To kill the mold development in your clay, you need to pour a 3 percent hydrogen peroxide concentration into your spray bottle. Saturate the solution over your moldy clay immediately. Now, leave the same to sit and start working for at least 10 minutes.
Now, gently scrub this area and clean it off with a dry clean cloth. Make sure you cover each area to ensure there are no remnants. In case you want to work with your clay now, you can do so right away. However, if you plan on storing the same, make sure you dry it out and store it within a tight container to avoid seepage of moisture or air.
Vinegar Mold Removal Method for Old Clay
The things you need to have with this process are:
- Spray Bottle
- White Distilled Vinegar
- Gloves
With all these ingredients in place, you need to start by pouring the vinegar into your spray bottle. Make sure you avoid watering it down. You do not have to worry about the smell, though. It will go away in a matter of a few hours or so.
After you are done spraying, wait for an hour or so and gently wipe the surface with clean water. Use it right away or dry it off before storing it again. So, why does vinegar work? Molds do not thrive in the mildly acidic environment that comes from vinegar. It has the potential to kill off as much as 82 percent of any mold species.
The Baking Soda Mold Cleaning Method for Old Clay
Baking Soda can be dubbed as a versatile method of mold cleaning for your old clay. This white-colored mineral powder is mild, so you can be assured that it is safe for you or your skin. Not only that, it won’t cause any allergic reactions or harm your pets as well.
Apart from being safe, it is an excellent method used for killing mold growth. It can easily absorb moisture and keep the mold away from your old clay.

To kill the mold in your clay, all you need to do is mix an equal amount of water and baking soda in a spray bottle. Shake the mixture until everything has dissolved completely. Now, spray this solution onto the clay and wait for an hour or two.
After this, rinse or gently wipe the surface with a wet cloth. While doing so, ensure that you are lightly scrubbing off the mold from this area. You can also rinse the place to remove any type of residual remnants on the surface.
Let the clay dry under the sun before being stored again.
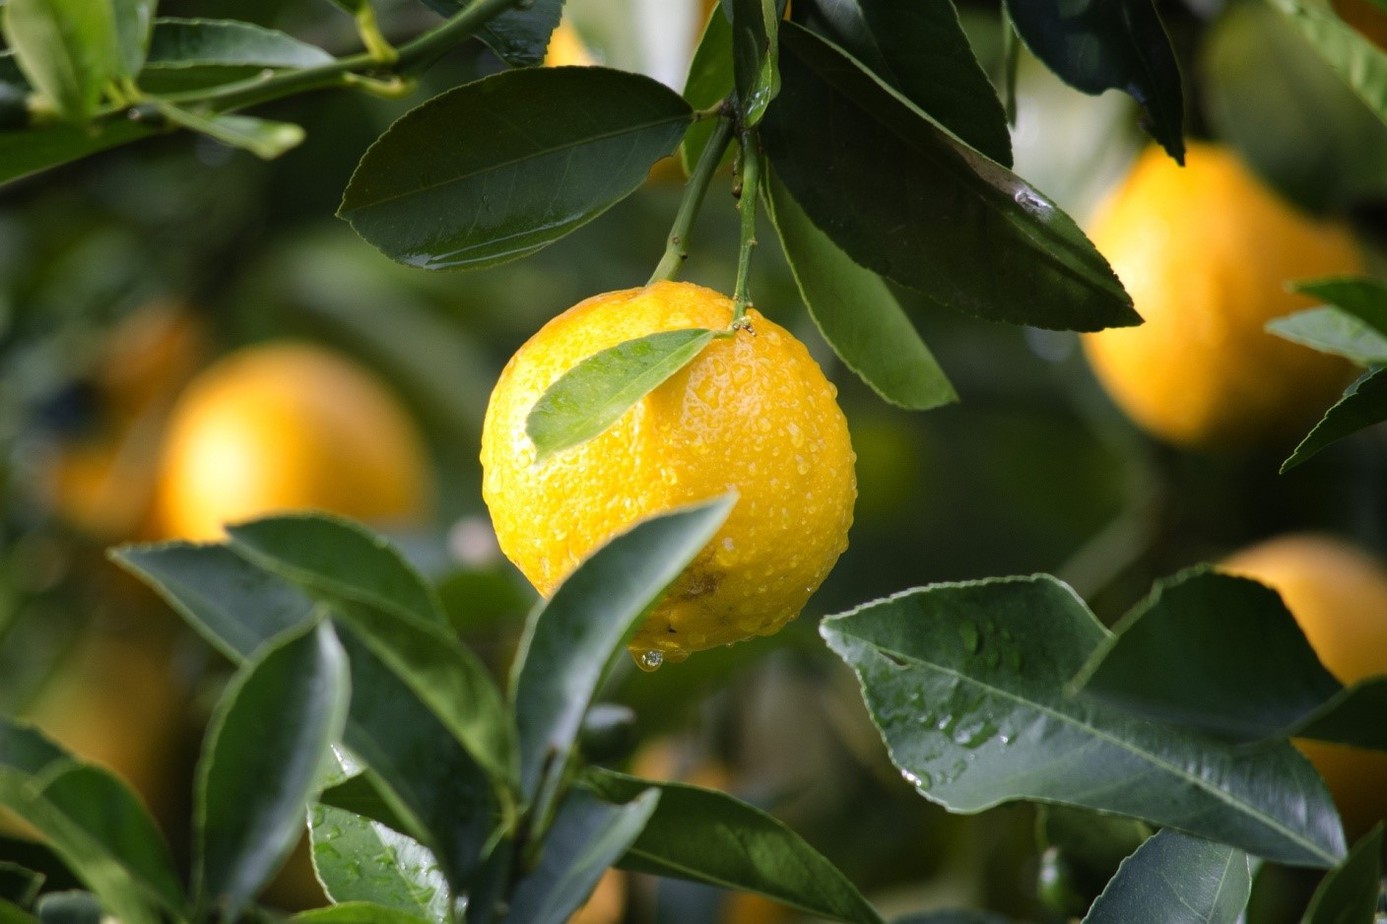
Lime/Lemon Juice for Mold Removal from Old Clay
Another creative method you can safely use for mold removal from your old clay is the use of lemon or lime juice. This naturally occurring citrus fruit is a non-toxic cleaning agent as well. Plus, it has a refreshing and clean aroma that surely won’t bother you as you clean your old clay. Lemon has an acidic content, which makes it the perfect option for the elimination of mold.
You can freshly squeeze lemon or look for a concentrated solution available online. To clean the mold, lemon juice should be used at its full strength and must not be diluted. Apply it directly over the clay or use a spray to soak the clay with the same.
After letting it sit for an hour or two, wipe it off with a wet cloth. Make sure the cloth isn’t dripping. After doing this, let the clay sit in full sun for the excess moisture to evaporate.
Conclusion
Watching your precious clay rot away can be a heartbreaking scenario. While you might get several mold removal solutions online, not all of them might be safe or free of harmful chemicals. Make sure you check the constituents of the same before making a purchase. Otherwise, you can try the recommendations above and salvage your old clay for a quick DIY project.


