Sculpting in clay can be hard for those who are starting out, so what is the best way to do it? Well, read on to find out the best tips and tricks for clay sculpting for beginners.
Oftentimes, when you begin, you just kind of sculpt whatever you can, instead of taking the time to effectively learn how to sculpt, which is why it’s important to learn the basics because it can ultimately help you immensely.
What Clay?
The first thing you’ll learn is that there are many different types of clay that are used for sculpture modeling, and they have different finishes and handling.
Some of the options for this are below:
-
Oil-based, which is great for starting off, but it appears undefined and not good for detail, but is soft and workable and good for practice
-
Polymer clay is soft and can be baked at home, but it isn’t as soft as the first and is prone to cracking
-
Firing clay, which is water-based and can be fired higher, is good for basic, household ceramics
Personally, if you’re wondering which one is the best if you’re working with detailed shapes and detailed hand building, get the firing option since this one is most similar to actual pottery clay. But, if you’re learning how to practice and make designs before you use them on the actual clay, I recommend the oil-based ones.
Sculpting in 3D
Next, you have to sculpt your piece in 3D. this is hard because oftentimes, it can lead to the following problems:
-
Getting it all envisioned on a 3D surface
-
Understanding that it may not be perfect from every angle
-
Trying to get it viewed correctly from every size.
Some of the best ways to do this are to try the slabs and stack them up, viewing them from each side before you begin, and it can help you with learning how to create the first item that you want.
Work on Envisioning
The first step when you’re sculpting that you need to realize is you have to have a vision and a clear idea of what you want. If you don’t have this, then the following can happen:
-
You’ll flounder around trying to make the test piece
-
You won’t be happy with this
-
It will take longer to put the piece up
-
It oftentimes may not transfer to 3D the same way it would be in 2D
That’s why, when you’re creating projects you need to create different sketches and projections, and don’t be afraid to actually create ratios and shapes for this.
Some of the best ways to do this include the following:
-
Create imagined viewpoints
-
Make sketches of how you want this to turn out
-
Consider all of the shapes and the ratios that you want
-
Look and see if it will fit on the piece
With this in mind, you’ll be able to build the best and most rewarding pottery pieces out there
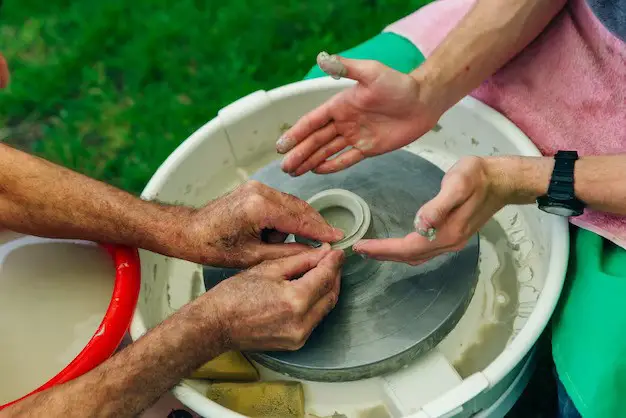
Starting with the clay
When you start with the clay, you want to make sure that it’s pretty decently wet. The reason being is that otherwise, it’s not going to be fun to work with.
The problem with dried clay is the following happens when you try to sculpt with it:
-
It won’t sculpt easy
-
It may flake
-
It has a tendency to break off
-
You won’t be happy with the results of this
This can be a major problem for people starting, and lots of beginners forget to make sure that their clay is wet enough. So how do you fix this?
Well, the best thing to do is to try the following:
-
Take a very tiny piece of it, and roll it until it’s a very small cylinder
-
Bend said cylinder, and if it has a smooth bend, you’re good
-
If you notice that it cracks at one side when bent, add more water to it
-
Once you feel it has enough water, do it again, and then continue this
Once you do that, you can begin the building process of your sculptured forms
Coiling to Start
If you’re struggling with trying to figure out easy sculptures, chances are you’re going to want to try coiling the forms first.
Why use coiling? Well, here is why:
-
It’s super simple
-
It allows you to put together a hollow shape
-
It won’t collapse on you
-
You can create recesses easily
-
You can easily smooth down the clay
If you’re struggling with building a form easily, then start with that, since it can help you put together a much better shape.
To make this, you do the following:
-
Take some coils
-
Make a flat piece at the bottom
-
Start to coil this around, and continue to coil it
-
Once it’s at a certain level, smooth it down by patting or using your finger
-
Continue to build till it’s at the point you want it to be
-
Start to lightly smooth it out
This is a great way, to begin with,, and it can be a great way to do this without a potter’s wheel.
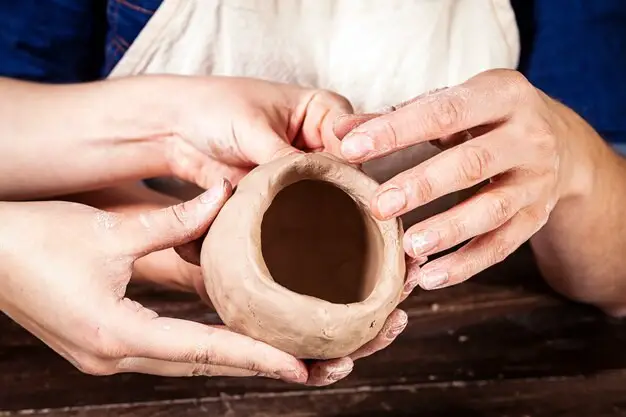
The power of Hand-building
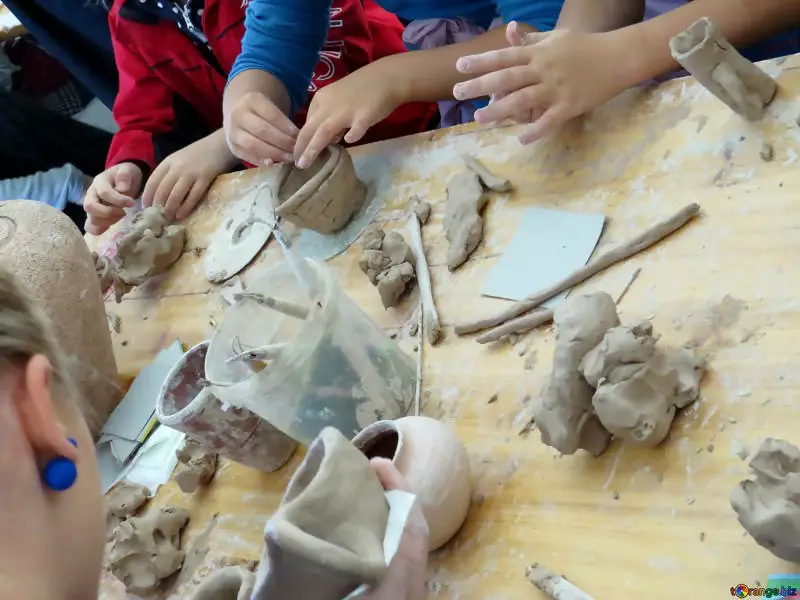
Hand-building pottery is one of the best ways to create not just pottery pieces, but sculptures too.
I personally like to use little blocks and to make them, you simply do the following:
-
Take some pieces
-
Shape them together with your hands
-
Start to put them down
-
If you have another shape, you can then add it to the top, and lightly push them together in order to make sure that they hold
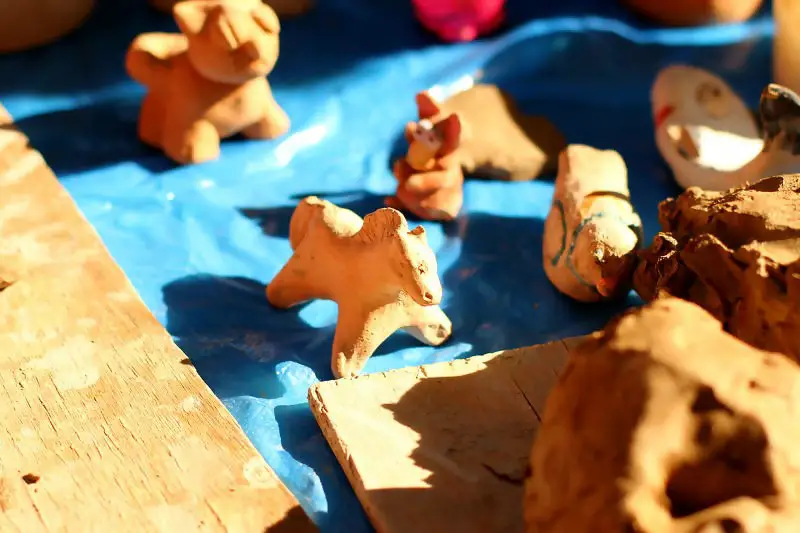
Now, if you’re hand building an animal, such as maybe a cow, for example, lots of times you will run into the issue of the legs aren’t holding the body enough. That’s why it’s important to consider the following when building by hand:
-
Have a larger set of legs on the bottom
-
Make sure that they’ve properly adhered together
-
Hold them there, and see if it doesn’t buckle
-
Don’t try to stack too many large structures on a tiny piece of clay
Hand building is fun, and personally, I love to do it, especially if I have those items that I feel look better and communicate well in that type of media.
Protruding Structures
One issue lots of potters run into is they’ll make these super protruding structures that can be too much for the clay to hold, so then it buckles down.
If you’re running into this issue, there are a few things that you can do as a potter, and they include the following:
-
Add wires and other structures to support the clay
-
You can add stronger materials
-
Try to limit the size of the shape of it if you don’t want to go this route.
-
Understand the limits of the clay, and try not to pack it as densely
This is important cause lots of potters make the mistake of making these huge structures, only for them to fall down as soon as you start to fire them. So, be smart, and try to improve on this by eliminating these structures as much.
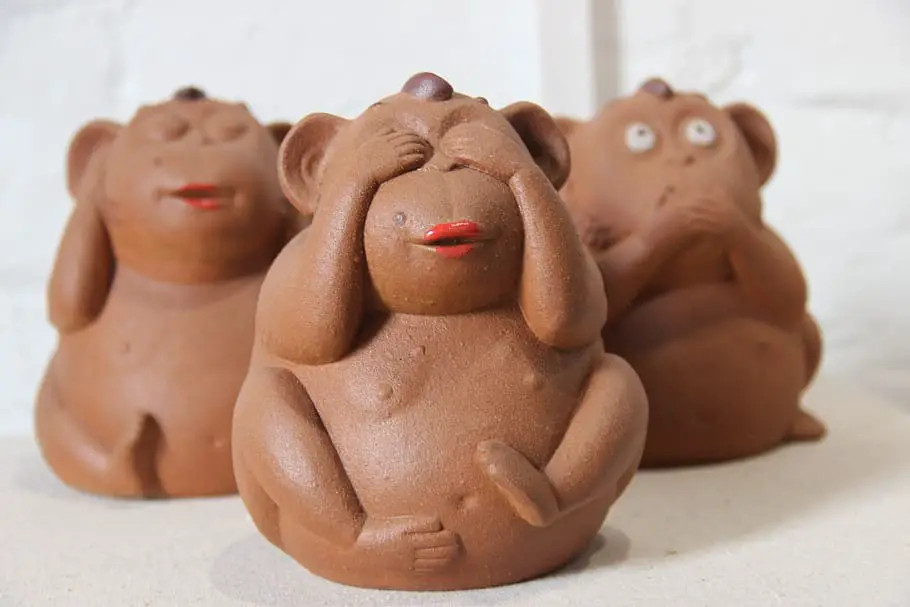
Try Detailing
When you’re working with this type of sculpting, oftentimes beginners will shirk away from the details, cause they think it’s “hard” or they don’t want to. But, detailing your work will help to bring forth a much better and more intricate look.
Some ways you can try detailing include the following:
-
Adding more intricate structures to the pieces itself
-
Consider adding textured elements
-
Add little side details and other practices, such as maybe if you’re making a gnome, add some facial hair details
-
Consider trying to add little elements that will add to the piece, such as maybe a little bit of grass at the feet
Detailing is great for beginners cause it lets them learn how to use the pottery in the ways that they want, and for those who are beginning with sculpting, chances are you don’t think about those details until it’s too late.
But details help bring more life to your pottery, so definitely consider this.
However, don’t try to go too crazy with this, or make structure and appendages that are too much for this, and you’ll want to make sure that you’re keeping it within your skill level
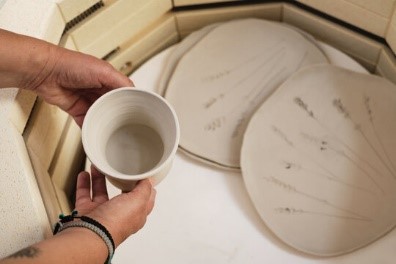
Firing the sculptures
When you’re firing beginner pieces, the beauty of it is that you don’t need to fire them too ho, at least compared to other pottery. With basic sculpting, you can fire these in your home oven for the most part and get some amazing results.
To fire these in your home oven, do the following:
-
Read the instructions for the clay obviously
-
If you have a glaze that’s oven-safe, you can put it on, otherwise, just wait till it dries to paint
-
Wait till the piece isn’t leather-hard before you put it in
-
Put it on a baking dish that you’re okay with messing up
-
Put this in the oven for the time period
-
When finished, pull it out carefully, and understand that it’s going to be hot
-
Let it cool, and then you can decorate your piece
Now, this is the most basic of sculpting. For many artists, this can be fun bet gets a little boring after a bit. That’s why, if you can figure out a studio, I highly recommend it.
The benefit of pottery courses and studios include the following:
-
They let you learn more techniques
-
You can use higher-firing clay
-
You can learn how to use a kiln
-
You can learn how to make more detailed pieces
But don’t be upset if you can’t do this right away. It does take a bit of time, and once you learn a little bit about this, you can from there master these techniques, and keep learning.
Build your Reference
Once you’ve made your first piece, you’ll probably think that’s it, but that isn’t the case. Here’s the reality of it: you can always get better.
For a lot of people, making their first piece is a wonderful endeavor, but you can do so much more. You can learn different references that let you get the most out of this.
Some references you can check out include the following:
-
Real-life people and animals
-
Books
-
Photos
-
Sketches
-
Scale models
-
Écorché figures
-
Collect real-life items that can help you
Collecting all of these different items and having them on hand when you work with clay will make a huge difference in how everything works. References are literally your best friend, and you can always ask others for some help with these if you feel like you’re missing some key references and need a bit of help with them.
If you do need some guidance on where to go with your sculpting too, some great references include the following:
-
Pottery teachers
-
Your local pottery class
-
Friends who are artists
-
Forums on the internet
-
Various websites that offer some great projects for sculpting
Sculpting is something that you learn with time, something that you grow with, and something that lets you become a better artist. It is a process, so always make sure that you get a good idea of what you’re making and have references and ideas before you begin.
Try Detailing
When you’re working with this type of sculpting, oftentimes beginners will shirk away from the details, cause they think it’s “hard” or they don’t want to. But, detailing your work will help to bring forth a much better and more intricate look.
Some ways you can try detailing include the following:
-
Adding more intricate structures to the pieces itself
-
Consider adding textured elements
-
Add little side details and other practices, such as maybe if you’re making a gnome, add some facial hair details
-
Consider trying to add little elements that will add to the piece, such as maybe a little bit of grass at the feet
Detailing is great for beginners cause it lets them learn how to use the pottery in the ways that they want, and for those who are beginning with sculpting, chances are you don’t think about those details until it’s too late.
But details help bring more life to your pottery, so definitely consider this.
However, don’t try to go too crazy with this, or make structure and appendages that are too much for this, and you’ll want to make sure that you’re keeping it within your skill level.
Mistakes to Avoid While Sculpting
No achievement comes to you without fail. Every time you try to excel in something innovative, you ought to commit new mistakes. But not getting the solution for your mistake might be frustrating as hell. Pottery sculpting is no exception to it. There are a lot of sculpting mistakes that beginners make due to a lack of knowledge regarding the sculpting techniques. But do not worry. You can quickly turn those mistakes down if you follow the right procedure.
Pottery sculpting is not at all a big issue if you do it in the right way. If you know the key factors about how to perform each step correctly, then it becomes quite fun to work with clay and give shape to your imagination. Here are some of the tips on those mistakes that you should avoid if you don’t want to mess up with your sculpting project.
-
Choosing the wrong clay type for your project:
Choosing the wrong clay for sculpting is the worst thing that you can do to your piece. The wrong type of clay will make you suffer in each step of your work. Your pottery might suffer difficulties at the beginning during throwing and centering if the consistency of your clay is not suitable for the wheel.
For instance, if your clay is too much dry or requires too much water to absorb, then it will be quite hard for you to form the shape while centering. On the other hand, if your clay has too much water in it, it will become quite runny, and won’t be capable enough to form any kind of shape. It is assuredly going to create a total mess for you.
Likewise, if your clay is not the right one, then it is going to make your face a struggle while glazing. Too much moisture content present in your clay will make the glaze not adhere to the pot surface properly. Also, you need to choose the perfect glaze suitable for your clay. If your clay doesn’t have compatibility with the glaze while firing, it will ruin the entire sculpture.
Here are a few tips that you can follow to choose the right clay for your project.
-
Your clay should have a little amount of grog or sand in it.
-
Check the moisture-absorbing capacity of your clay.
-
Your clay must have the right amount of plasticity in it. You can use Sargent Art Plastilina Modeling Clay which has a considerable amount of plasticity in it and is ideal for sculpting.
-
The clay shouldn’t shrink much during the process of drying.
-
Your clay must have compatibility with the glaze being used.
-
There must not be too much sand in your clay.
-
It’s better to choose a smooth type of clay for ease of throwing and centering.
As clay is the prime ingredient of pottery sculpting, so, you would have to pay much attention to choosing the right one for your project.
-
Adding a lot of water to the sculpture:
Proper usage of water is very crucial when it comes to pottery sculpting. Water is quite essential to provide you with adequate moisture to the clay to increase its workability, but at the same time, you can screw up things, if you add too much water to your project. The wrong amount of water in your clay is going to trouble you in many ways.
While throwing, if there is a lack of moisture in your clay, you are going to face difficulties with moving or shaping the clay properly. So, adding a little bit of moisture will increase the plasticity of your clay. In the same way, having too much wetness in your clay will prevent it from getting centered at the right place. Also, it will make the process of building walls of your pottery too much challenging.
Similarly, the presence of moisture and water in the clay body while glazing is another matter of concern. Your clay must be leather-hard when it comes to the matter of applying the glaze. Having too much moisture in the clay decreases the adherence capability of the glaze on the sculpture surface. Also, there must not be too much water in your glazing mixture. If your glazing mix gets too runny or thin, it will not stick properly onto the clay surface.
The presence of water molecules or moisture in the clay is strictly prohibited when it comes to kiln firing. Existence of moisture while firing can cause an explosion, which might destroy your sculpture and ruin all your efforts.
So, here are what you can do to prevent such problems.
-
Check if your clay feels too soft. If it does, then let it become dry before throwing it on the potter’s wheel.
-
Your glazing mixture must not have too much water in it. Instead, it should have a creamy milk-like consistency.
-
Your clay must be leather hard before bisque firing or glazing. Touch your clay to check. If it feels cold, then let it sit for some more time to become completely dry.
-
Consider adding water to your clay using a spray bottle to avoid making it too much wet.
Knowing the water tricks will solve half of your pottery sculpting mistakes.
-
Not performing the firing process seriously:
Now, this is the step of sculpting that you should not take lightly, anyhow. The success of your sculpting project depends mostly on how you fire it inside the kiln. Often beginners mess up with firing for not knowing the right firing temperatures.
Firing is not only tricky but also very much risky. As a beginner, you should follow all the safety rules to avoid any kind of disaster. Don’t try experimenting if you have not mastered the basics of firing yet.
Here are the things that you should not do while firing if you don’t want to ruin your sculpture.
-
You should never put your wet clay inside the kiln.
-
Don’t pull your clay out of the kiln, if it’s not wholly fired.
-
You shouldn’t consider the kiln temperature to be too low for firing.
-
Do not use a small kiln for a big project as it might make your piece suffer from breaking.
Now let’s talk and move on to what you should do while firing.
-
You should consider choosing a temperature-adjustable kiln.
-
Remember to bone-dry your clay before putting it inside the kiln to avoid an explosion.
-
If you want to turn your clay work into a ceramic piece, then you need to deal with 1800 degrees of temperature. Make sure your kiln is that much hot. On the other hand, if you want to sculpt a terracotta project, then your firing temperature should not be more than 1000 degrees.
-
Your glazing mixture must not be too runny. Otherwise, it will stick on the kiln surface while firing and lead to cracking of the sculpture.
The trick of firing may be a little bit complex, but not that difficult to conquer. Keep working on the method until and unless you achieve perfection. Learning from every mistake you do, and applying efforts not to make that mistake again is the key to success.
-
Improper usage of tools for sculpting:
There are multiple ranges of tools of every size to help you out in creating beautiful sculptures. Without the help of these tools, you can’t even give the exact shape to your pottery piece. Your fingertips and nails are not enough to add detailing to your project. Fine and intricate designs require the right equipment for the purpose.
To bring life to your sculpture, you need to experiment with a lot of tools. But the wrong usage of equipment can make you suffer from ruining your entire pottery structure. Here is how you can rightly use your pottery tools for sculpting.
-
Do not use a too small tool to cover a large area. It will consume a lot of time to finish the work, and at the same time, it will become frustrating for you.
-
Similarly, don’t use bigger tools for smaller areas. It will cause you trouble adding detailing to your sculpture. Also, using a large tool for a small space will affect the piece by scraping off a large amount of clay.
-
Make sure your tools are clean while using them. Store it properly in a covered place to avoid catching rust and dirt.
-
Know the real purpose of every tool. Using a particular tool for different purposes might cause you to suffer.
As a beginner, here are some of the tools that you must have and know how to use them.
Tools |
Usage |
Loop tools |
These are mostly used for cutting off large coils from the fresh clay block. There are varied sizes of loop tools available. So, depending on your clay piece, you must choose the size of the loop tool. |
Loop cutters |
A cutter in the shape of a loop helps in cutting off the clay and adding details to the sculpture. |
Mini-wire brush |
This small brush made of tiny hardwires is used for rubbing onto the clay surface to smoothen it. |
Rubber-tipped tools |
These kinds of tools are used for blending the edges or sections of the clay. It also helps in adding paint to the sculpture. |
Fine loop |
To add wrinkle-like detailing to your clay, this little tool is quite efficient. |
Twisted wire rake |
This loop tool made of two twisted wires helps in blending the bumps and lumps present on the clay surface. |
Guitar loop |
Having similarities in looks to that of the twisted wire rake, this tool is made of an old guitar string and adds fine detailing to the sculpture. |
Wire-tipped tool |
A wire-tipped tool helps in adding wrinkles to the clay surface while sculpting. |
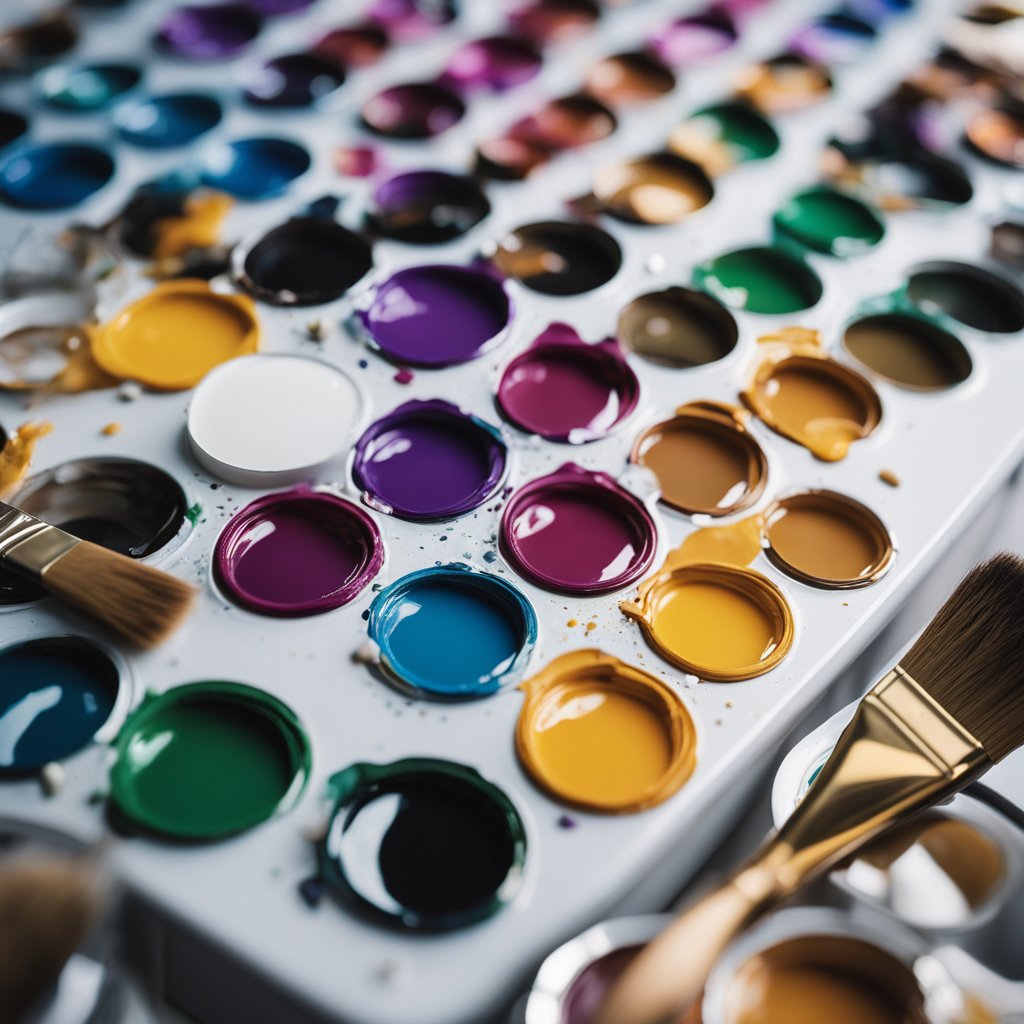
Brushes |
Brushes are used for various purposes in sculpting. From smoothening the wrinkled surface to adding liquids to the clay, brushes are important for everything. |
Knives |
Knives are essential for carving while adding fine and intricate details to the clay. |
Scrapper |
Scrappers are good for scrapping out the excessive amount of clay from the surface of the pottery work. |
Ribbon tools |
These tools work magically in cutting or shaping the clay from the surface to create intricate or smooth designs. Also, it helps in removing excessive clay. |
There are plenty more tools to help you out in pottery making. Using a good quality tool is essential for sculpting. You should consider choosing tools made of stainless steel to avoid any type of rust formation. Also, such tools are easy to clean and store. You can use Meuxan 30PCS Pottery Tools Clay Sculpting Tool Set for giving your sculpture a new outlook. You can also make handmade tools on your own at home.
Do not mess up your pottery work with a lot of unwanted tools. Don’t waste your money in buying a lot of tools, if you don’t need them. Only one tool can serve multiple purposes. So, store only the tools that are important for your use.
Always avoid using contaminated tools. Clean your equipment after every use. Otherwise, it will lead to bacteria formation on your clay and glazing. Take the proper measurements while working with sharp tools to avoid any risk.
Sculpting is fun!
For beginners, it can be daunting to work with sculpting, but once you make your first piece, it can be quite amazing. It’s a different world from pottery making since it involves different aspects, such as the following:
-
Building structures
-
Adding details
-
Using tools and methods you might’ve not used before
-
Experimenting with different techniques to see which best fits
But sculpting is a fun activity that those who are potters may want to consider. Being a sculptor or working on sculpting items can help make you better at pottery, and that’s a fact.
If you’ve ever been interested in learning basic sculpting, you’ll definitely want to consider some of the different options that you have and some of the cool ideas that you can try to build great items.